A while back I had some repair work on SMD printed circuit boards. Even with a solder iron and a very small tip, it was quite dificult to make smooth solder contacts. Searching the net for SMD techniques I found two ways to do it propperly. The first one was wit a normal solder iron and Flux. The video's showed a smooth dividing of solder amongst the points. So, searching on, finding video's about solderpaste was revealing. The paste consists of small parts of solder in a fluxing liquid. A small layer on the PCB holds the component in place. Heating it with a hot air gun melts the paste, soldering the component to the PCB. Perfect and clean.
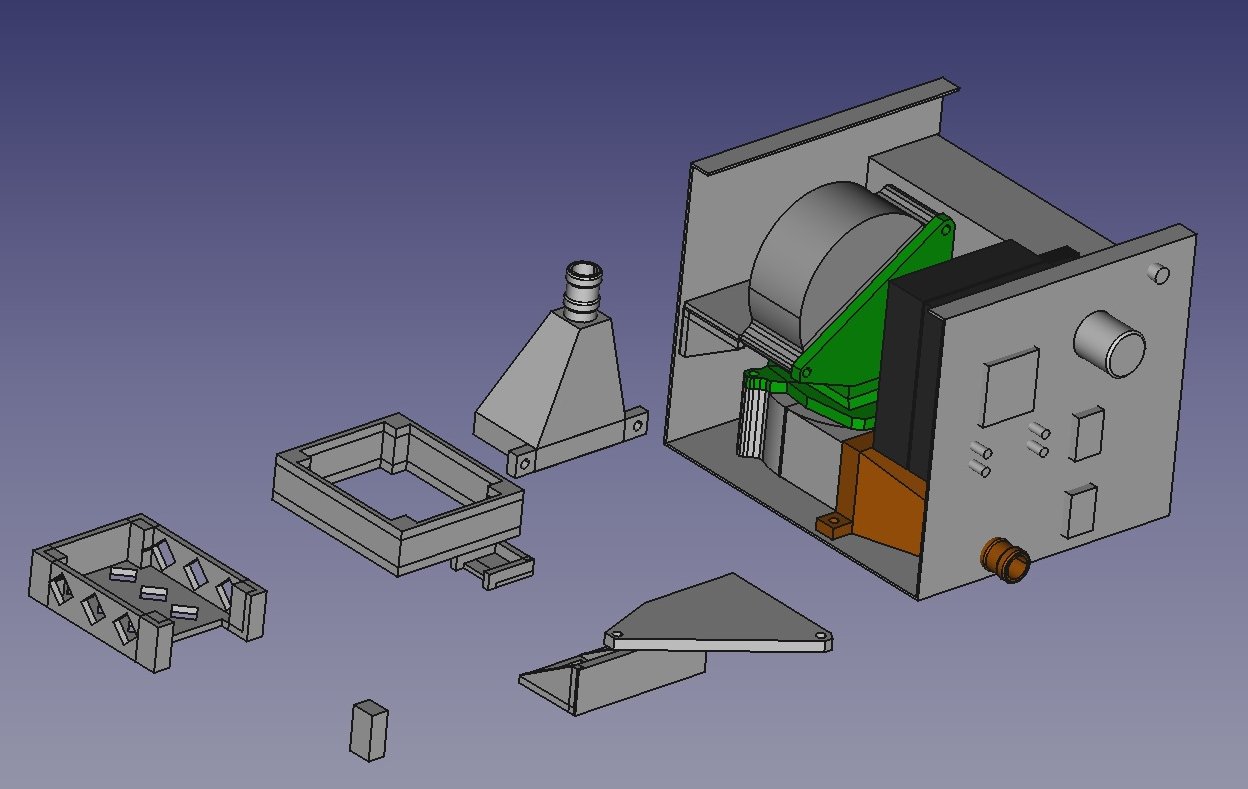
Searching for cheap parts on Ebay gave me thought of how the unit would look. Some parts where needed from my 3DPrinter so I started of drawing all the parts in FreeCad.
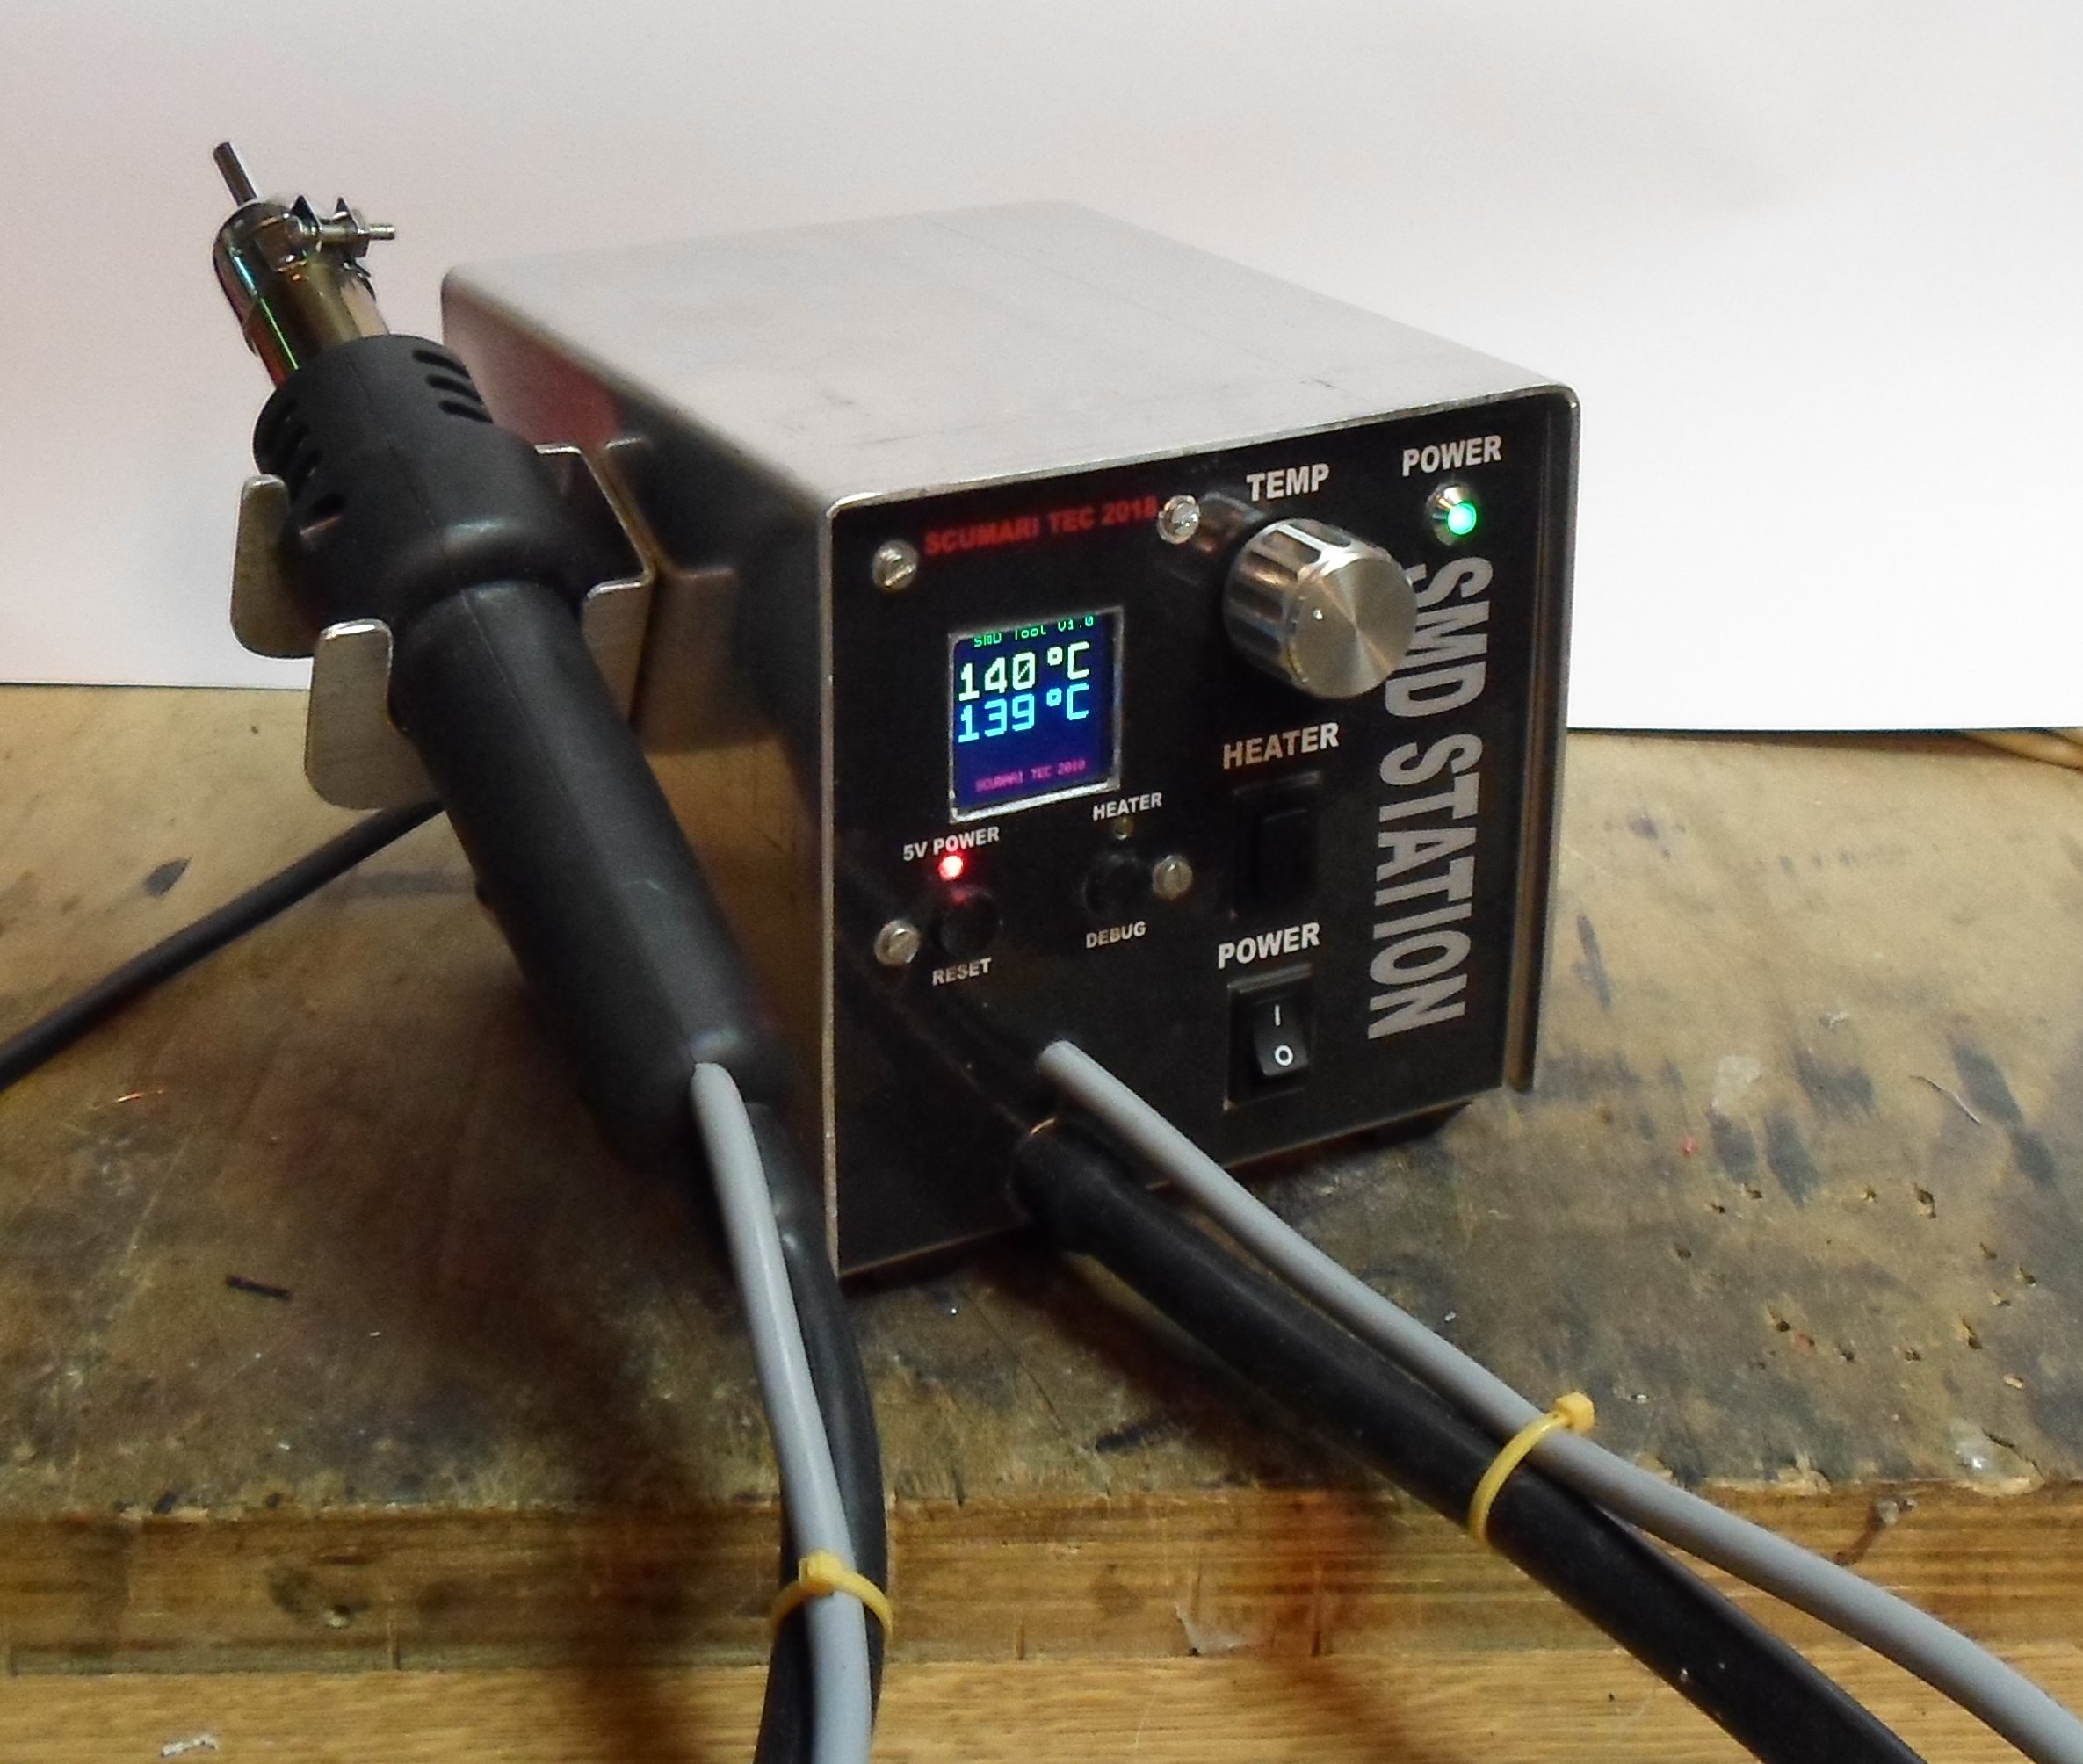
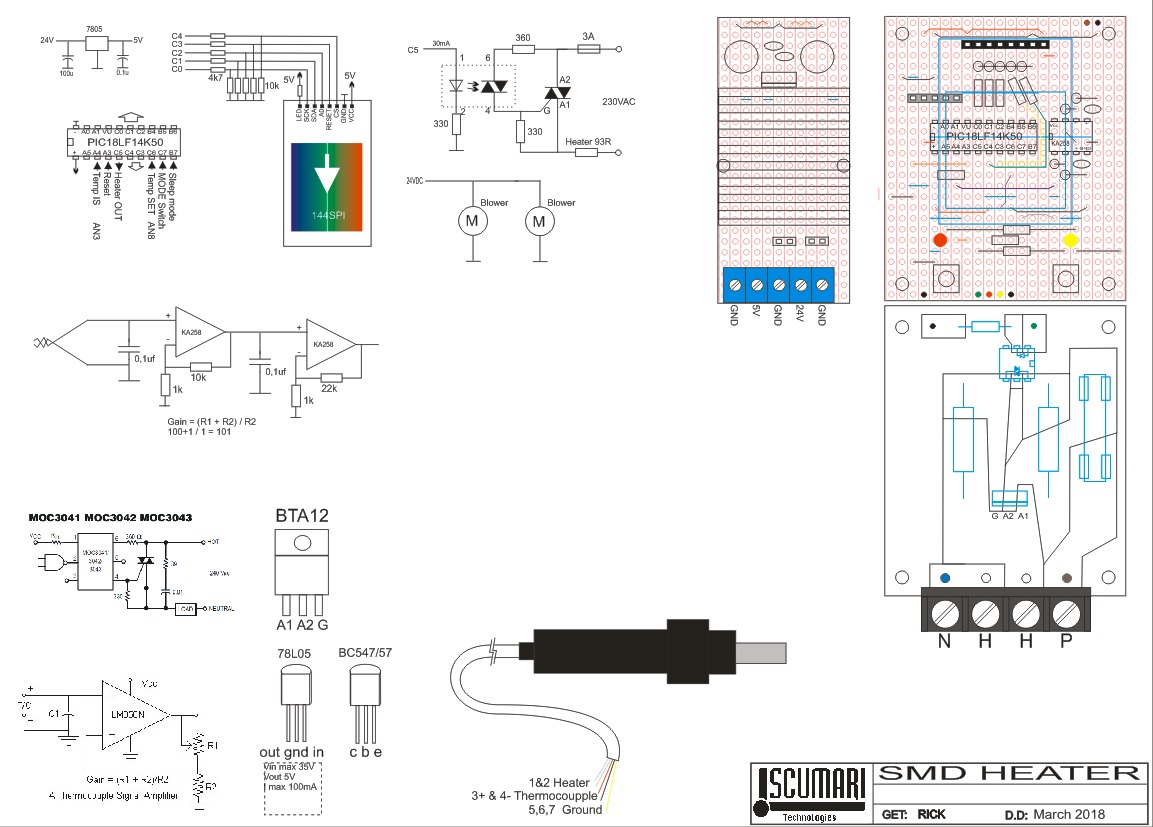
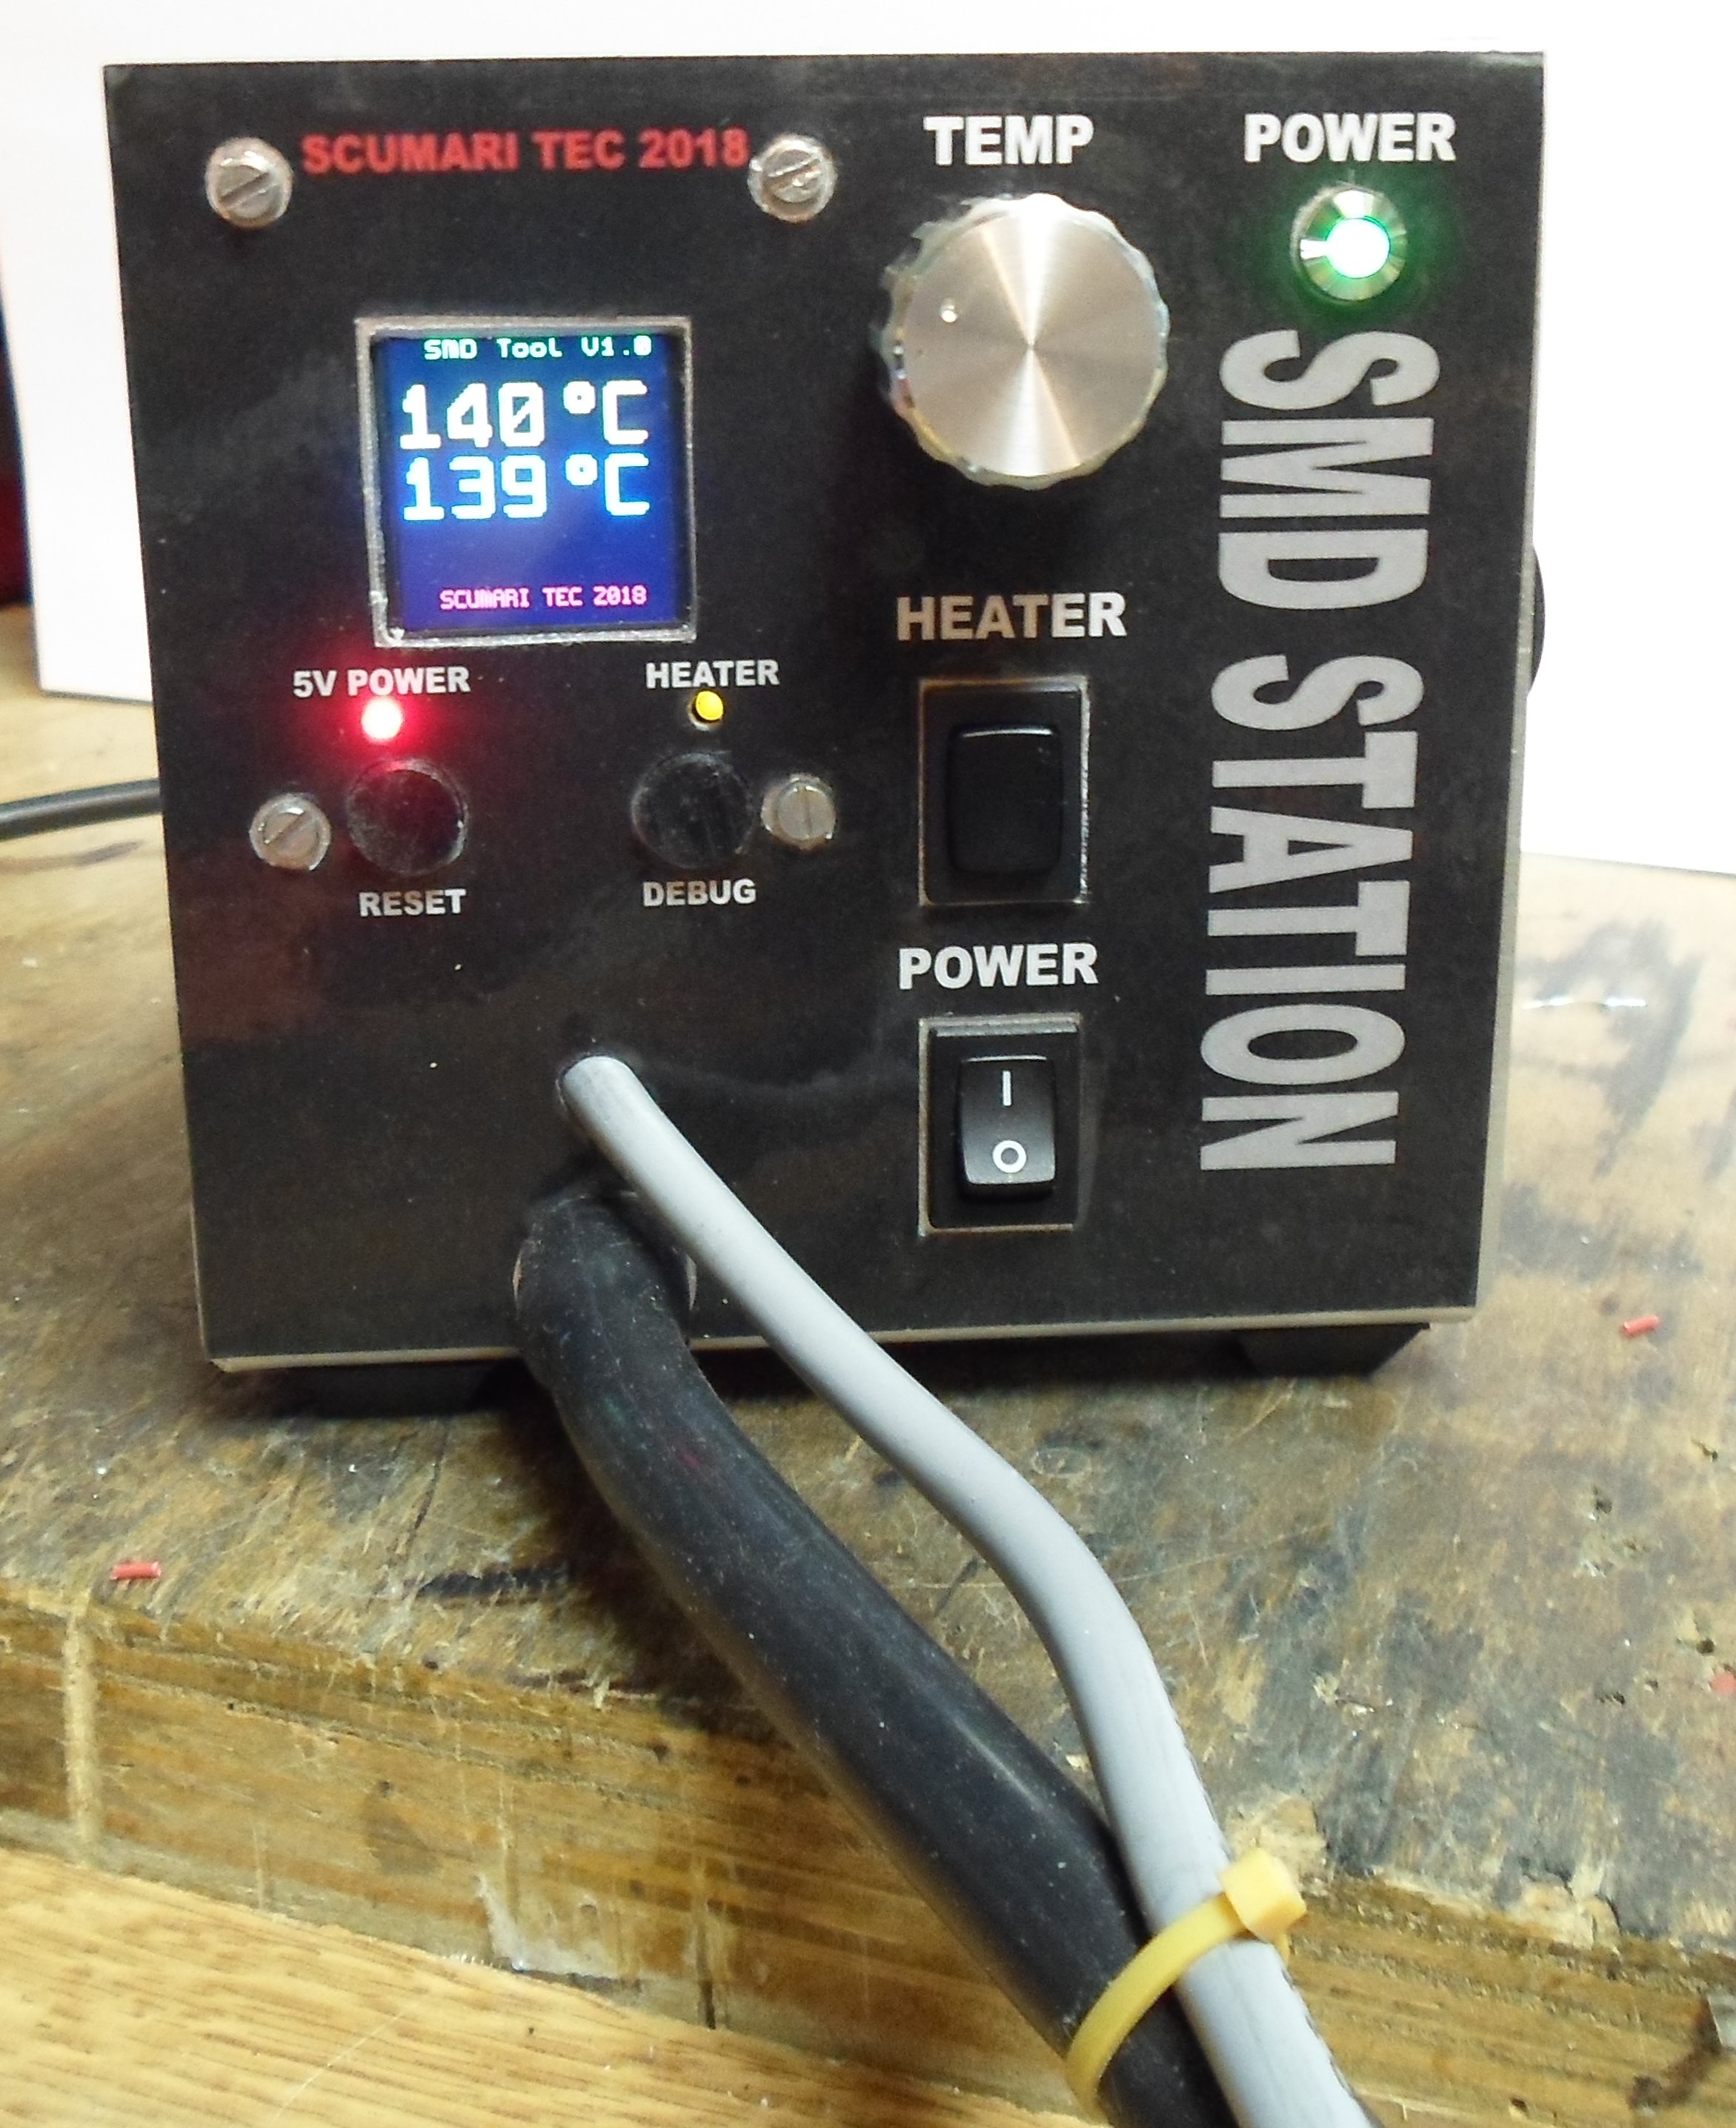
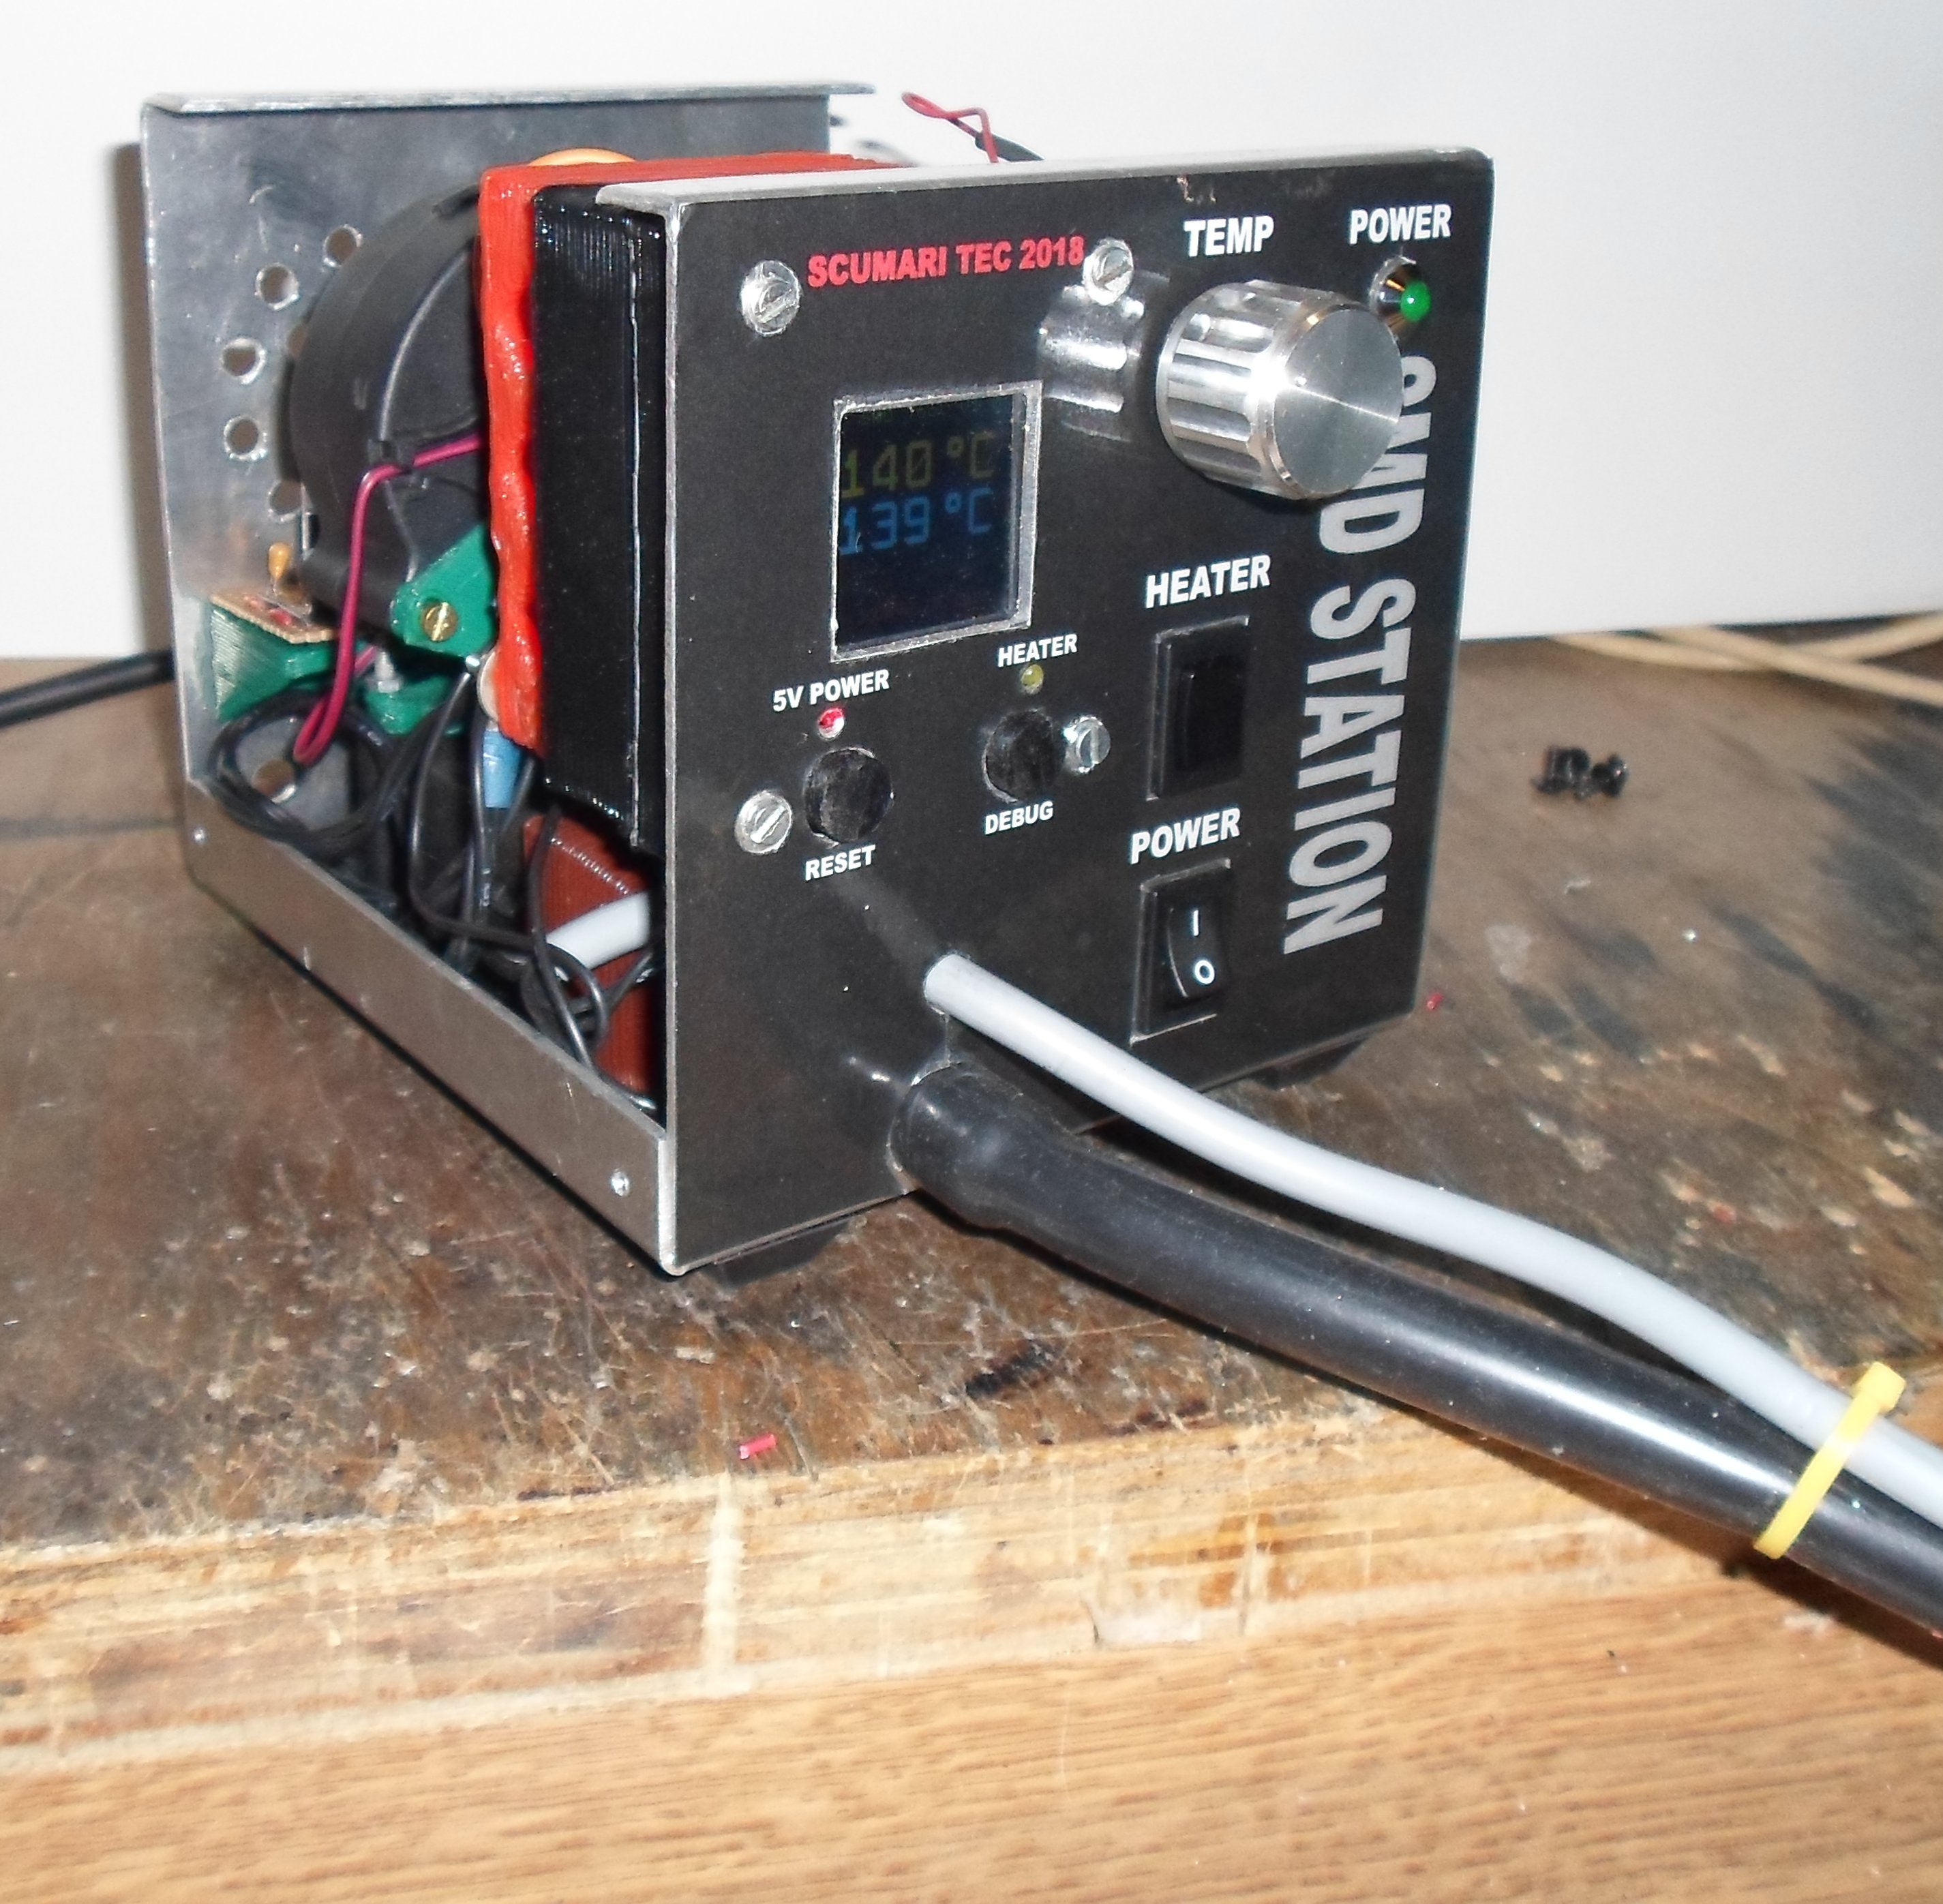
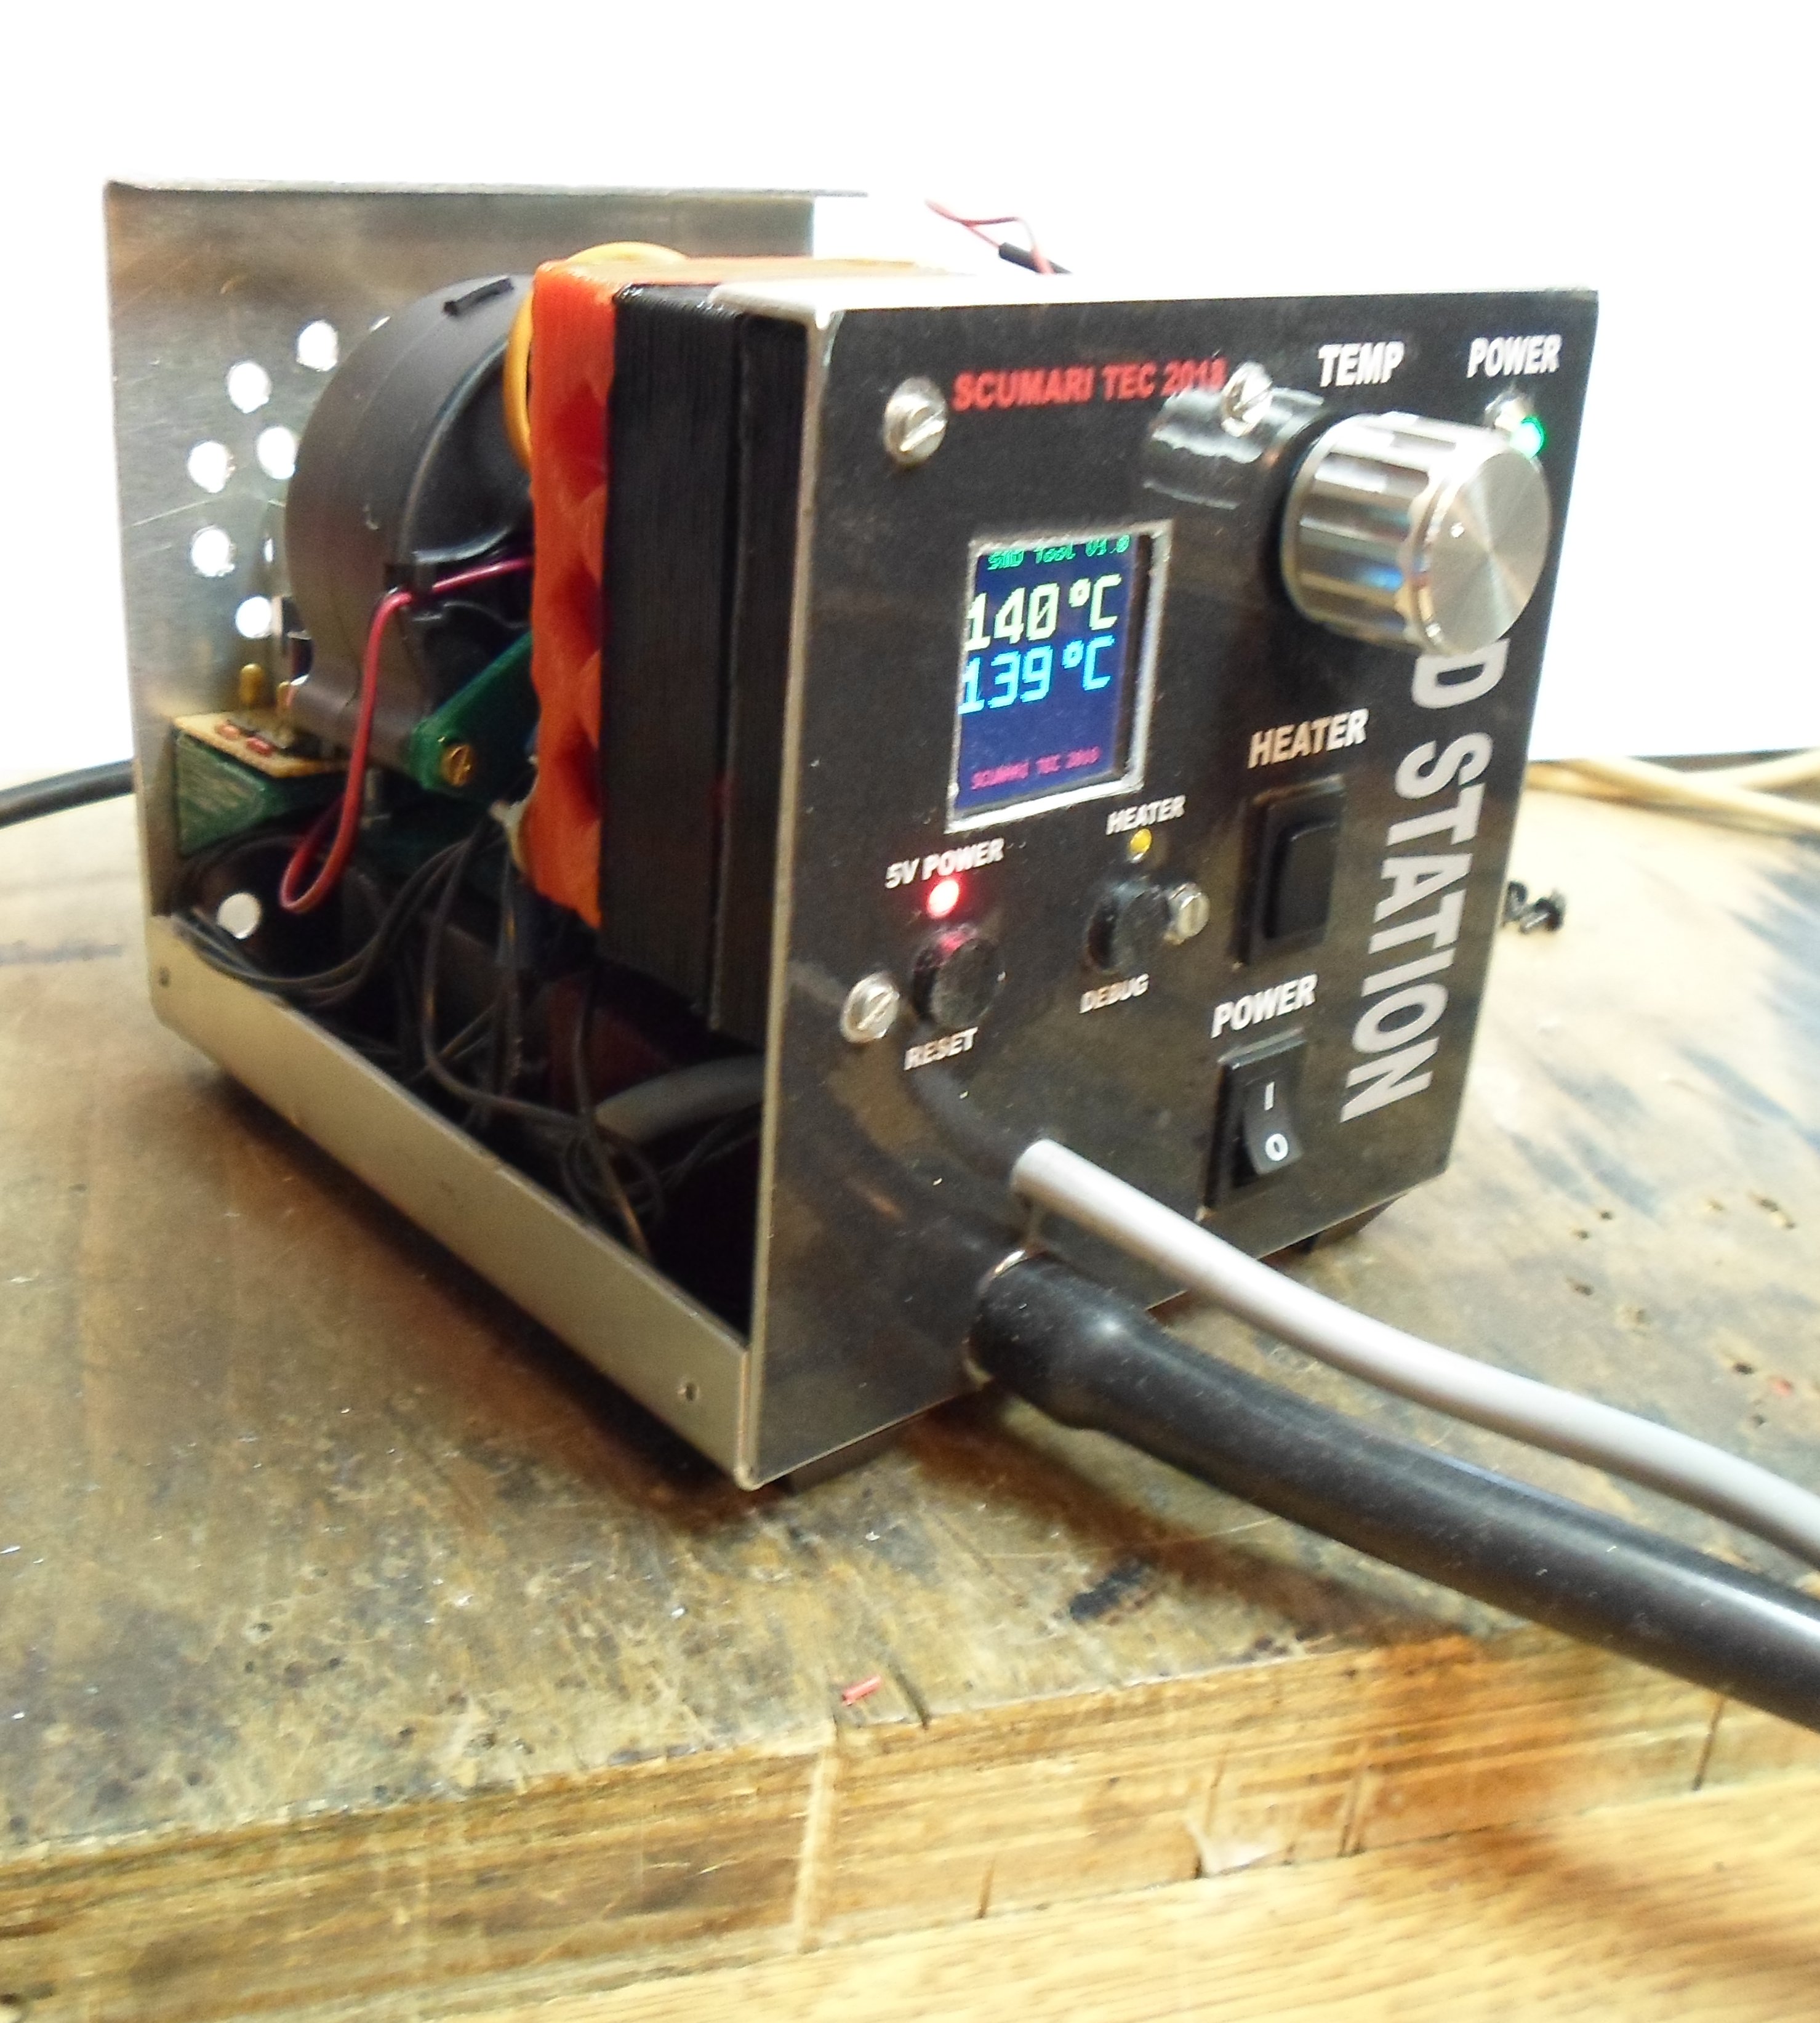
The idea was to control the temperature with a PIC micro controller. With a MOC3041 Opto couppler controlling a BTA12 Triac I can control the temperature very smoothly. A small SPI TFT display was used to make the temperatures visible.
The idea was to control the temperature with a PIC micro controller. With a MOC3041 Opto couppler controlling a BTA12 Triac I can control the temperature very smoothly. A small SPI TFT display was used to make the temperatures visible.
The black casing inside, holds the MCU and the display. The two LEDS and buttons are for firmware debugging. The red casing holds the 220V parts, MOC and BTA, and is carefully covert. 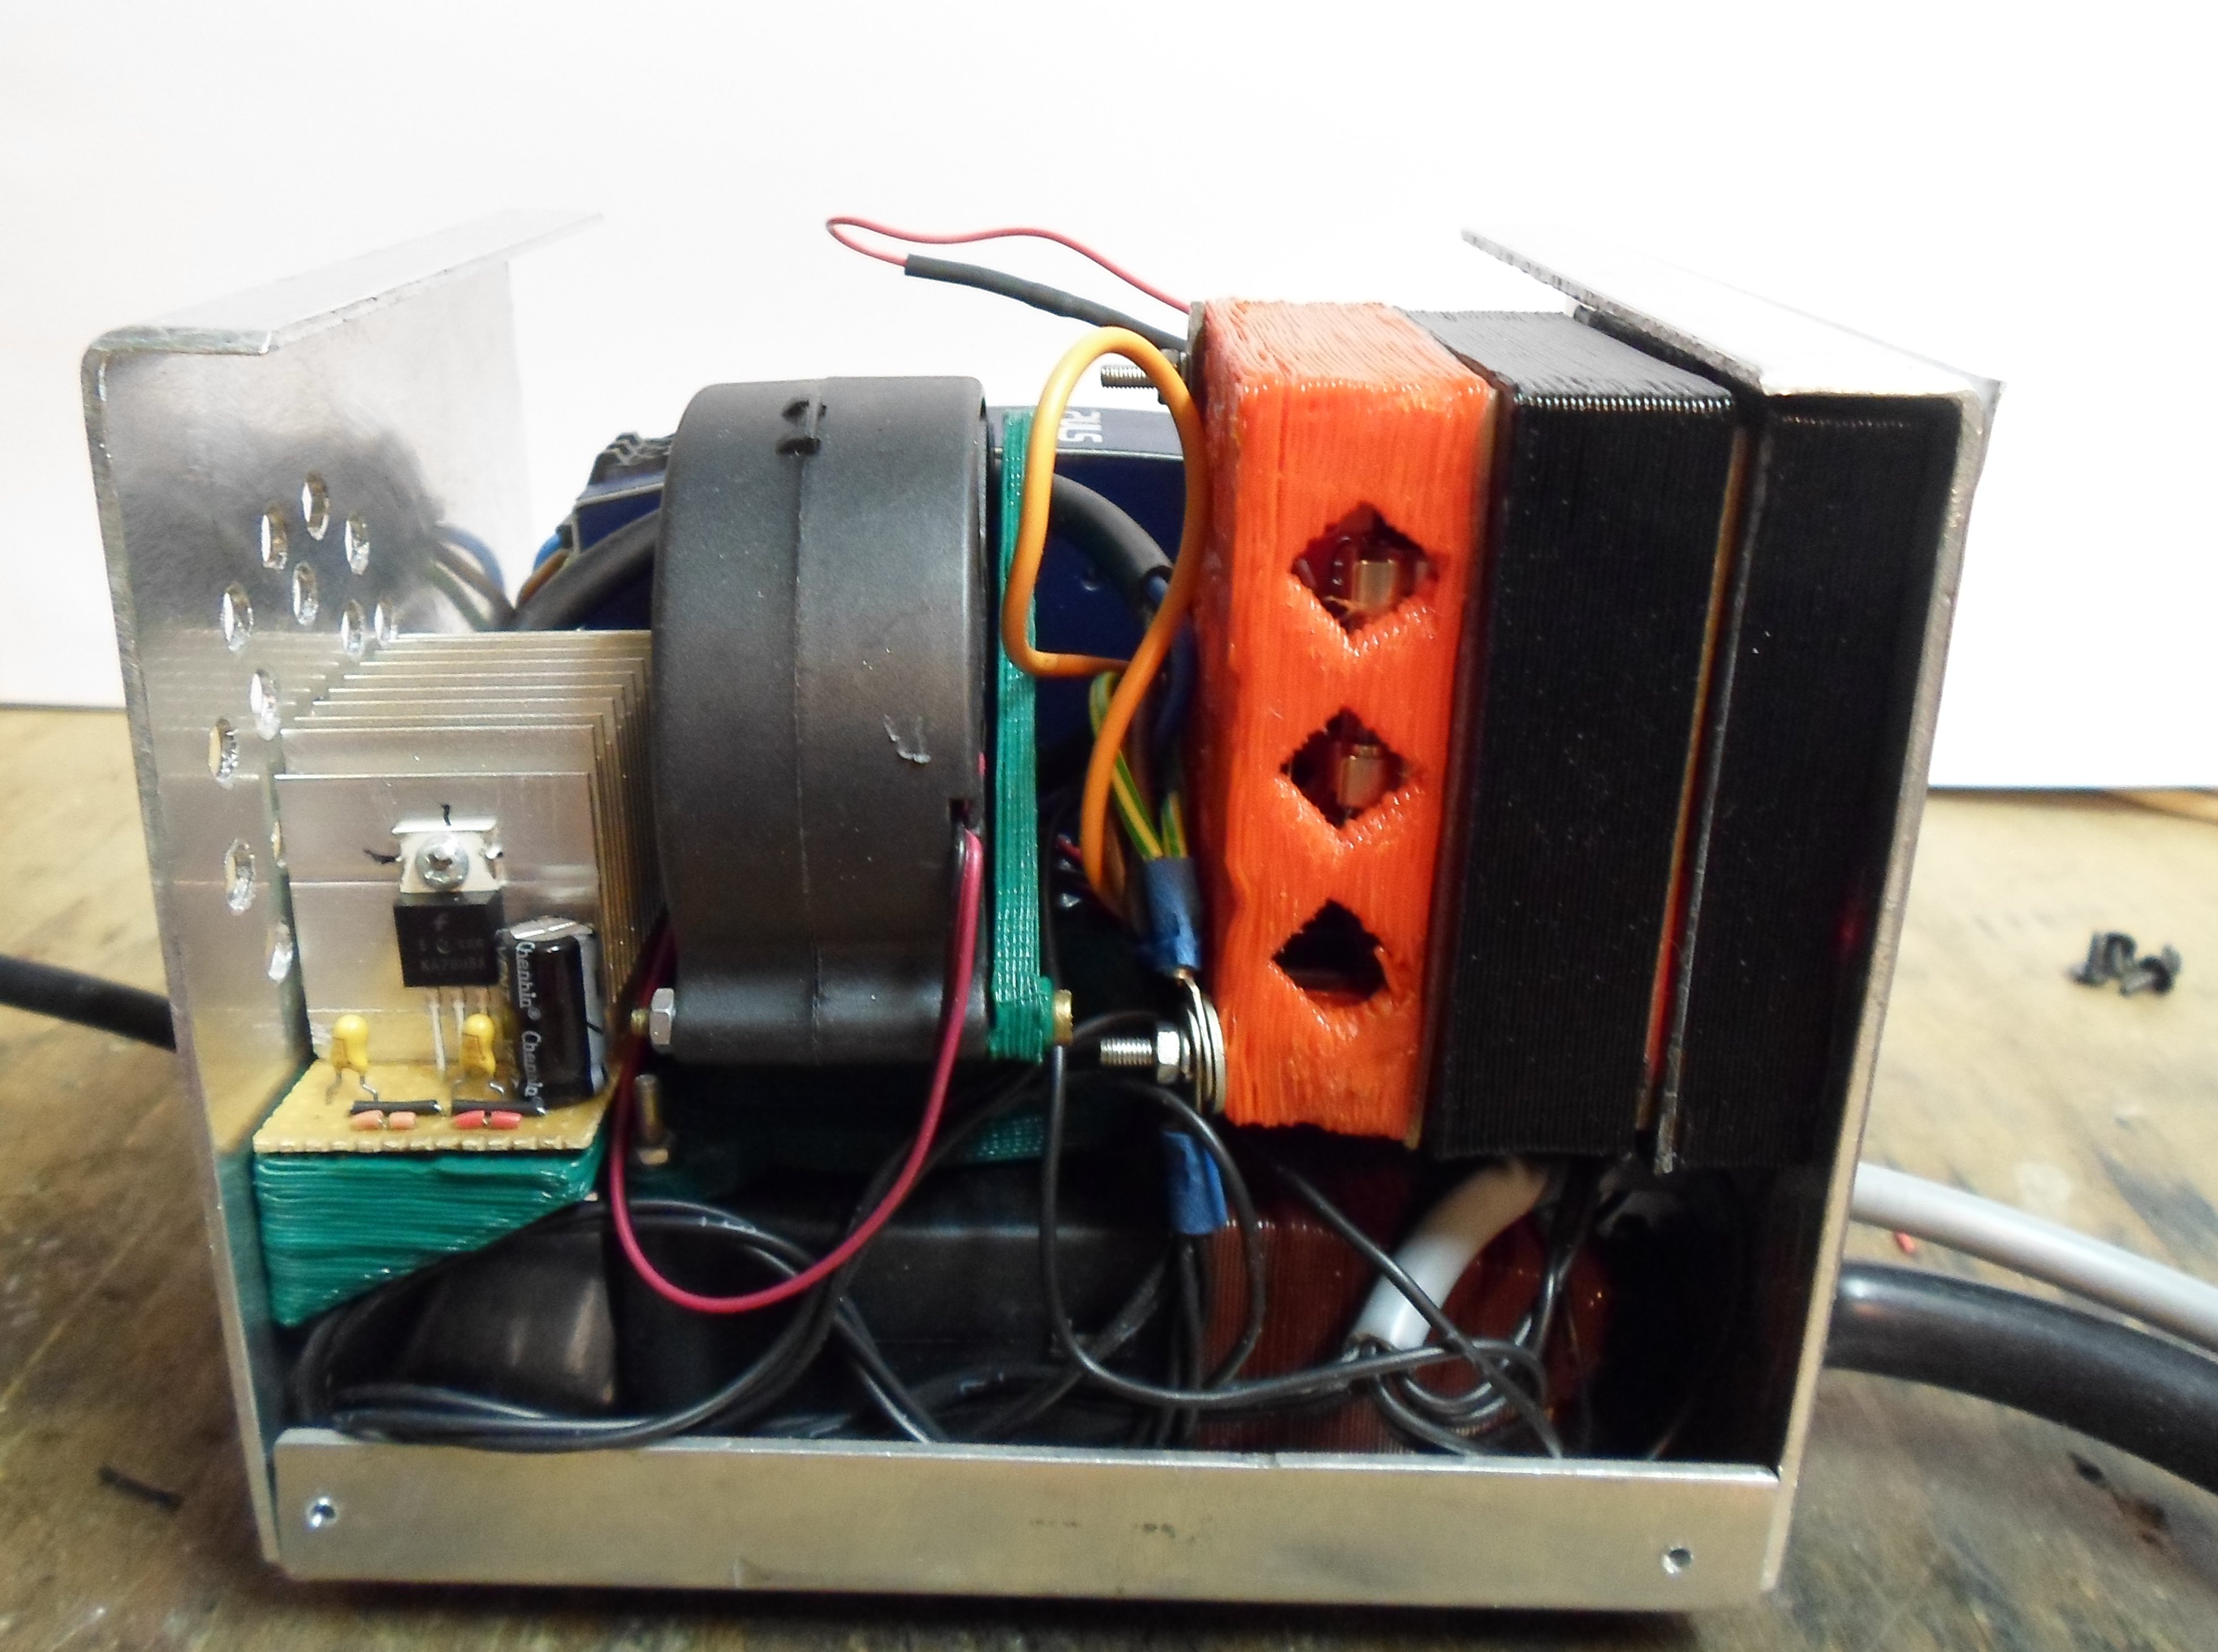 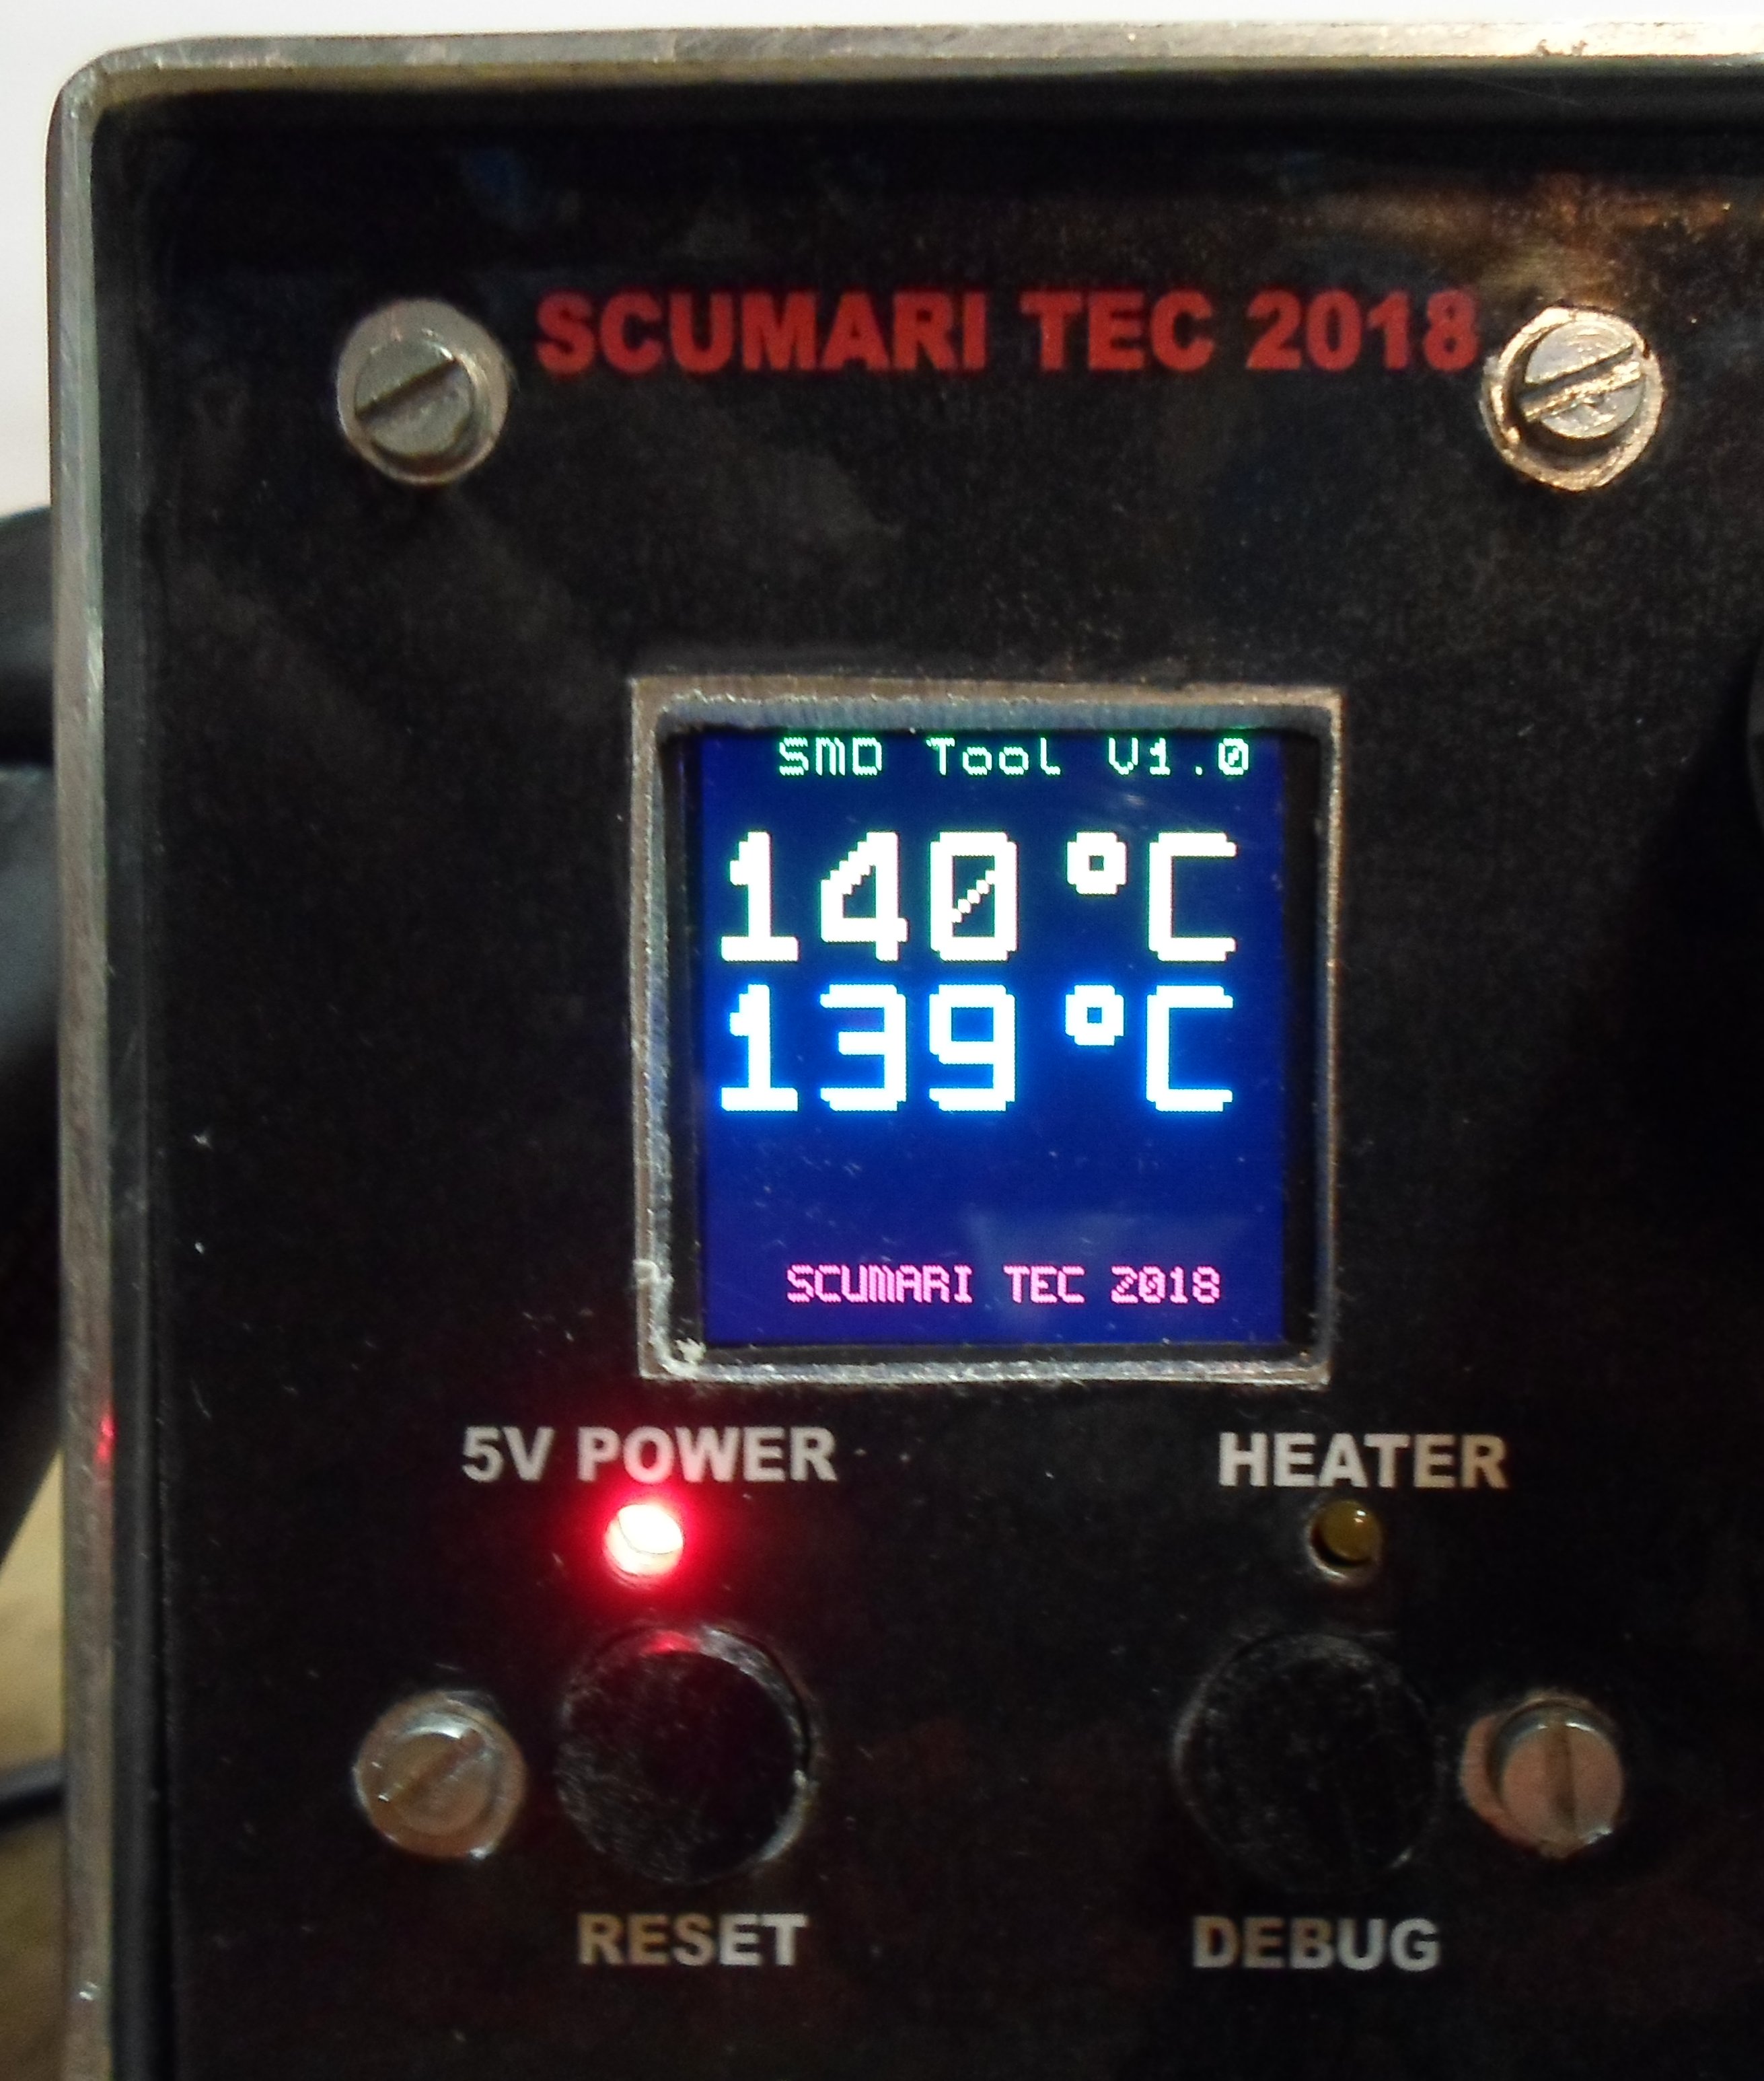
The temperature is set with a potentiometer in 5 degree steps. It works great !............. |