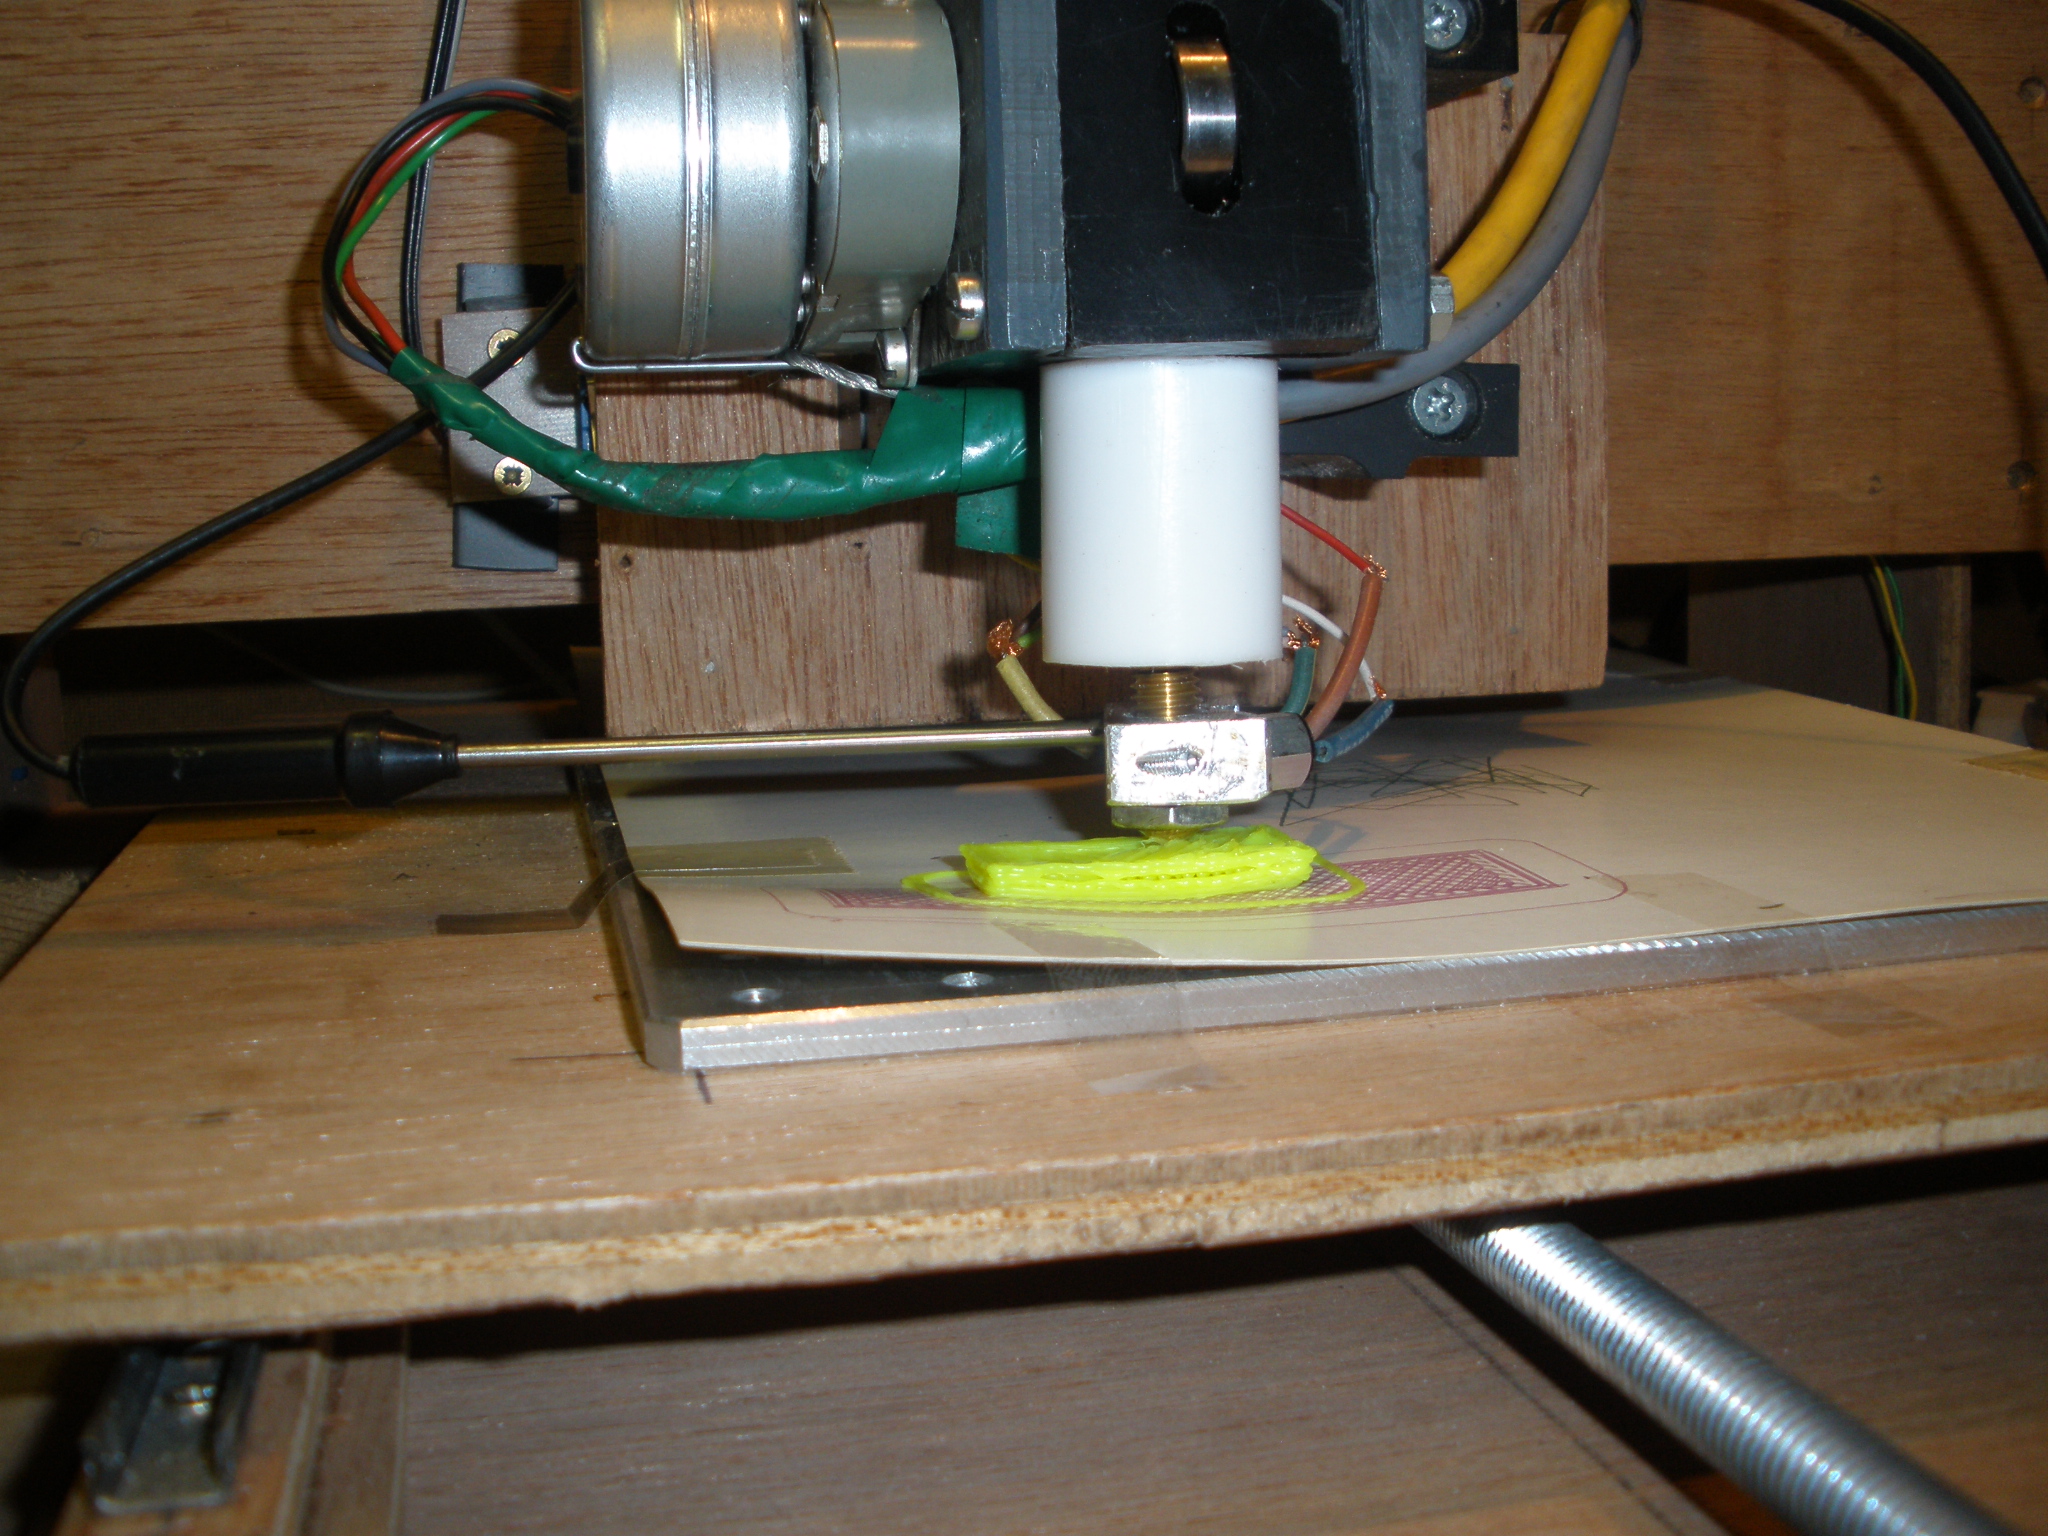

1 - Extruder build on CNC table
The first thing to do was to create a working extruder.
The principal is quite simple. Plastic is pushed throug a heated nozzle.
The heater I use is a small aluminium block with a 4Ohm / 4W resistor glued in with kit.
Because the CNC table is MCU controlled, I had to add routines in the firmware, to work with GCODE.
2 - Building 3DDIE
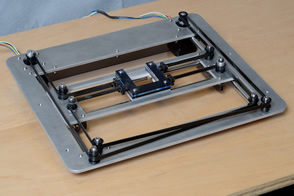
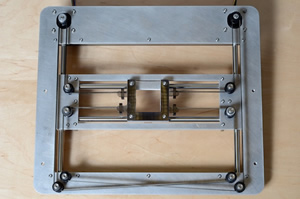
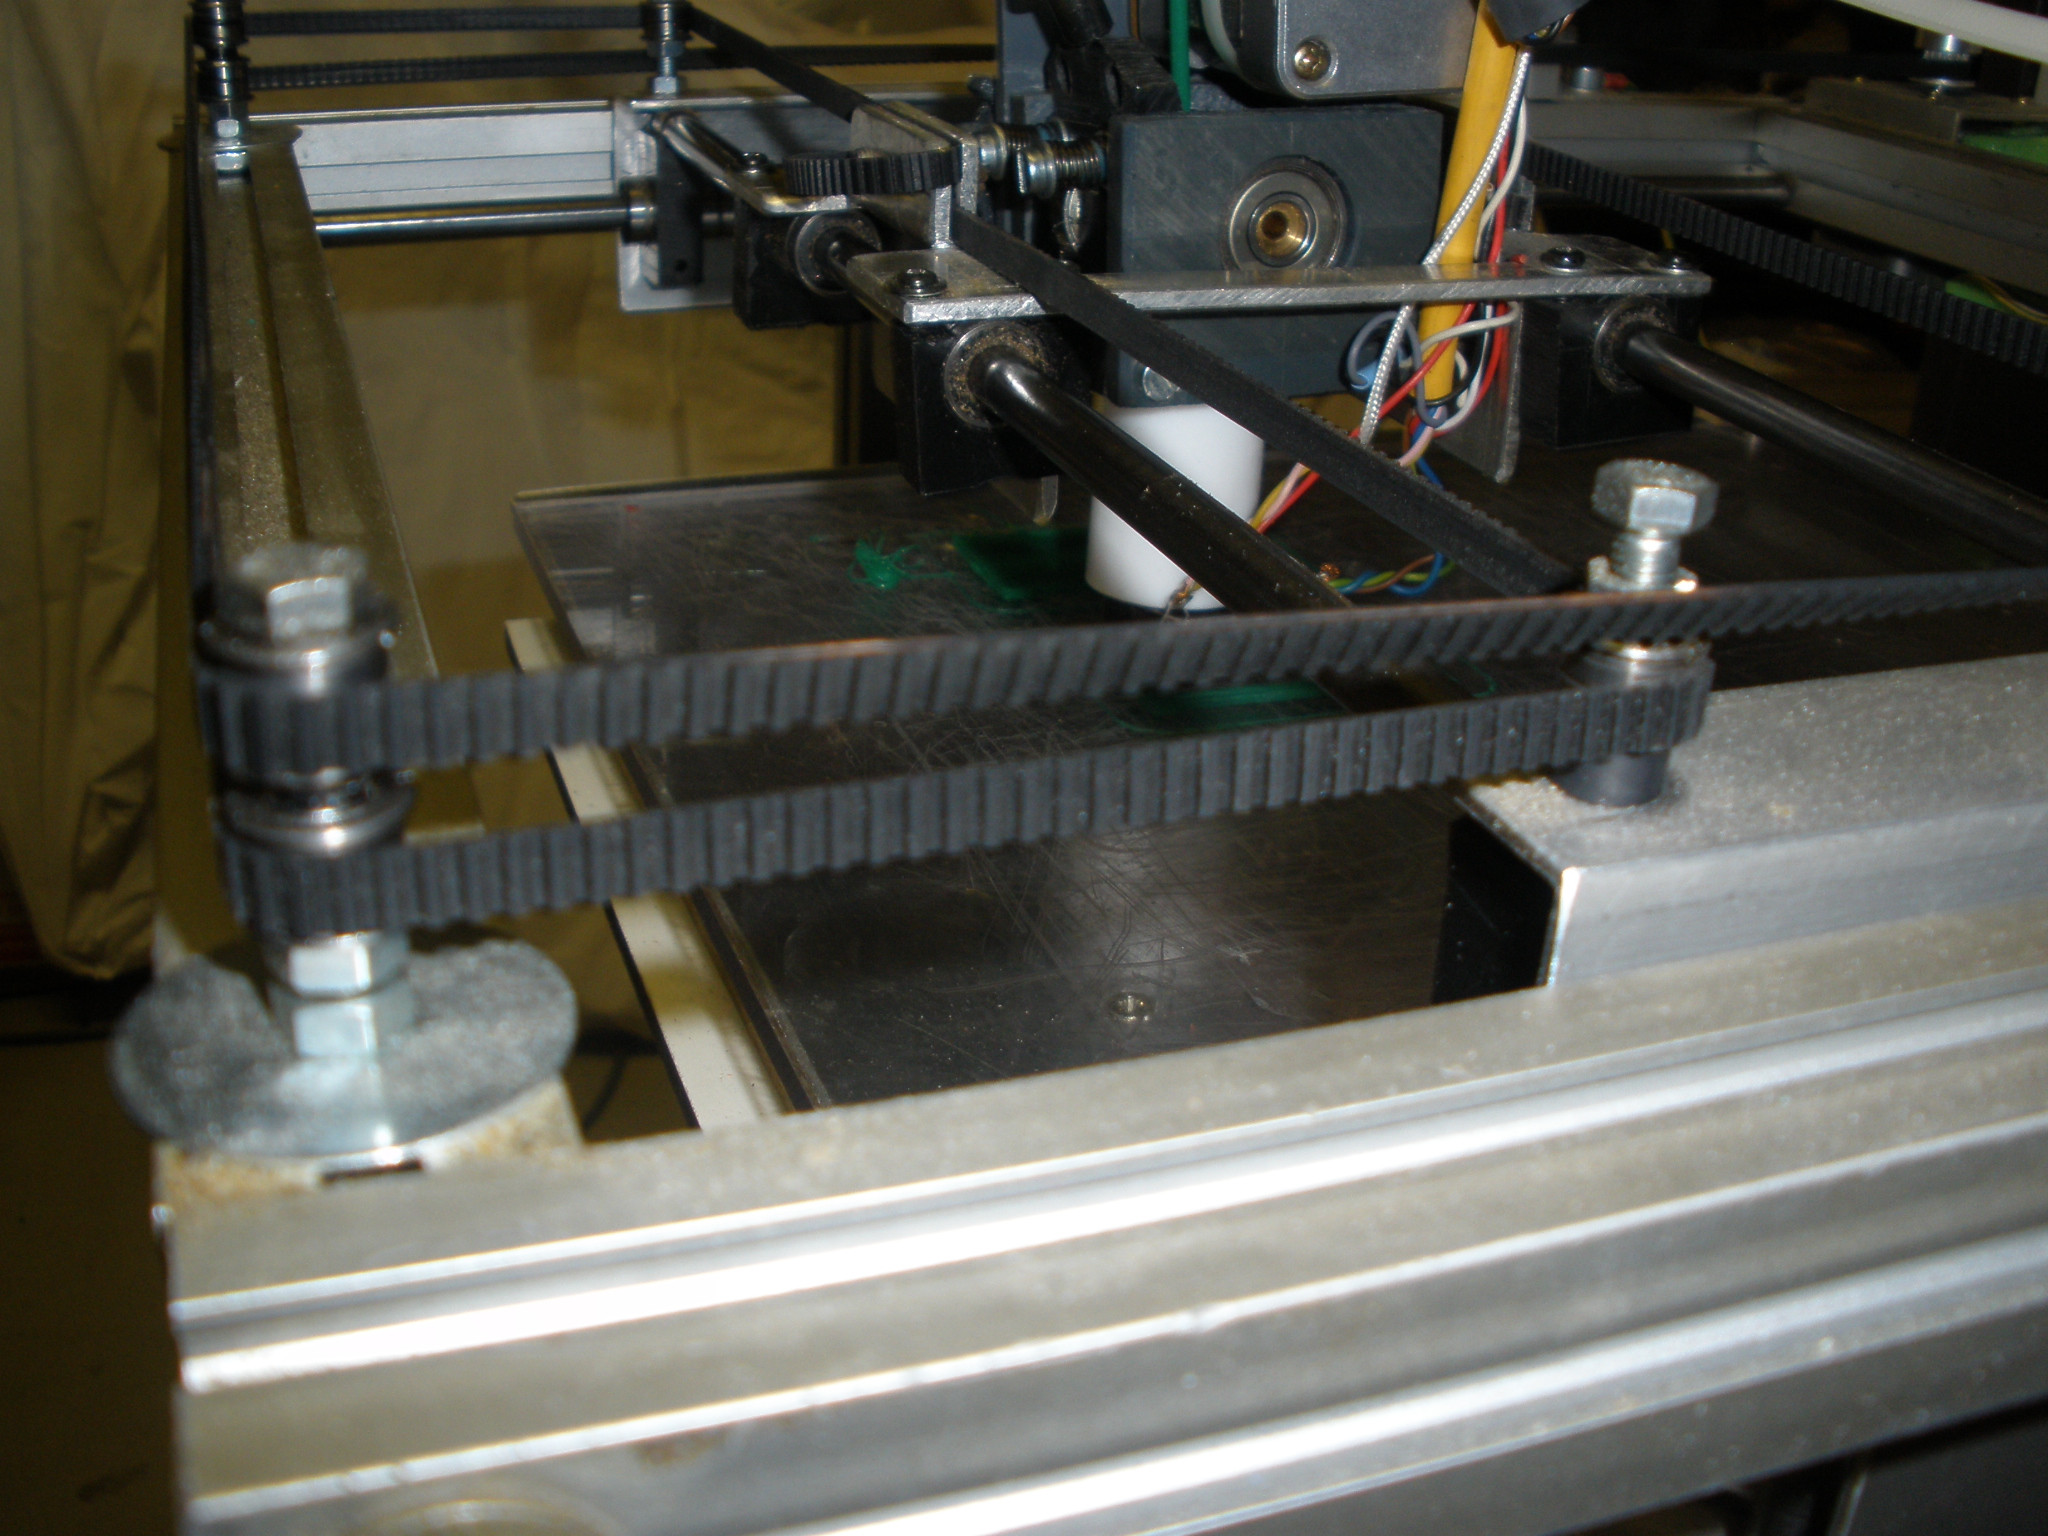
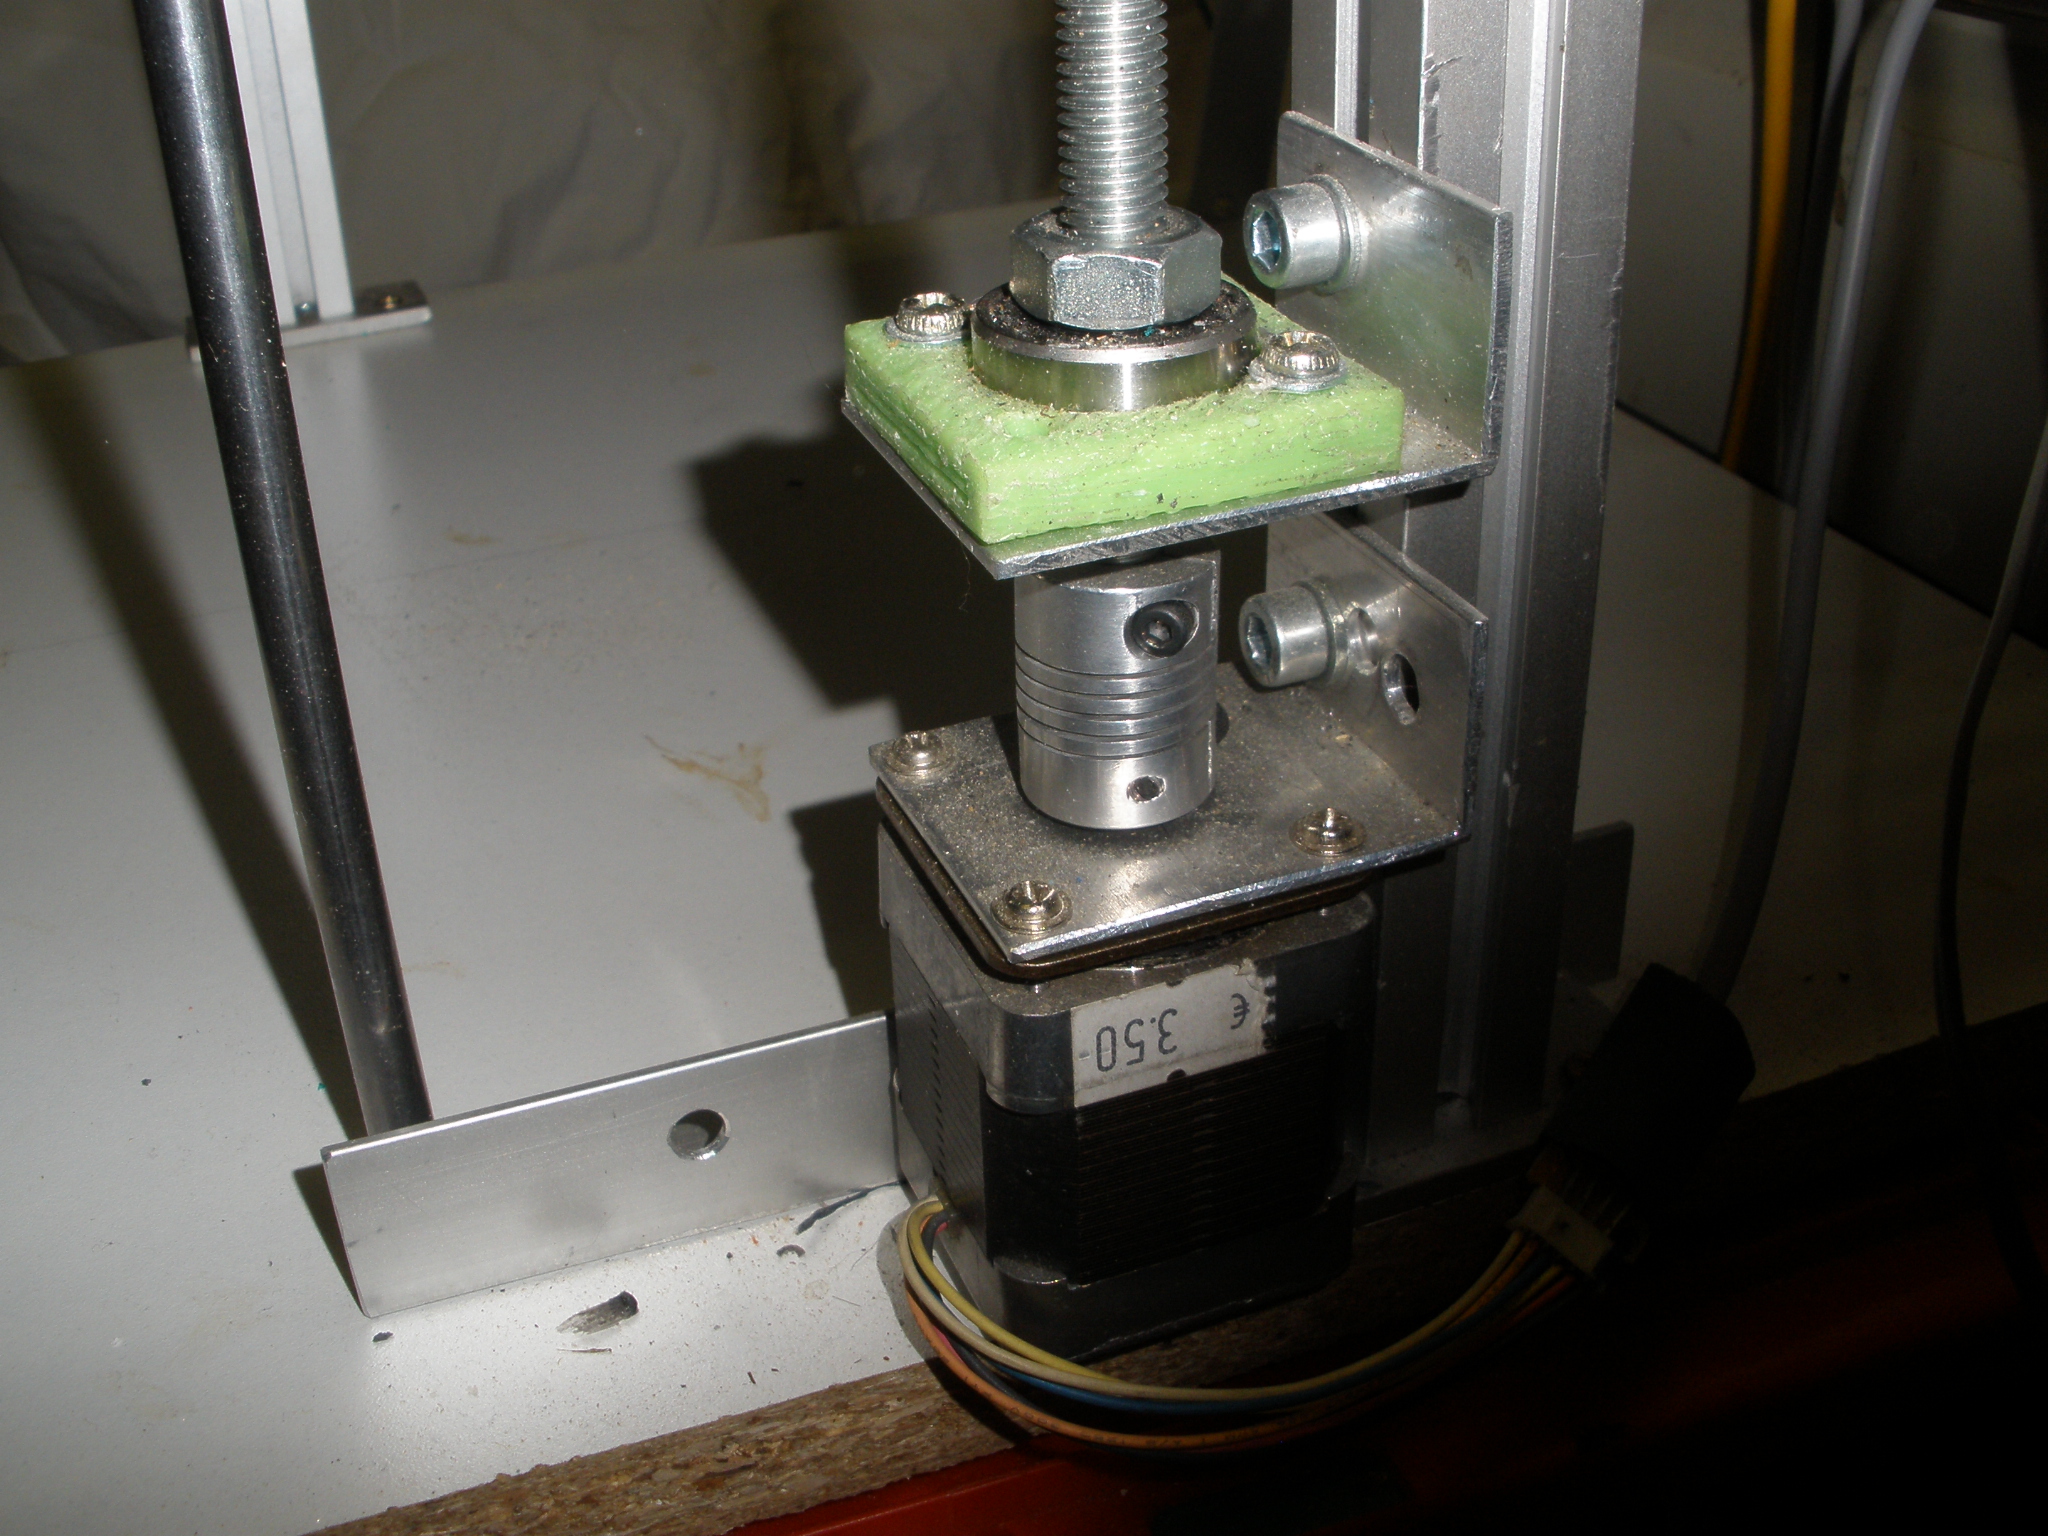
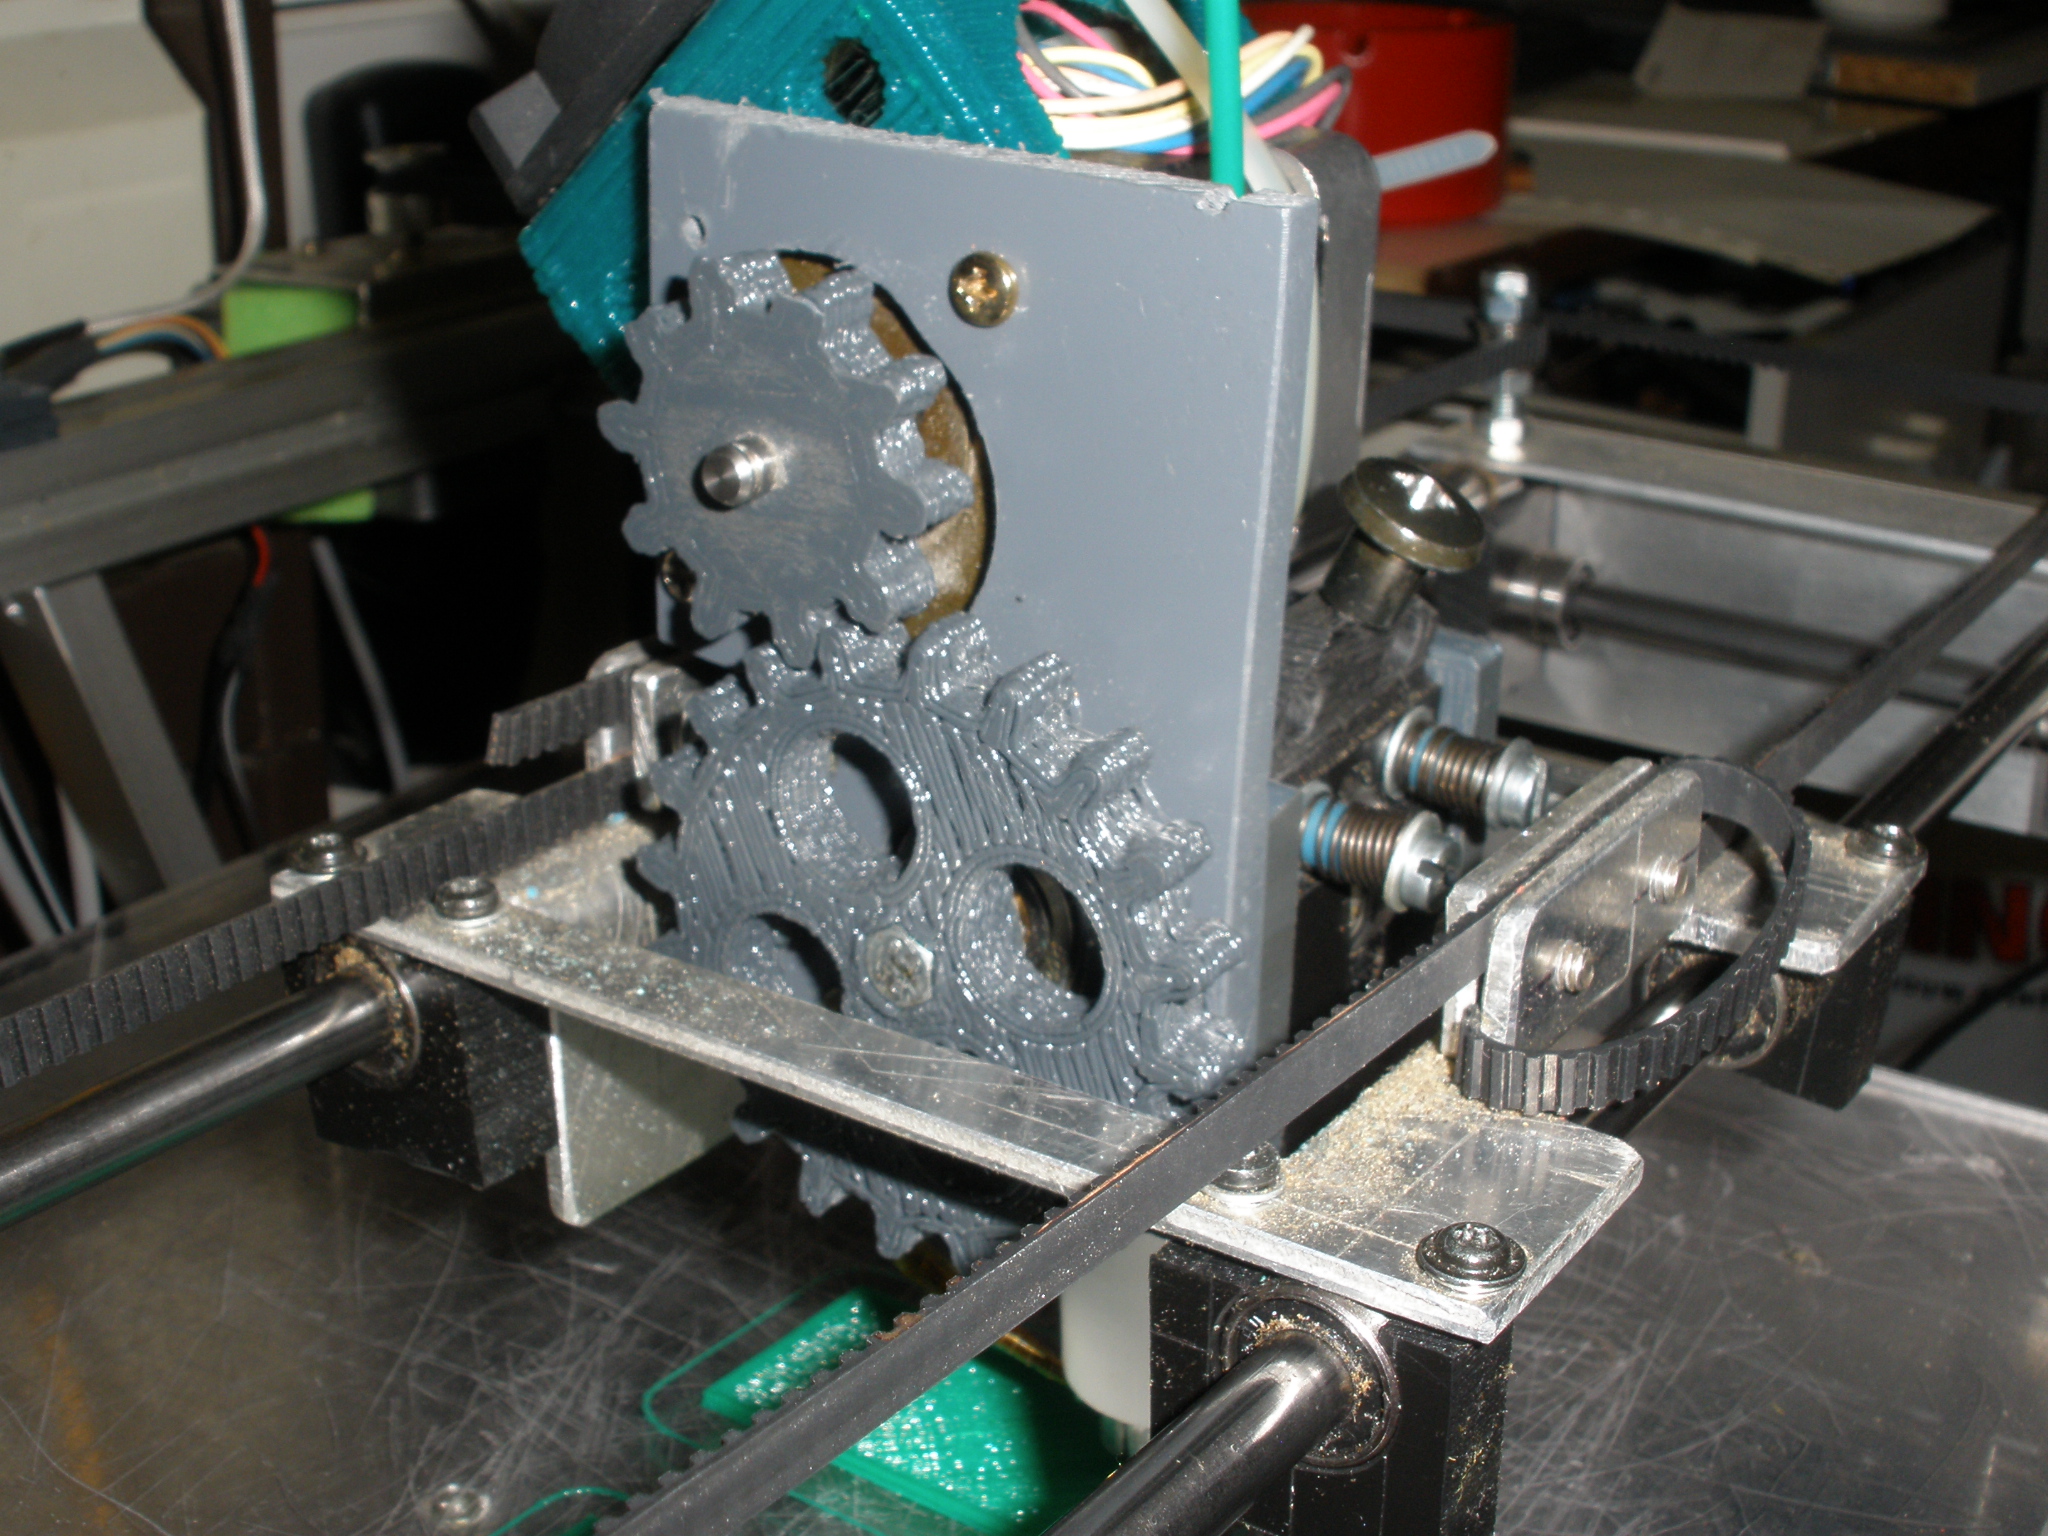
- A - Motor principle and frame
The problem was the weight of the steppers. I would not want them to be included in one of the axis, so........
On the internet I found a picture of a CoreXY Motion Platform. With this design it is possible to keep the motors static.
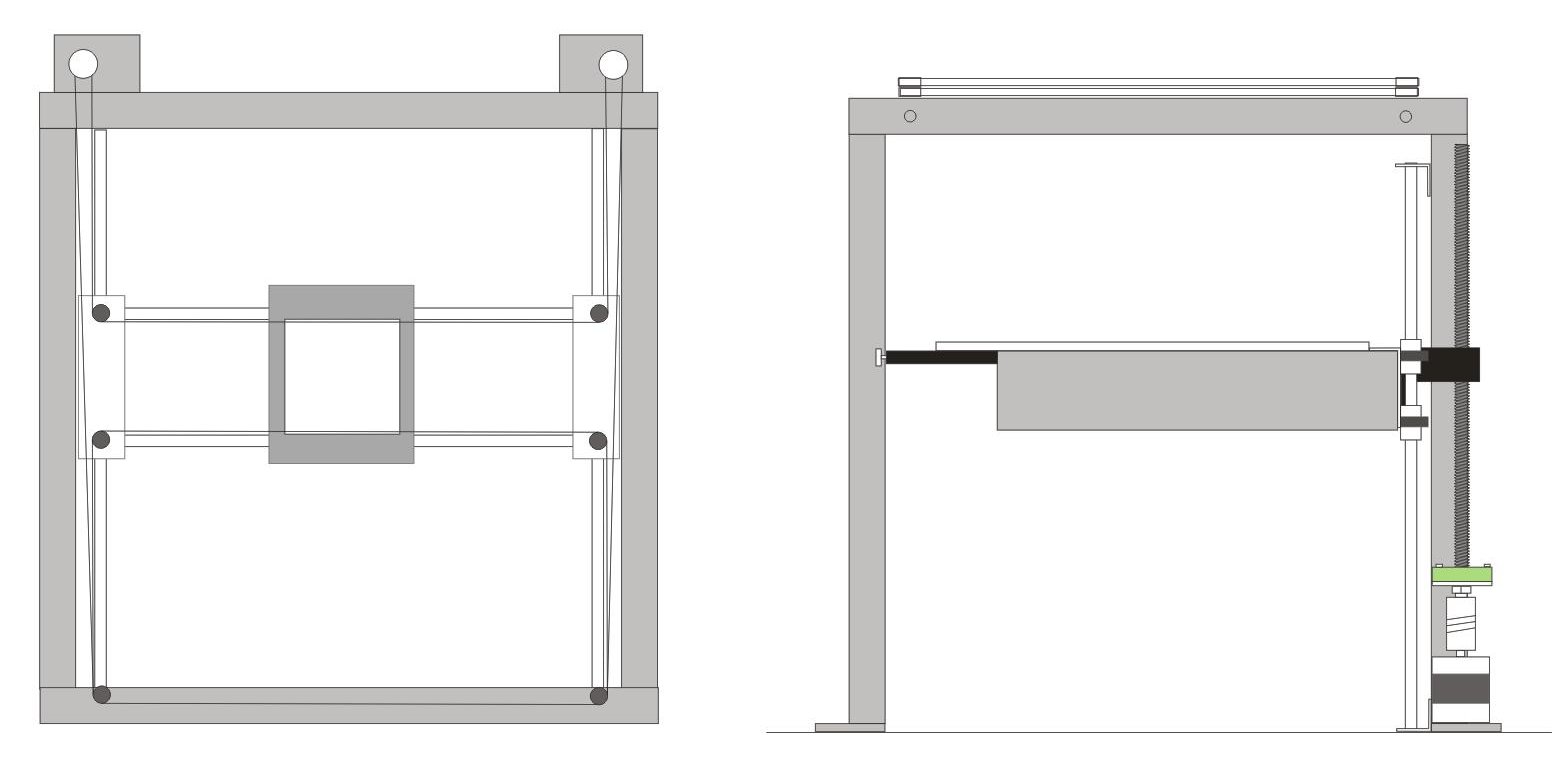
Less weight on the extruder can give higher speed, right?
Gathering second hand aluminium profiles made it possible to create a frame.
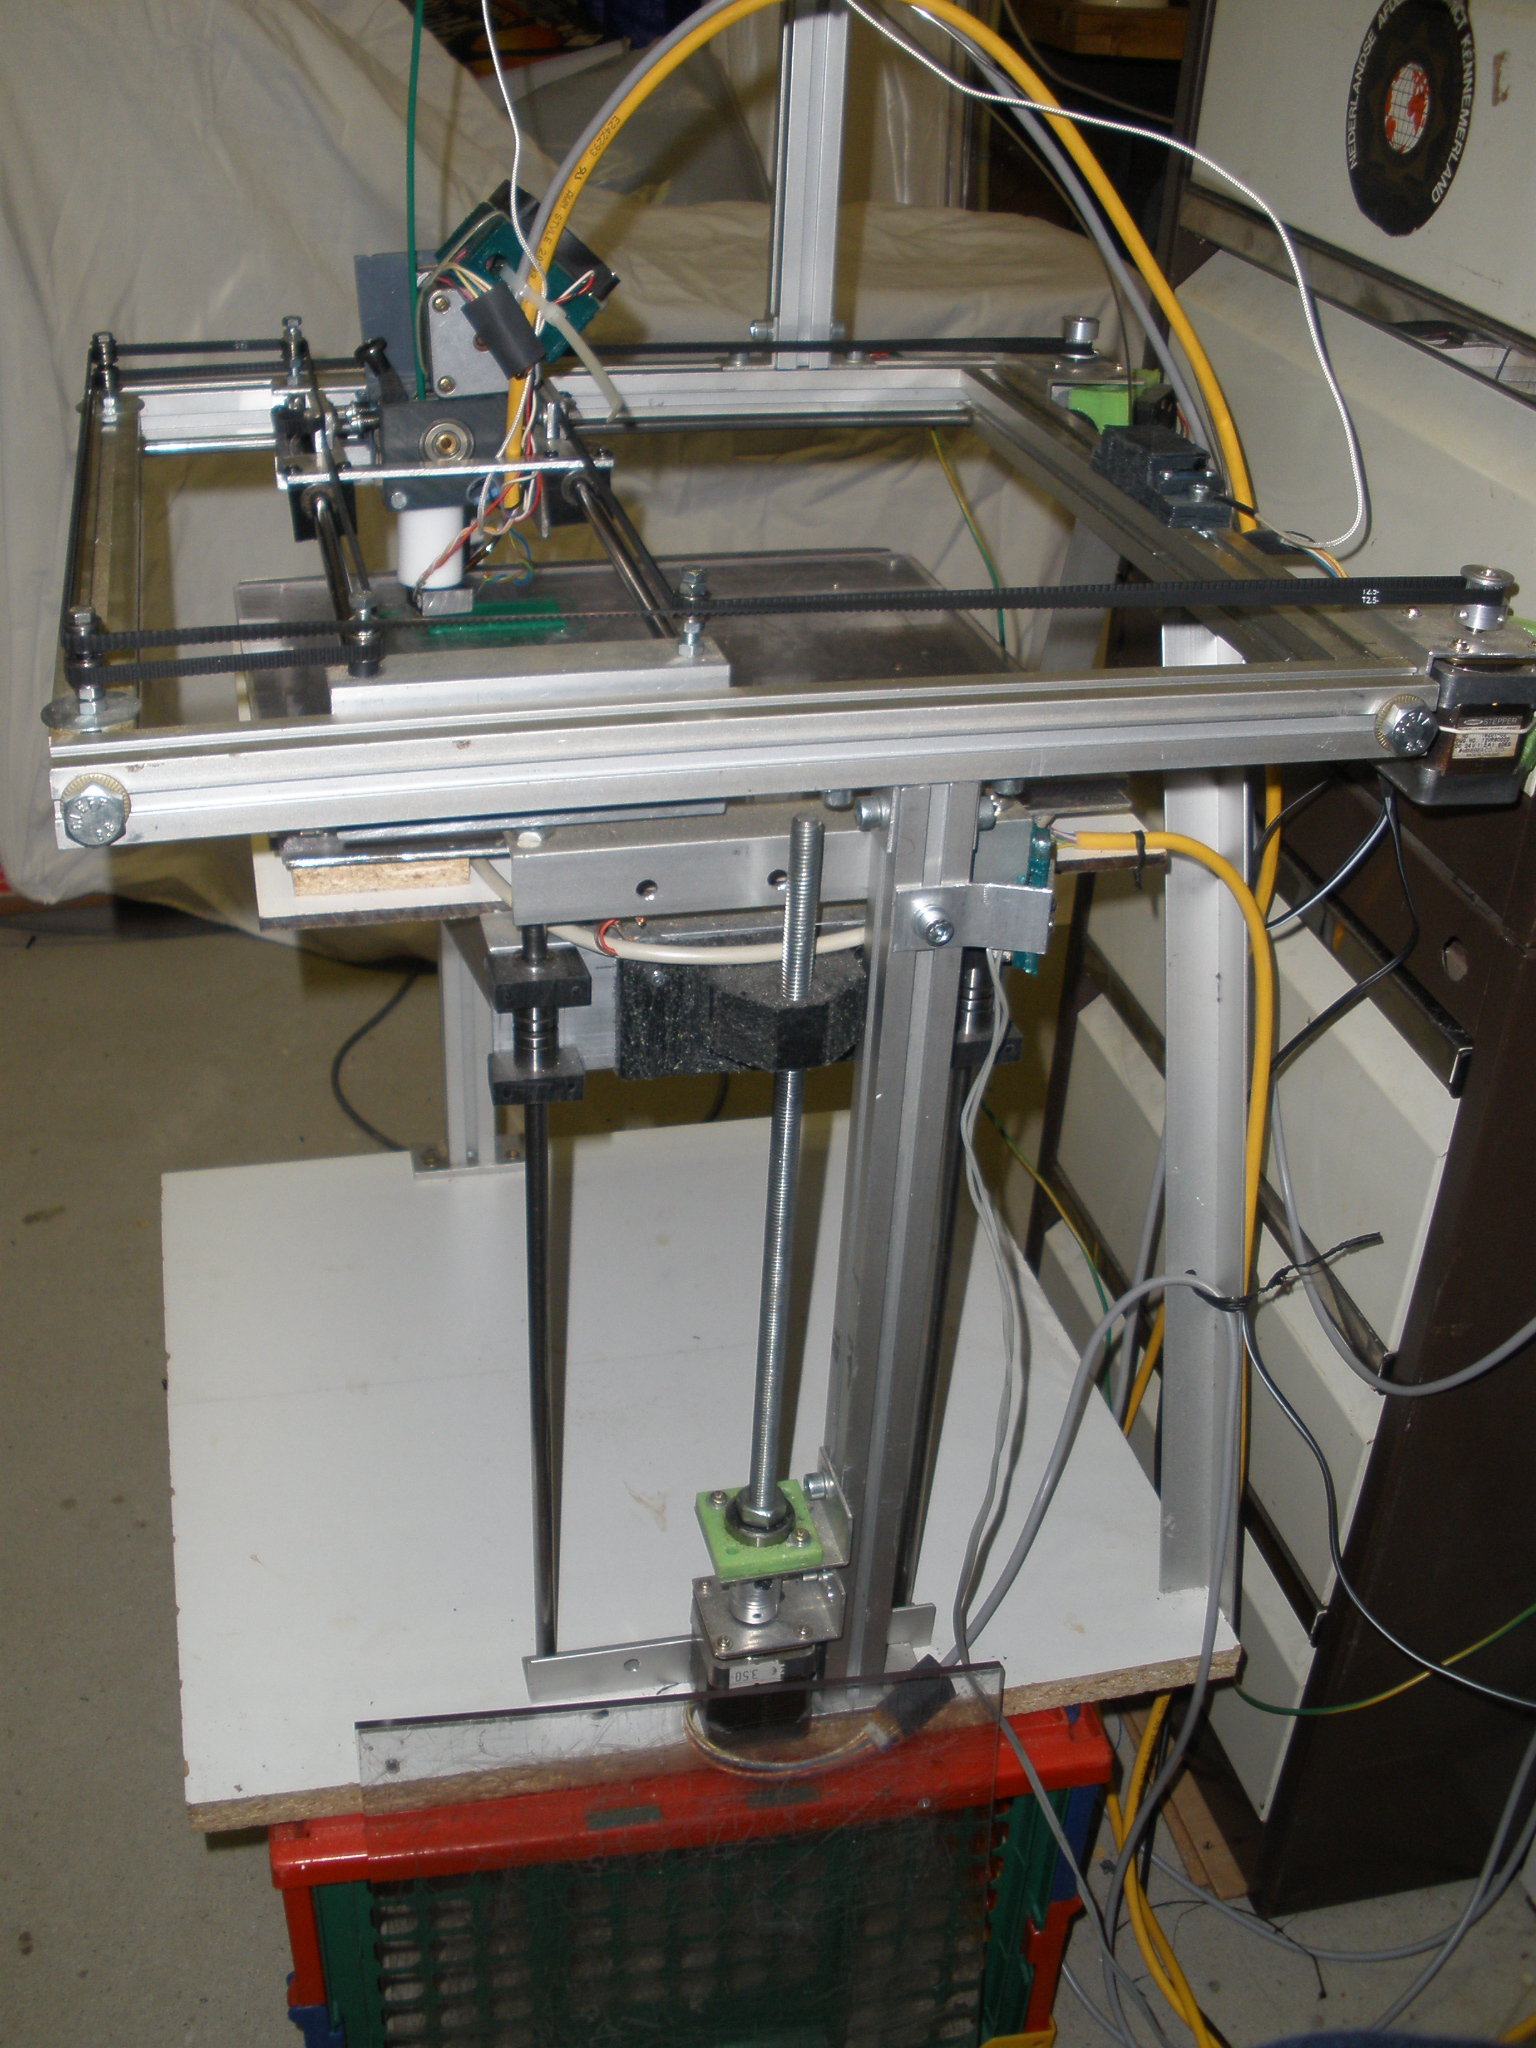
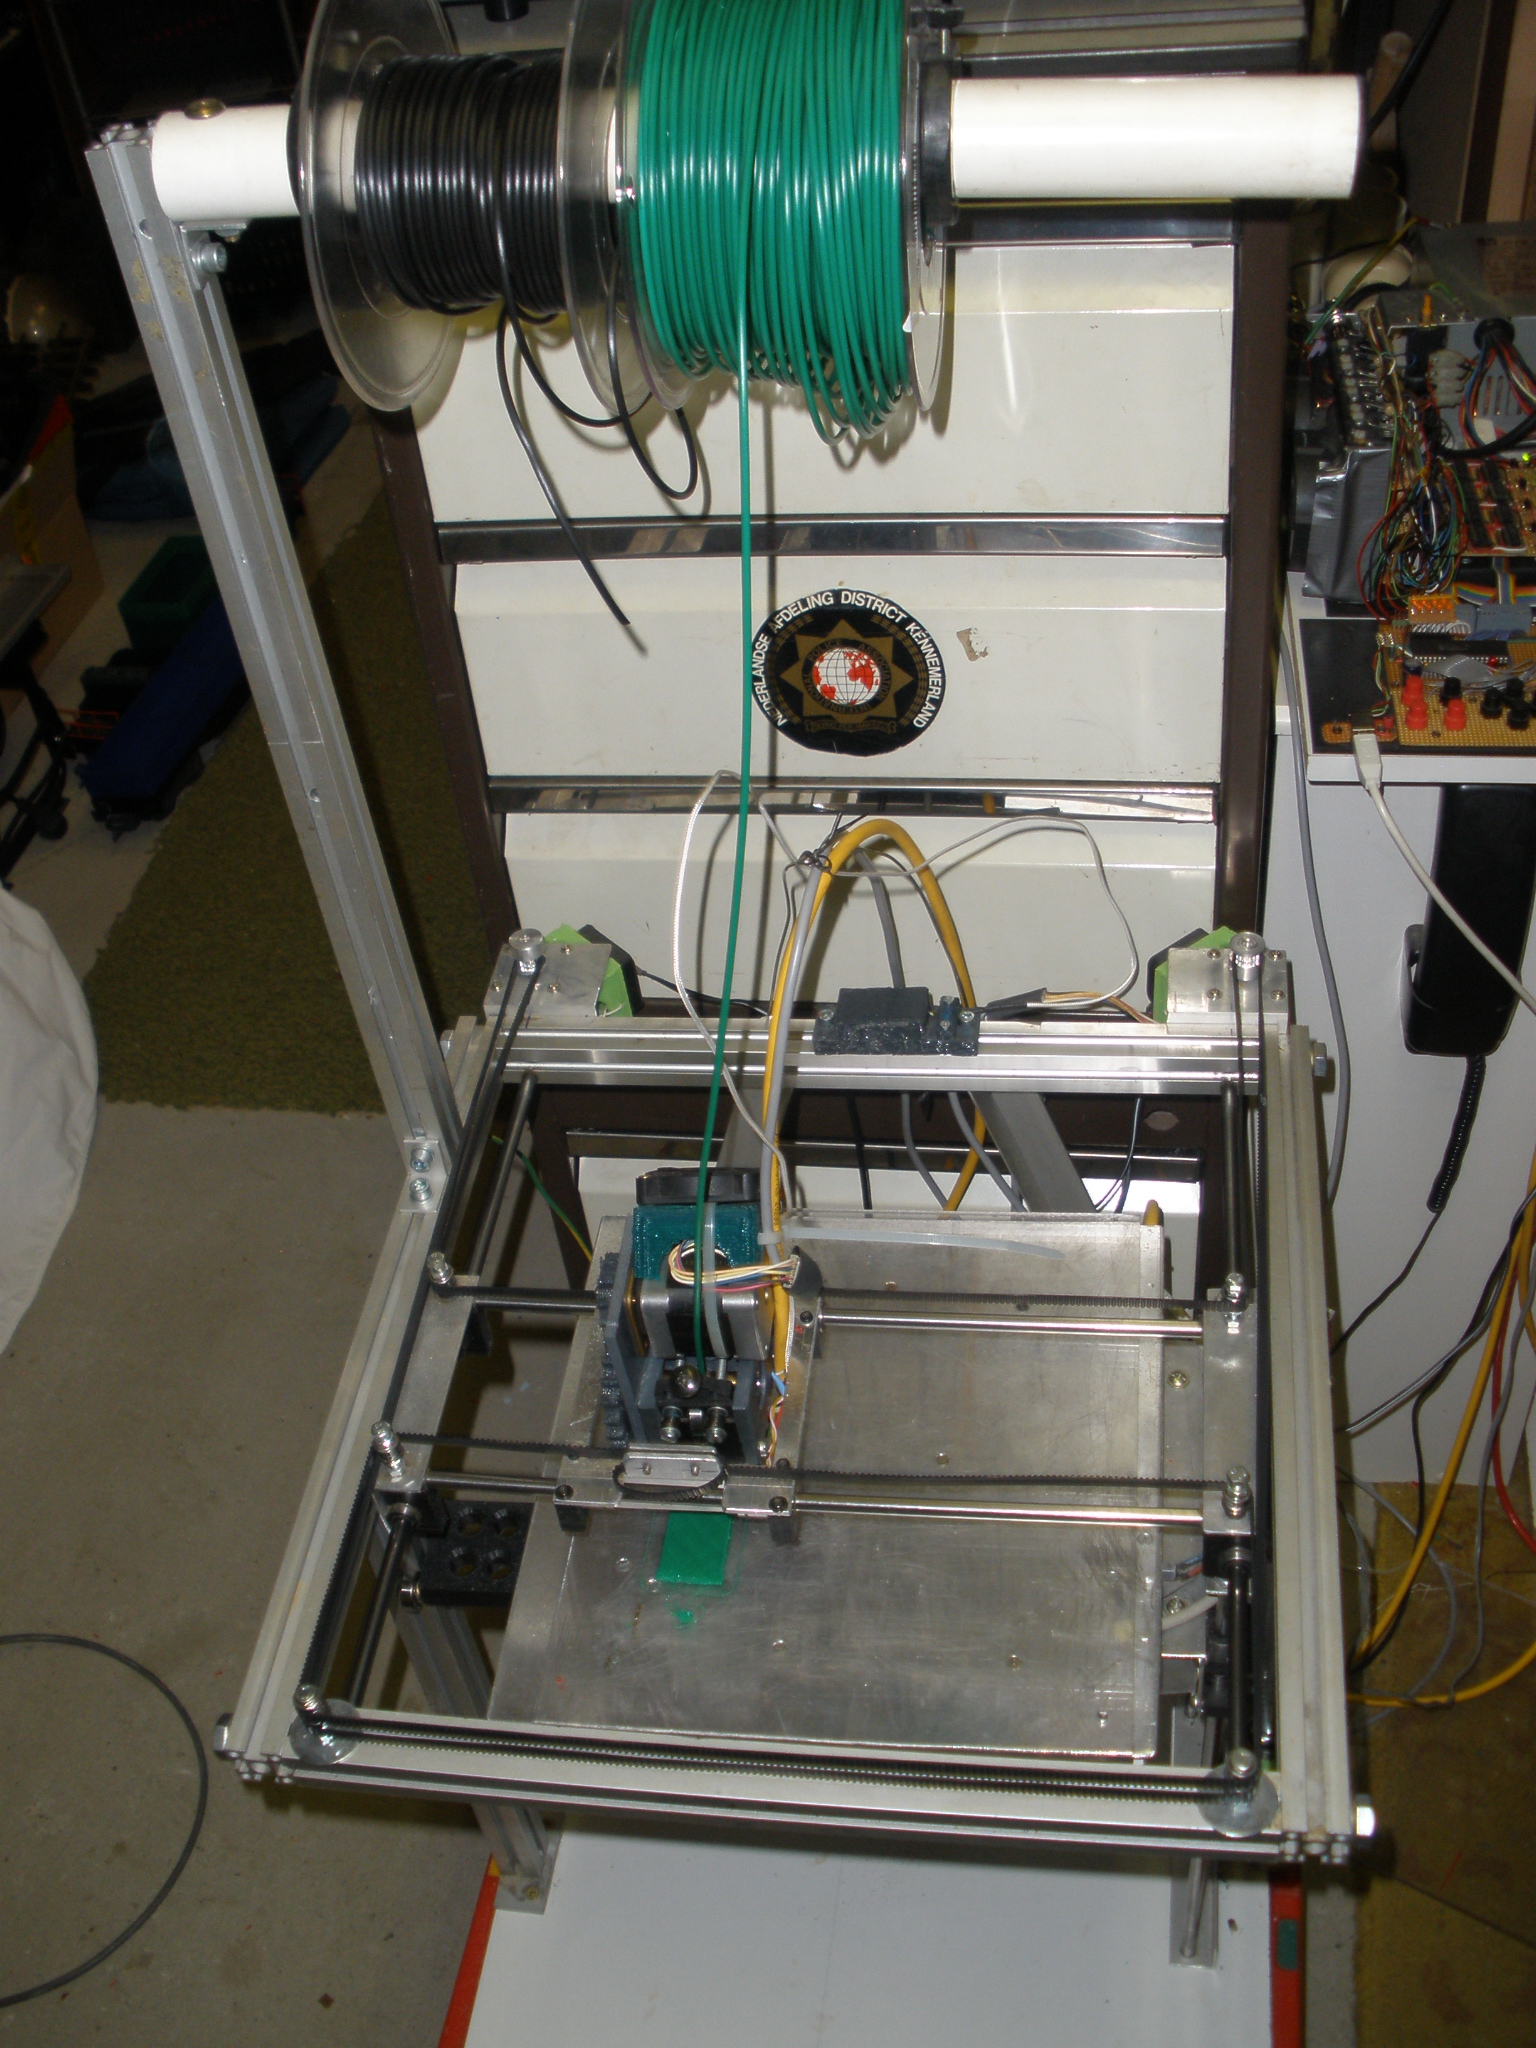

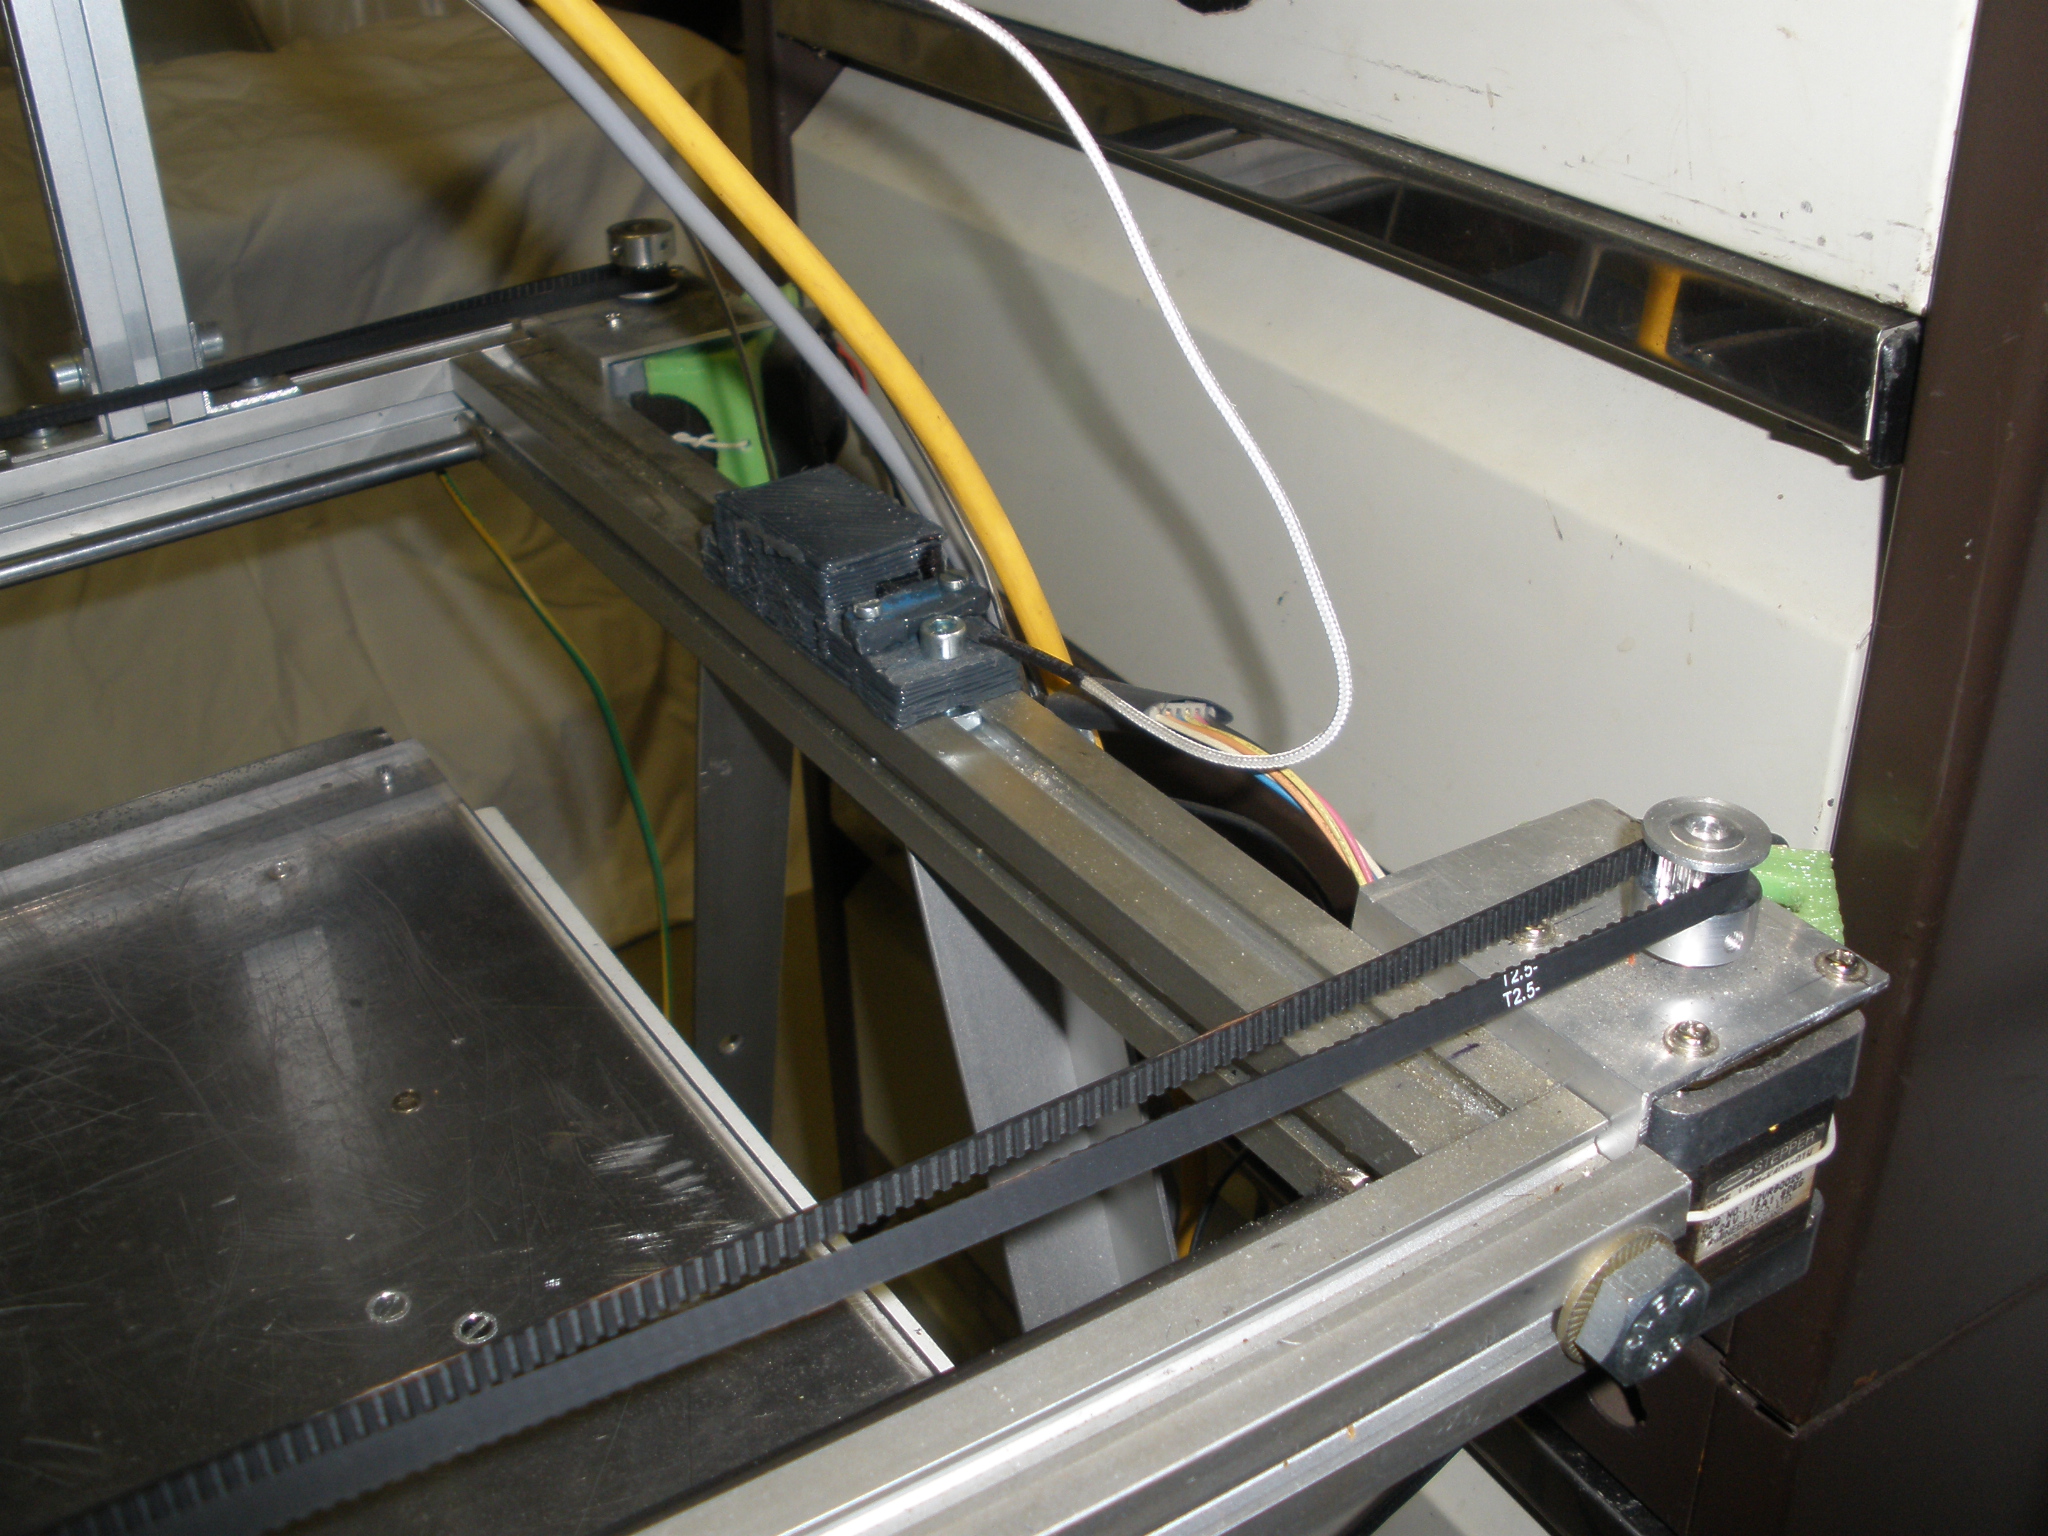
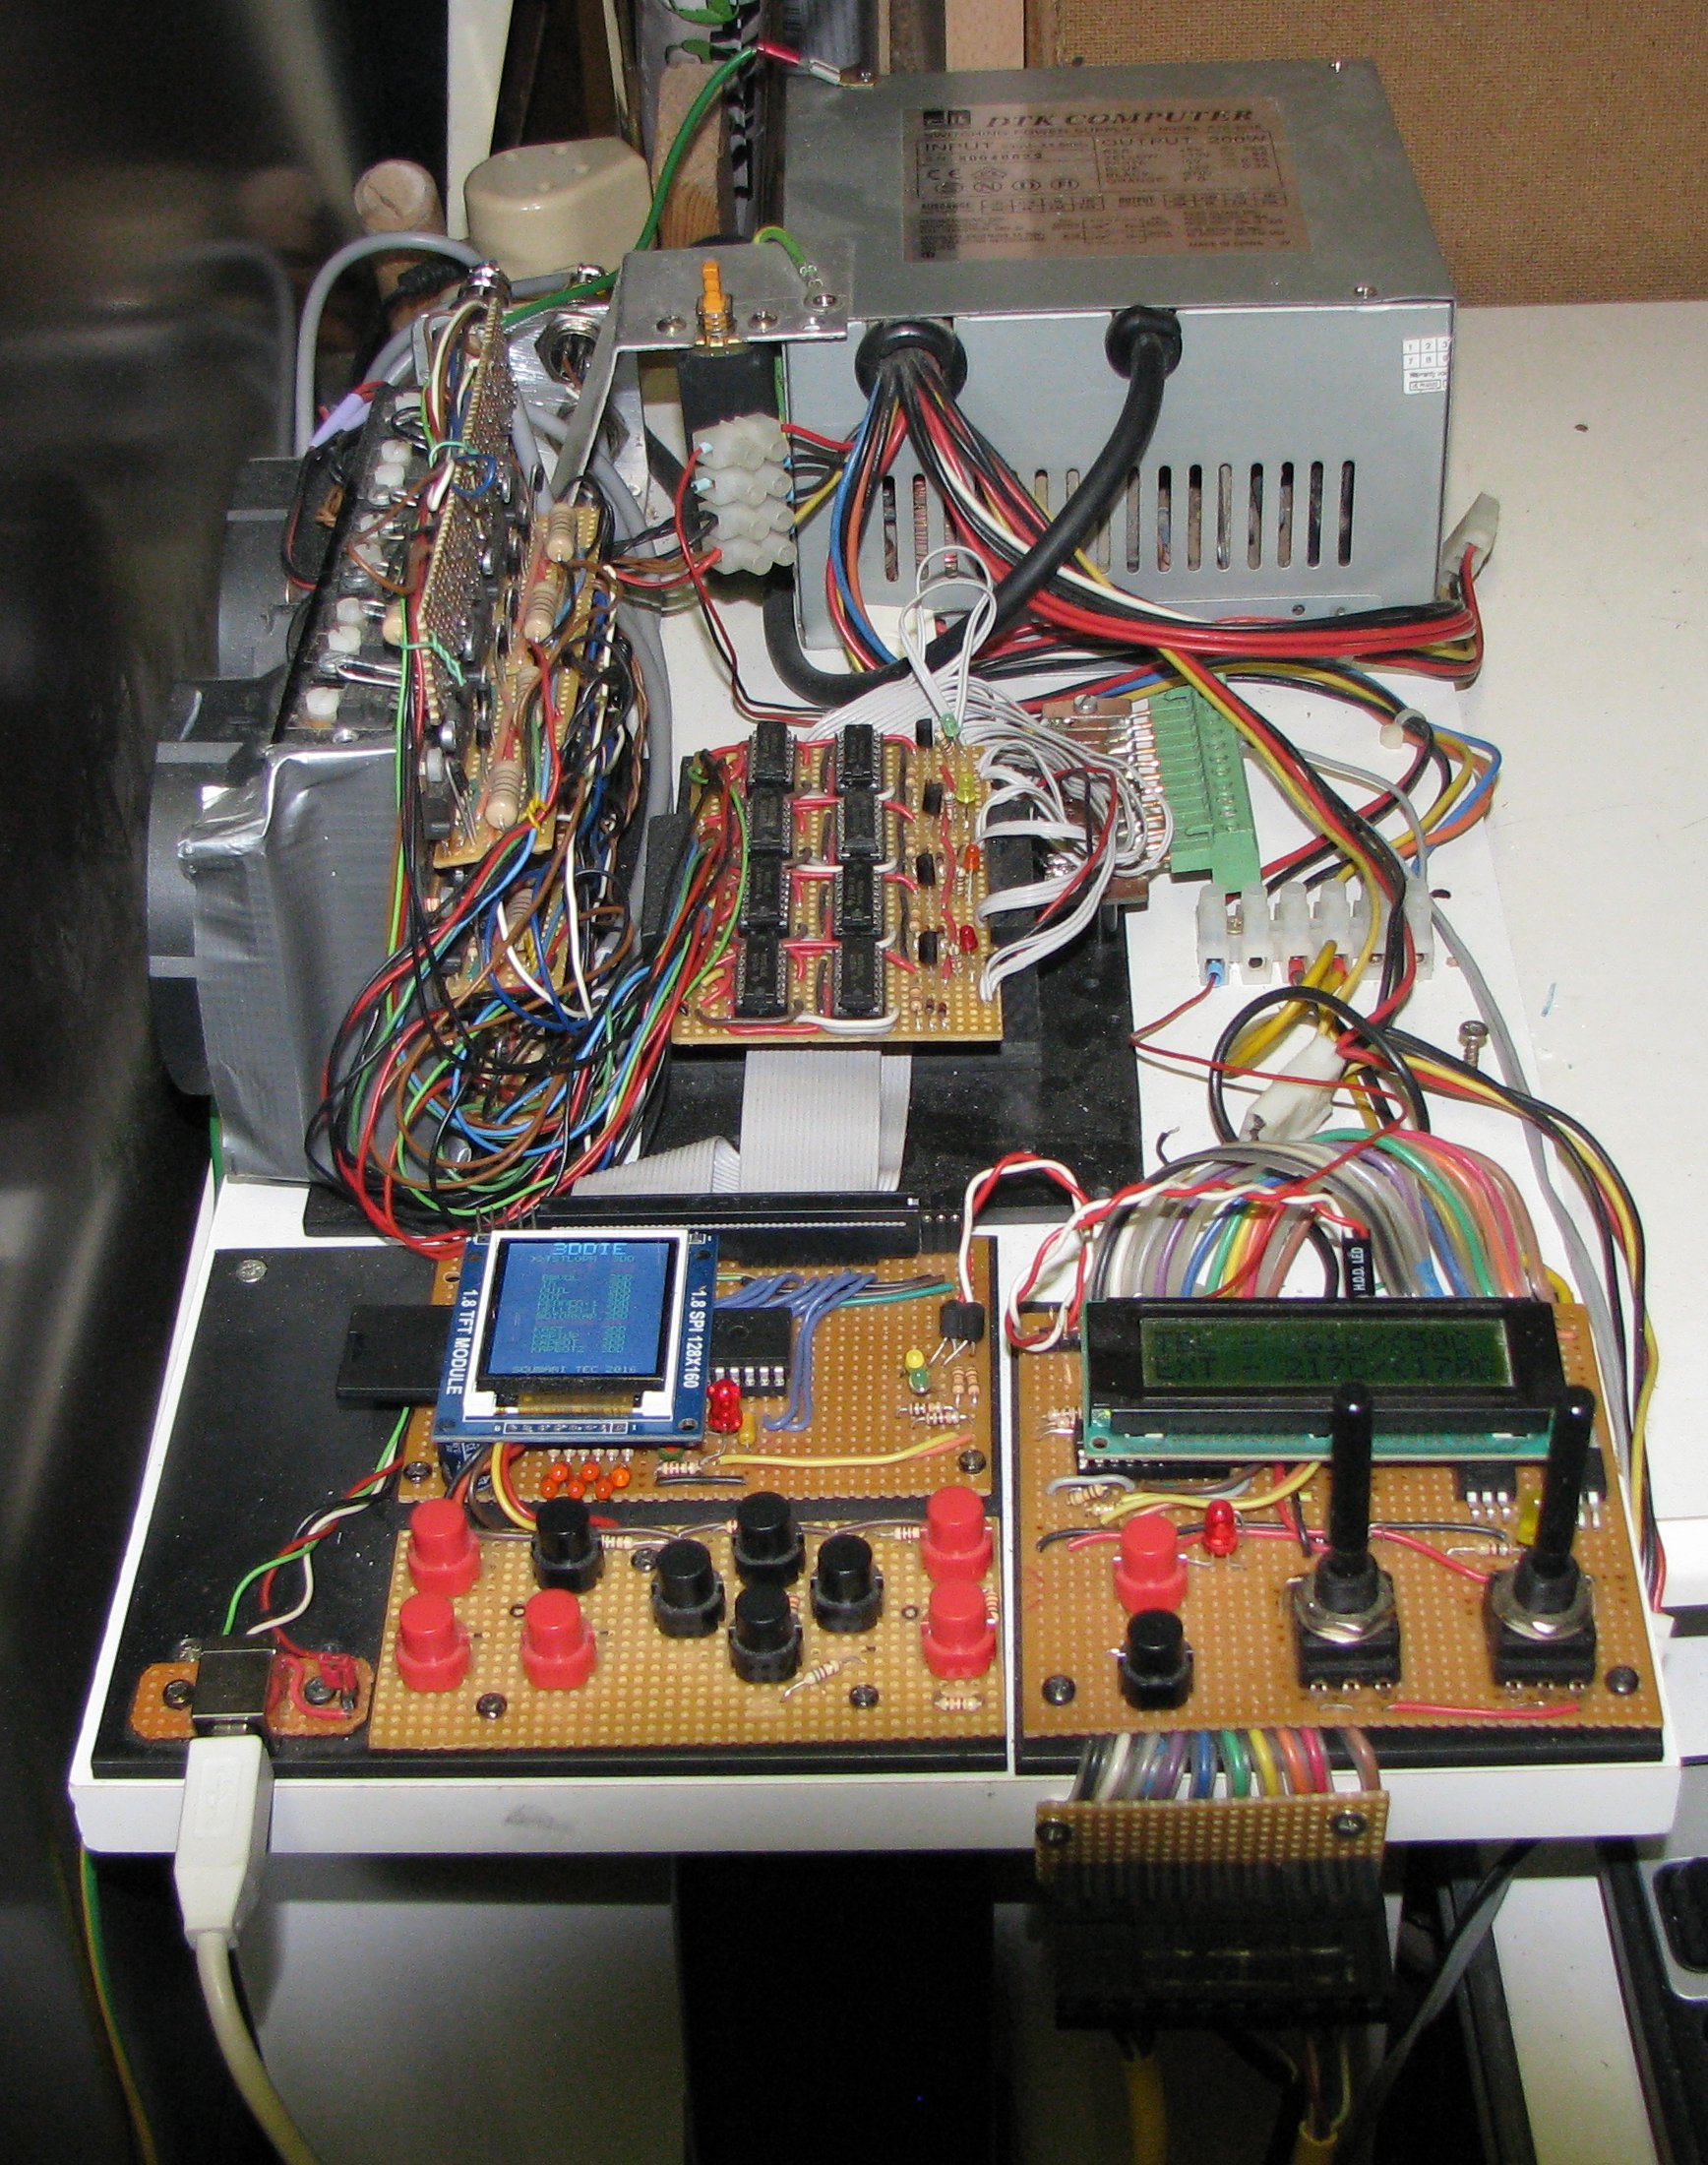
- B - Motor and Extruder control
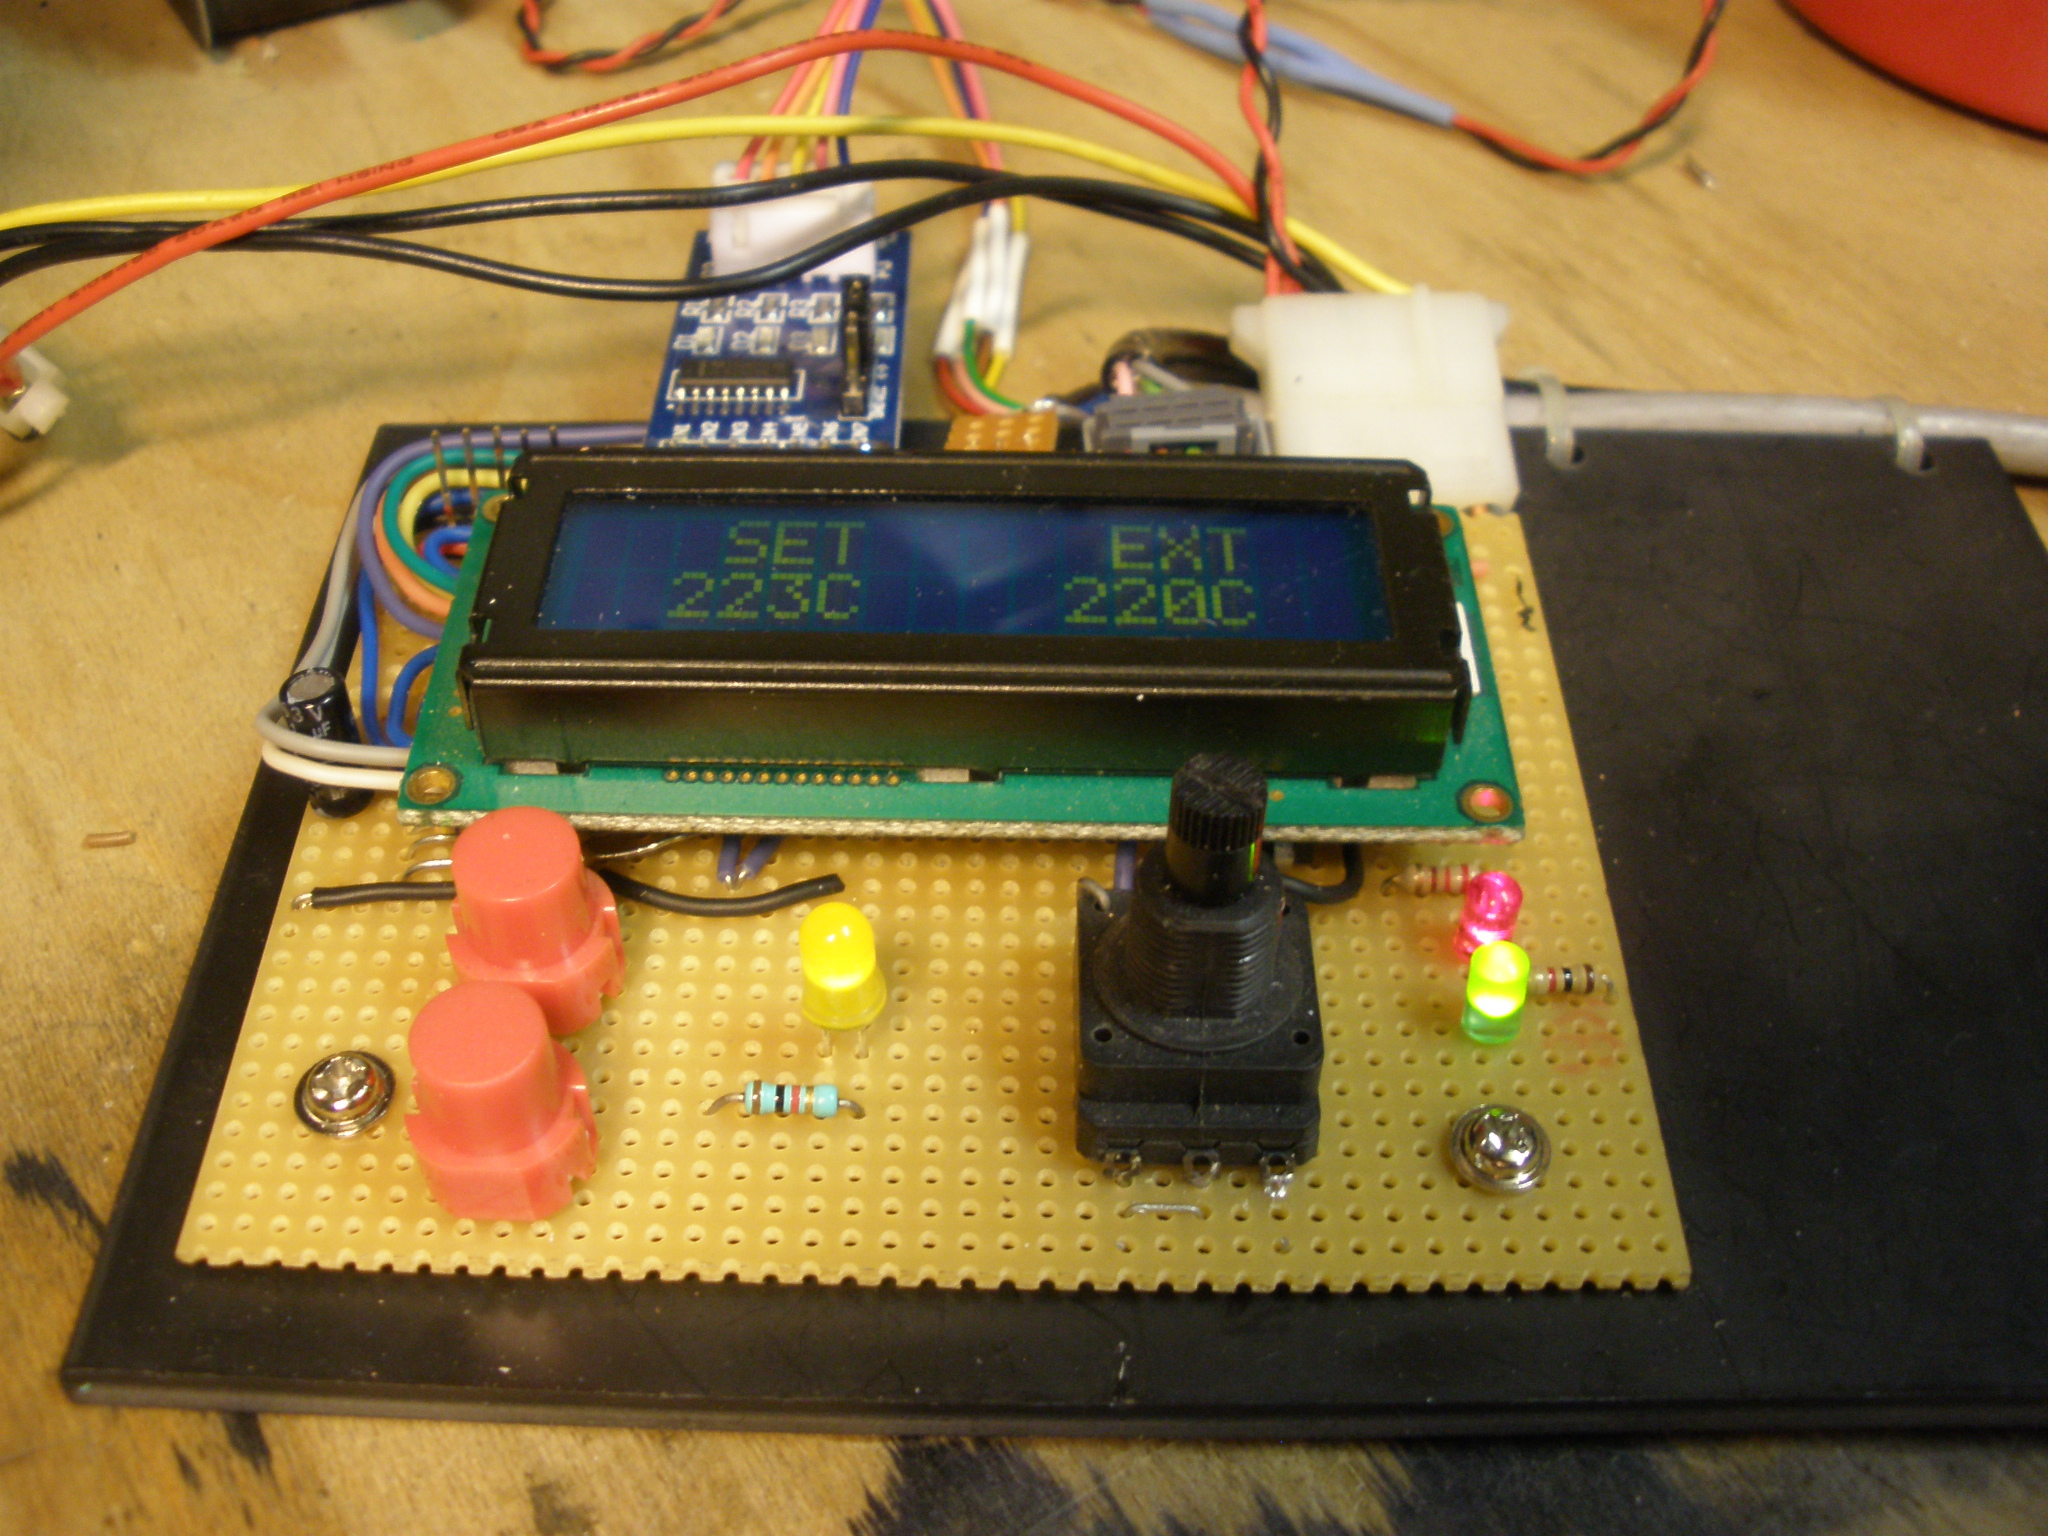
All electronics are completely self designed and made. The Steppers are controlled by a PIC18F4550 MCU which gets it's information via USB. The extruder and table temperature are controlled by a PIC18F14K50 and are always adjustable with potentiometers.
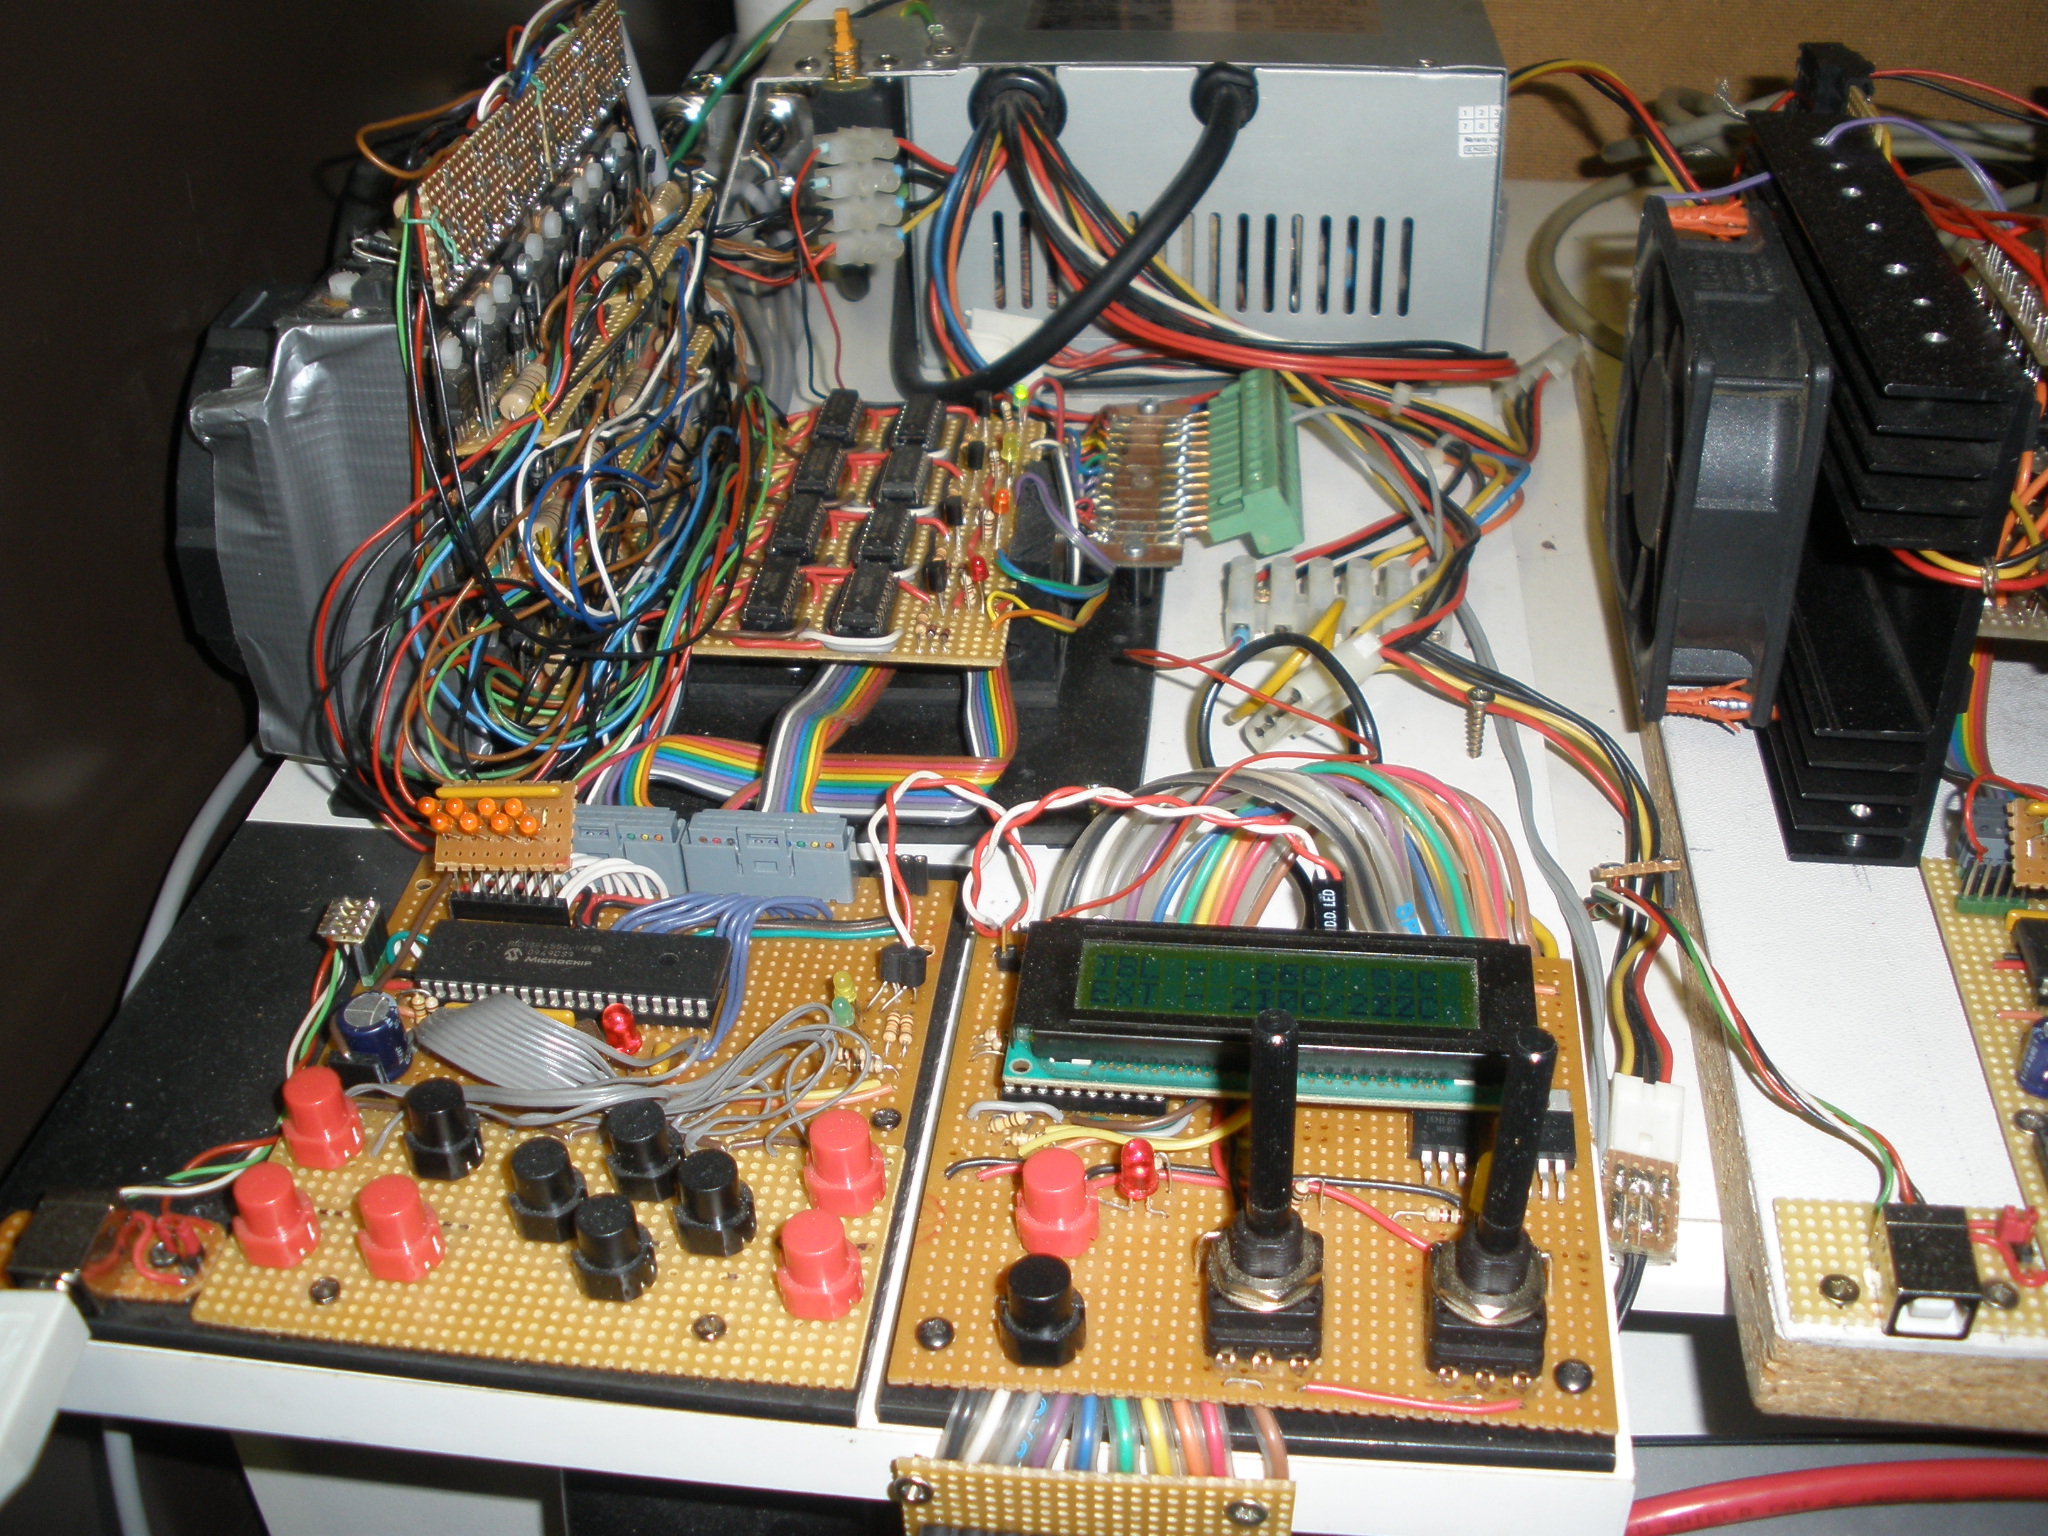
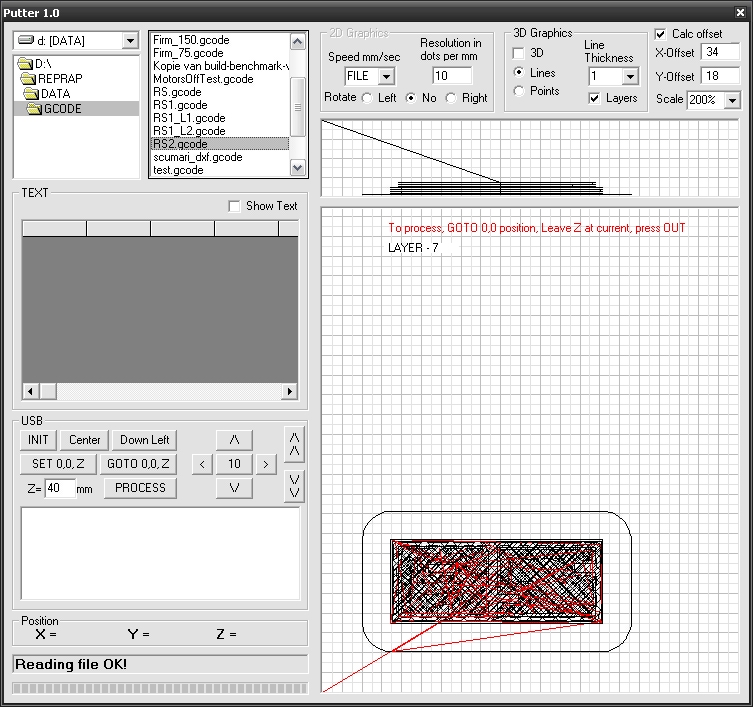
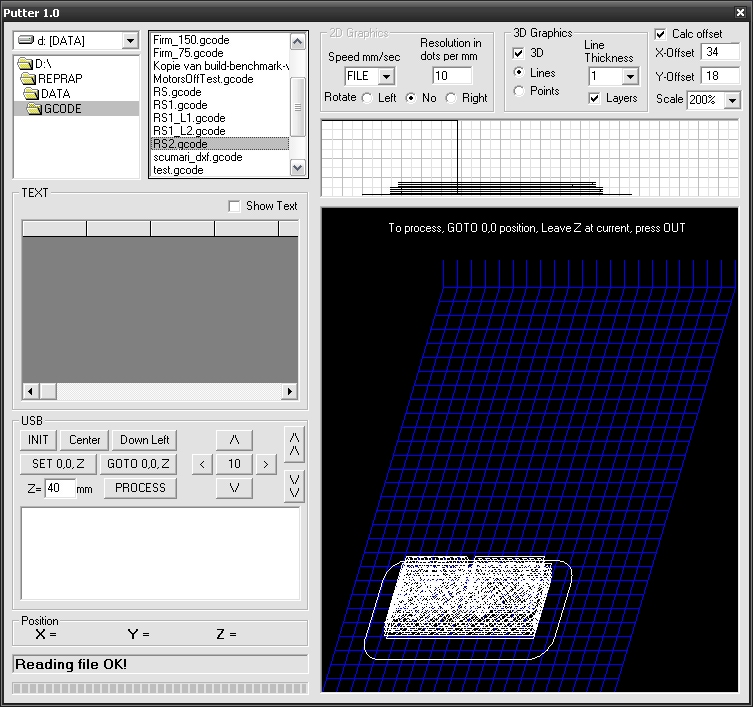
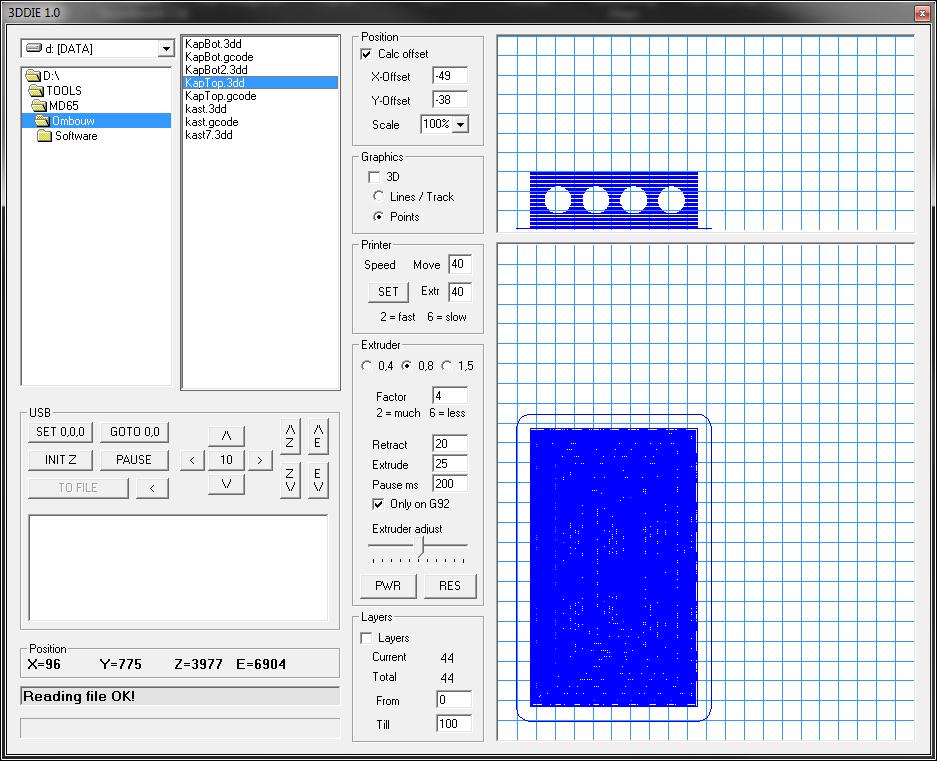
- C - Software
The software is create in VB6 and was copied and changed from the one for the CNCTable.
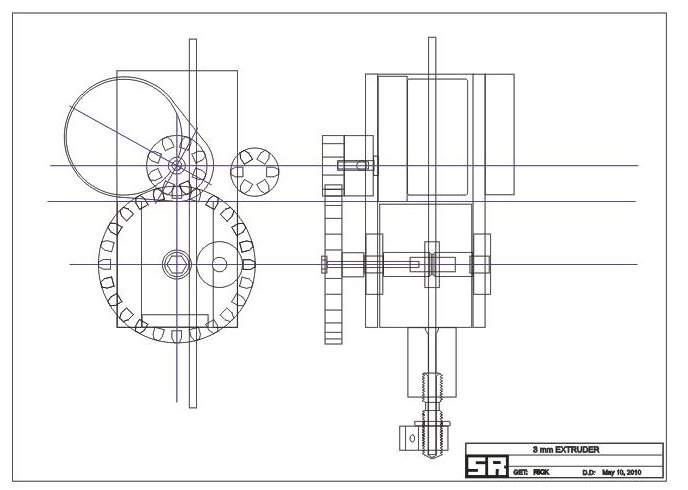
- D - More extruders
Three extruders have bin produced, 0.8mm, 1.5 mm and recently a 0.4mm.
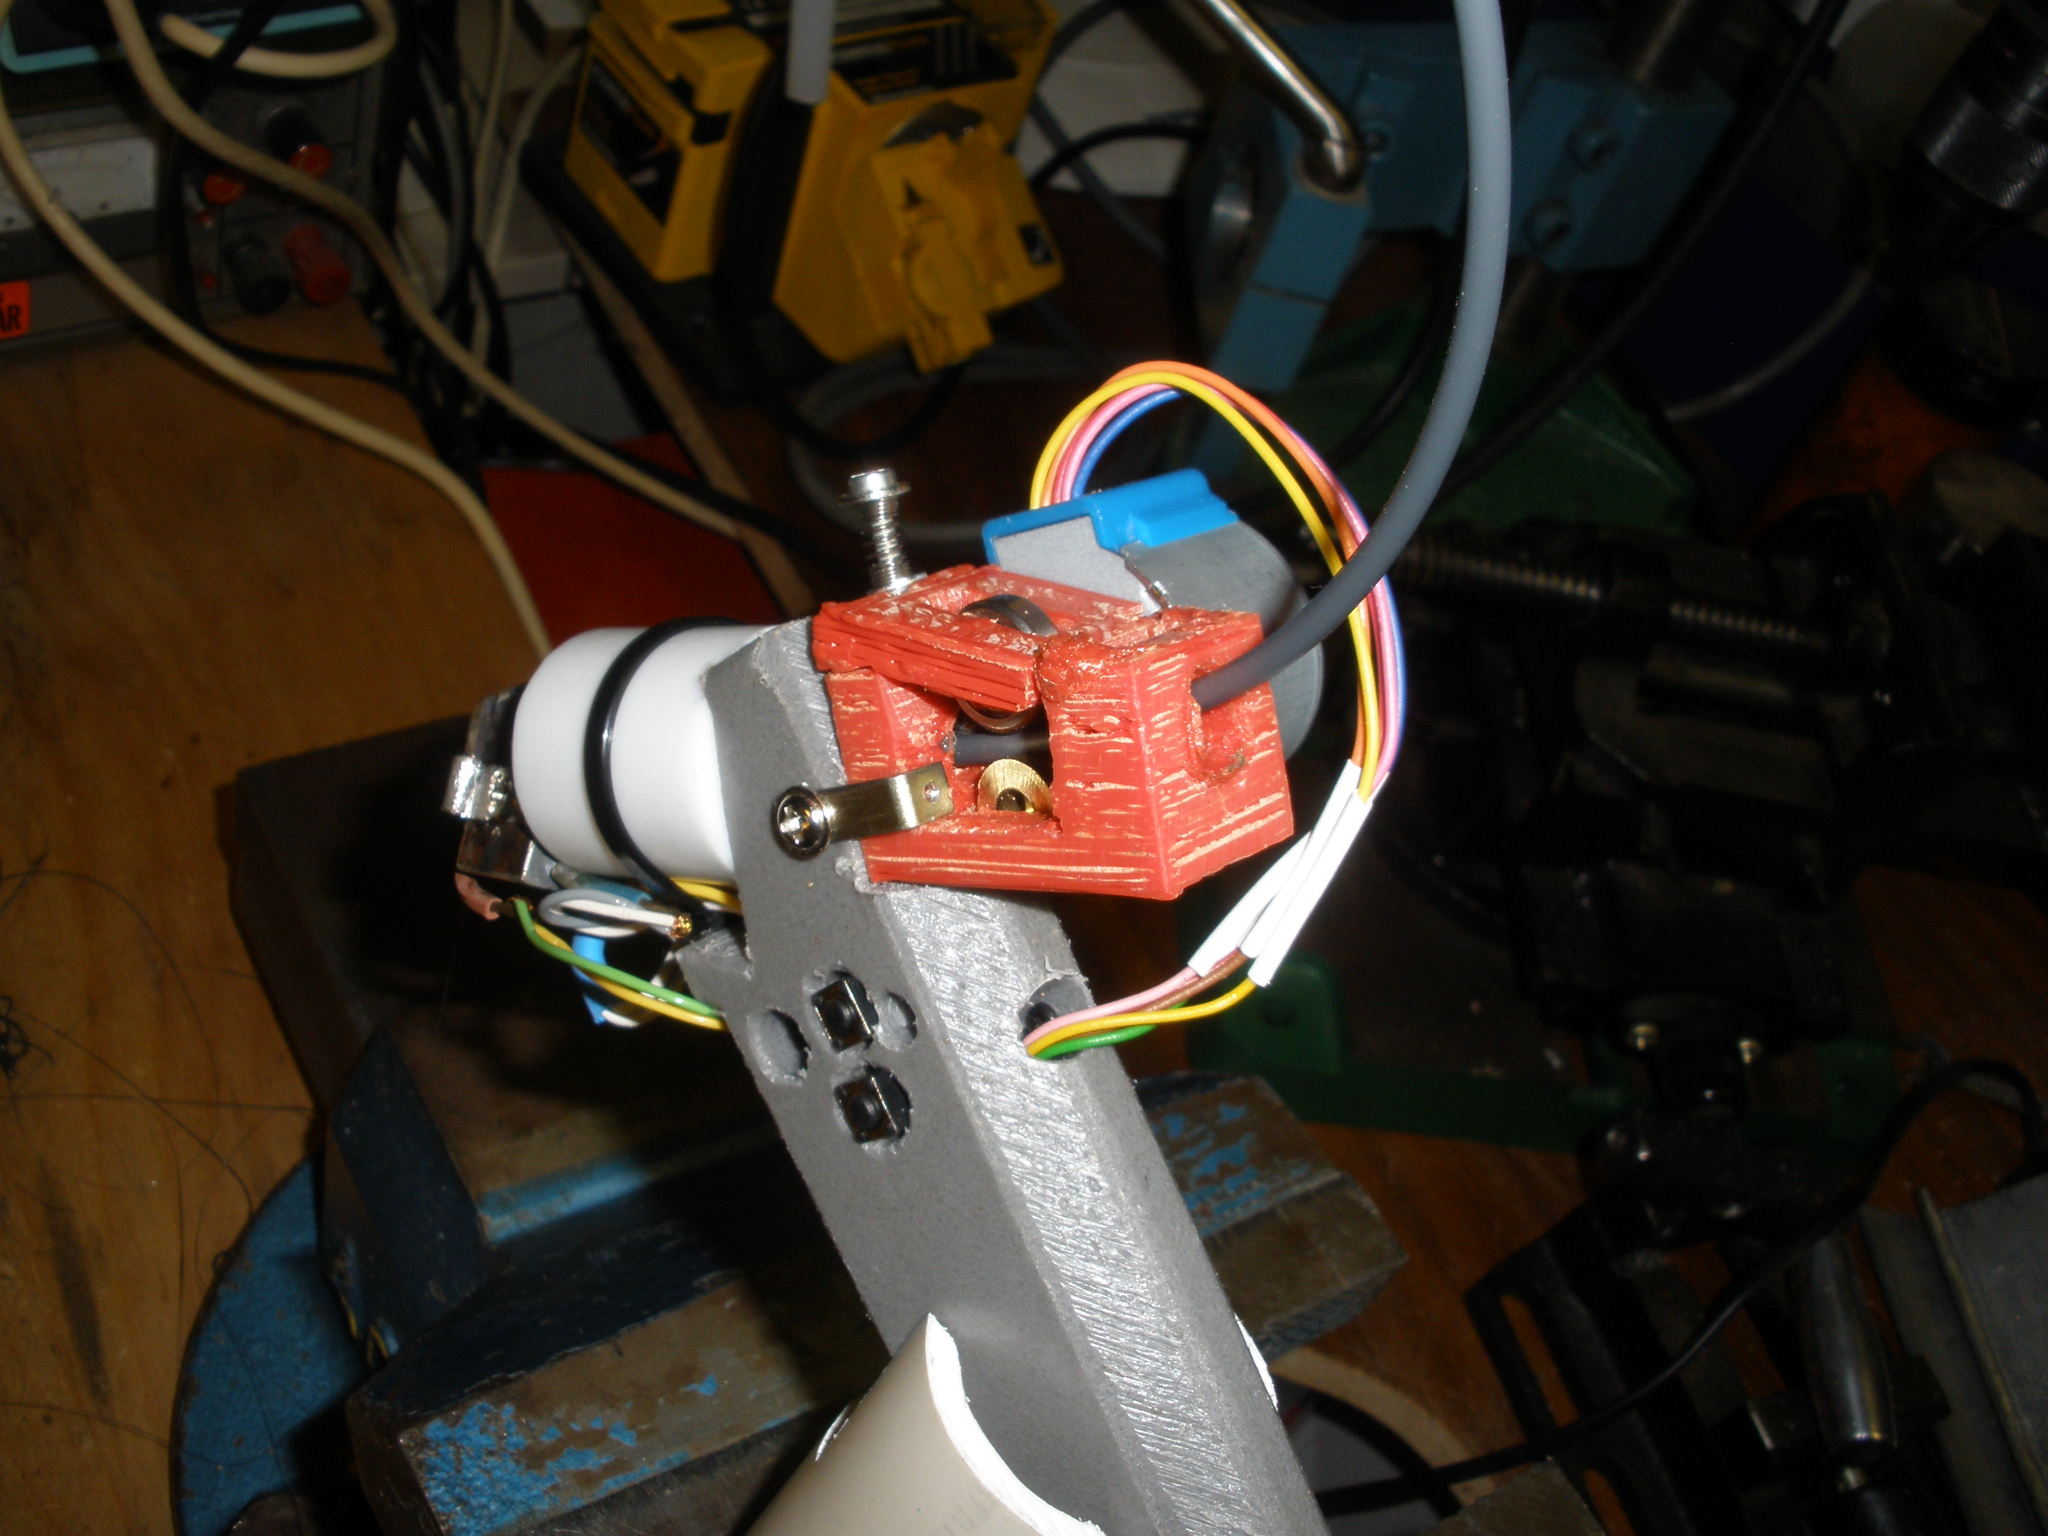
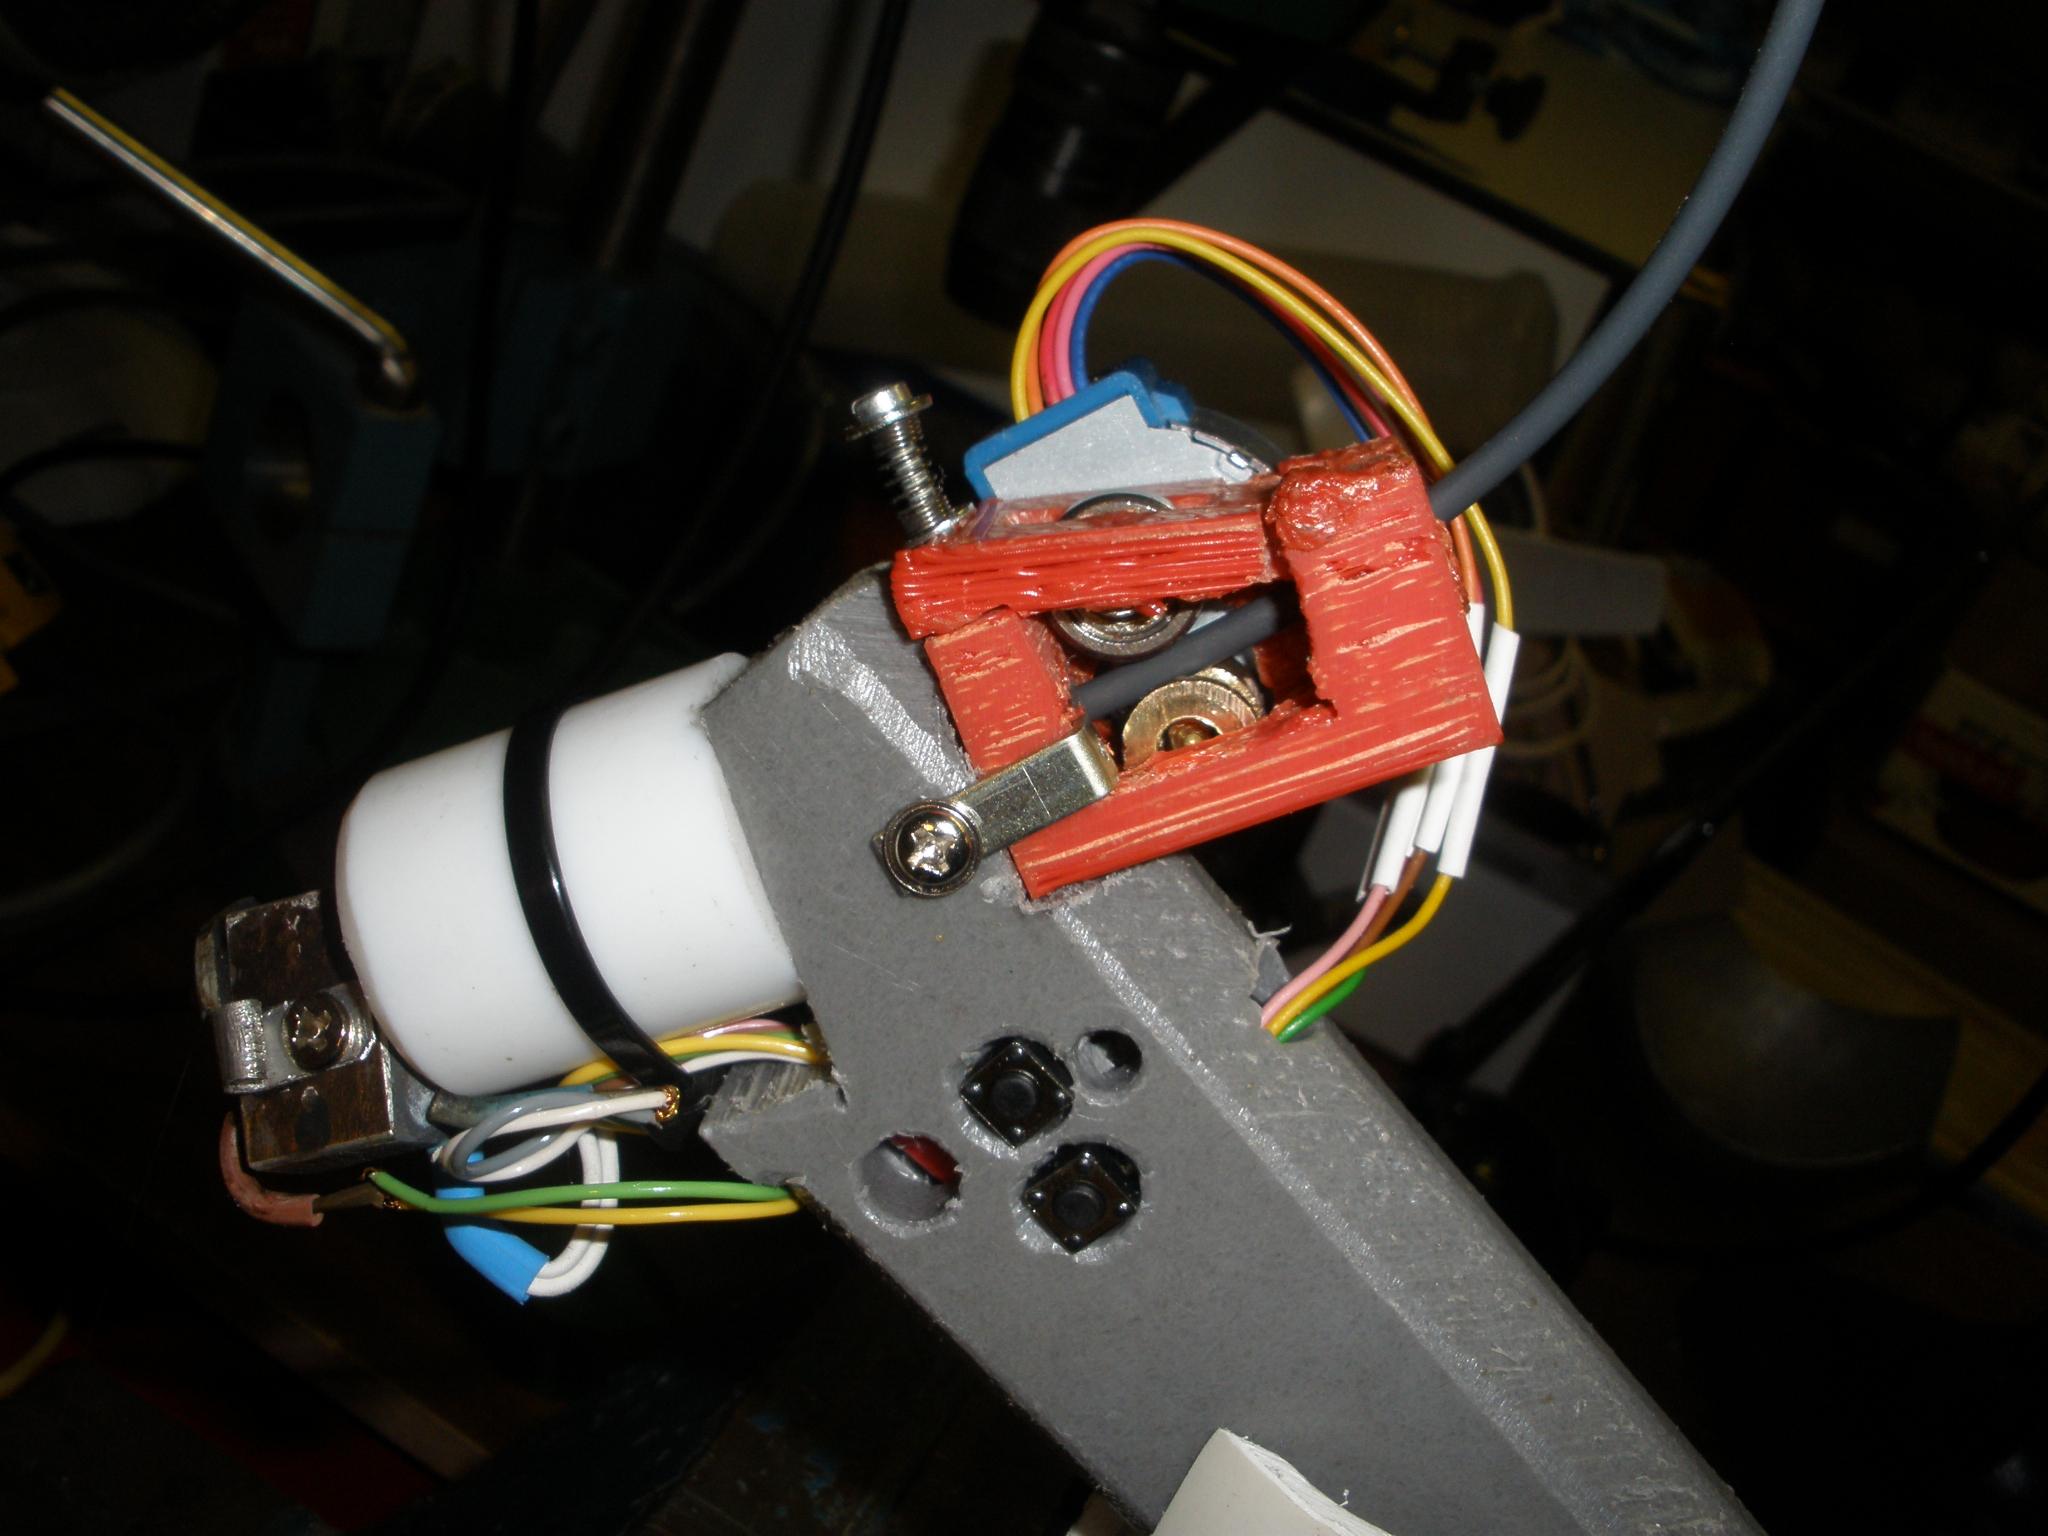
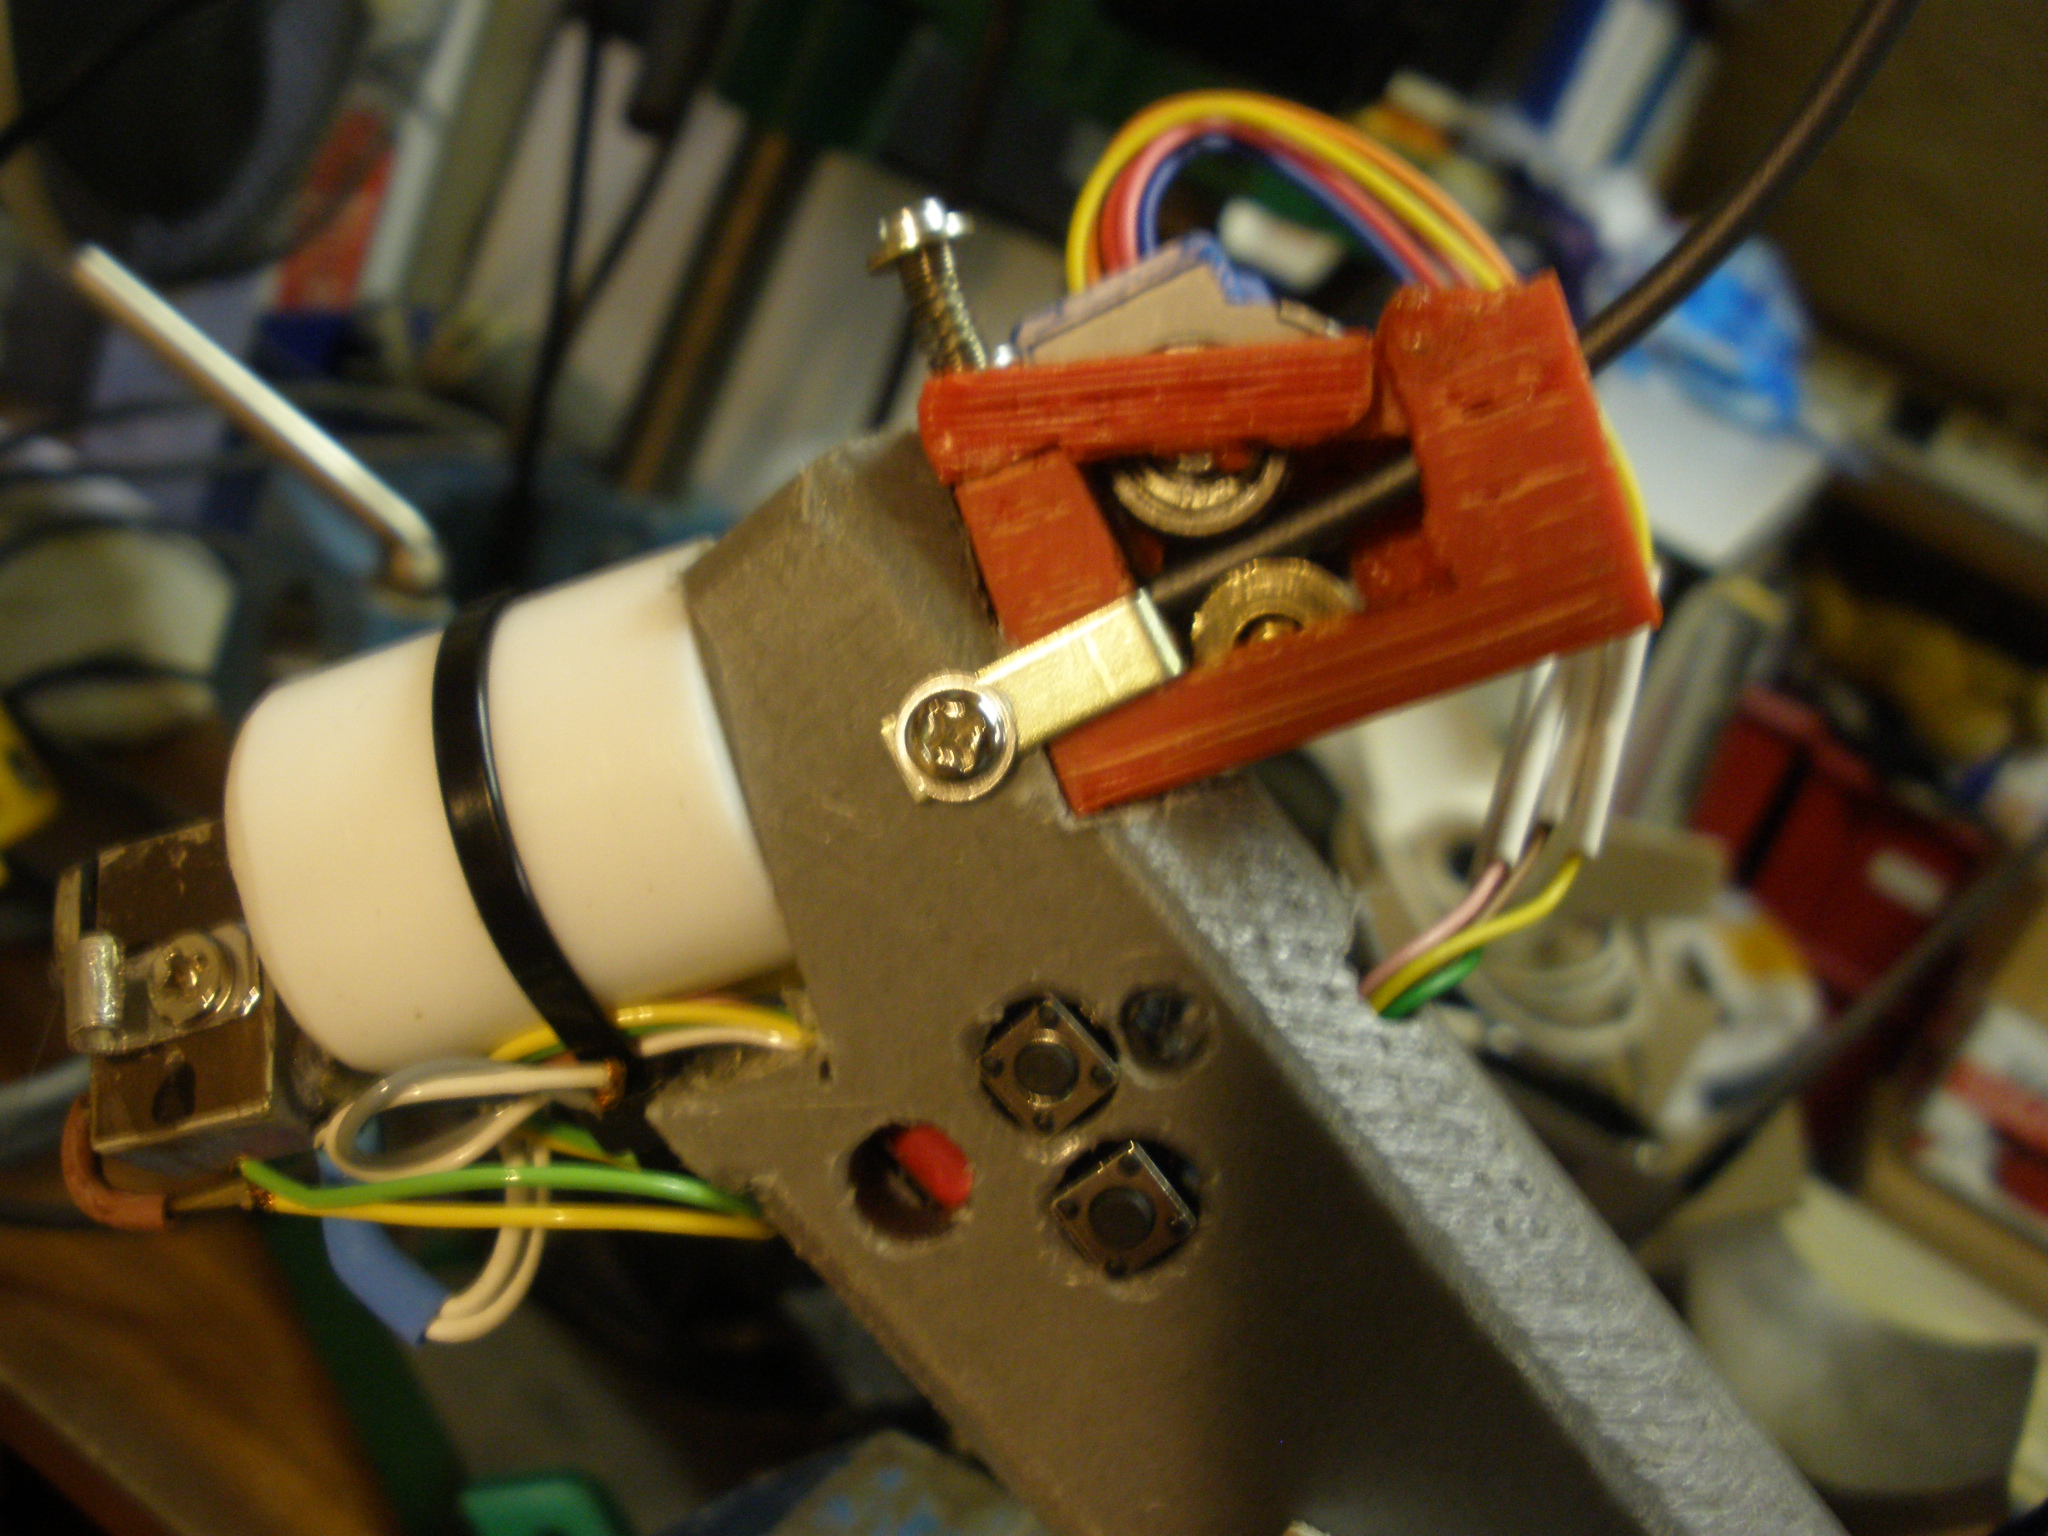
3 - Hand extruder
To weld large parts together. I created a hand pistol.
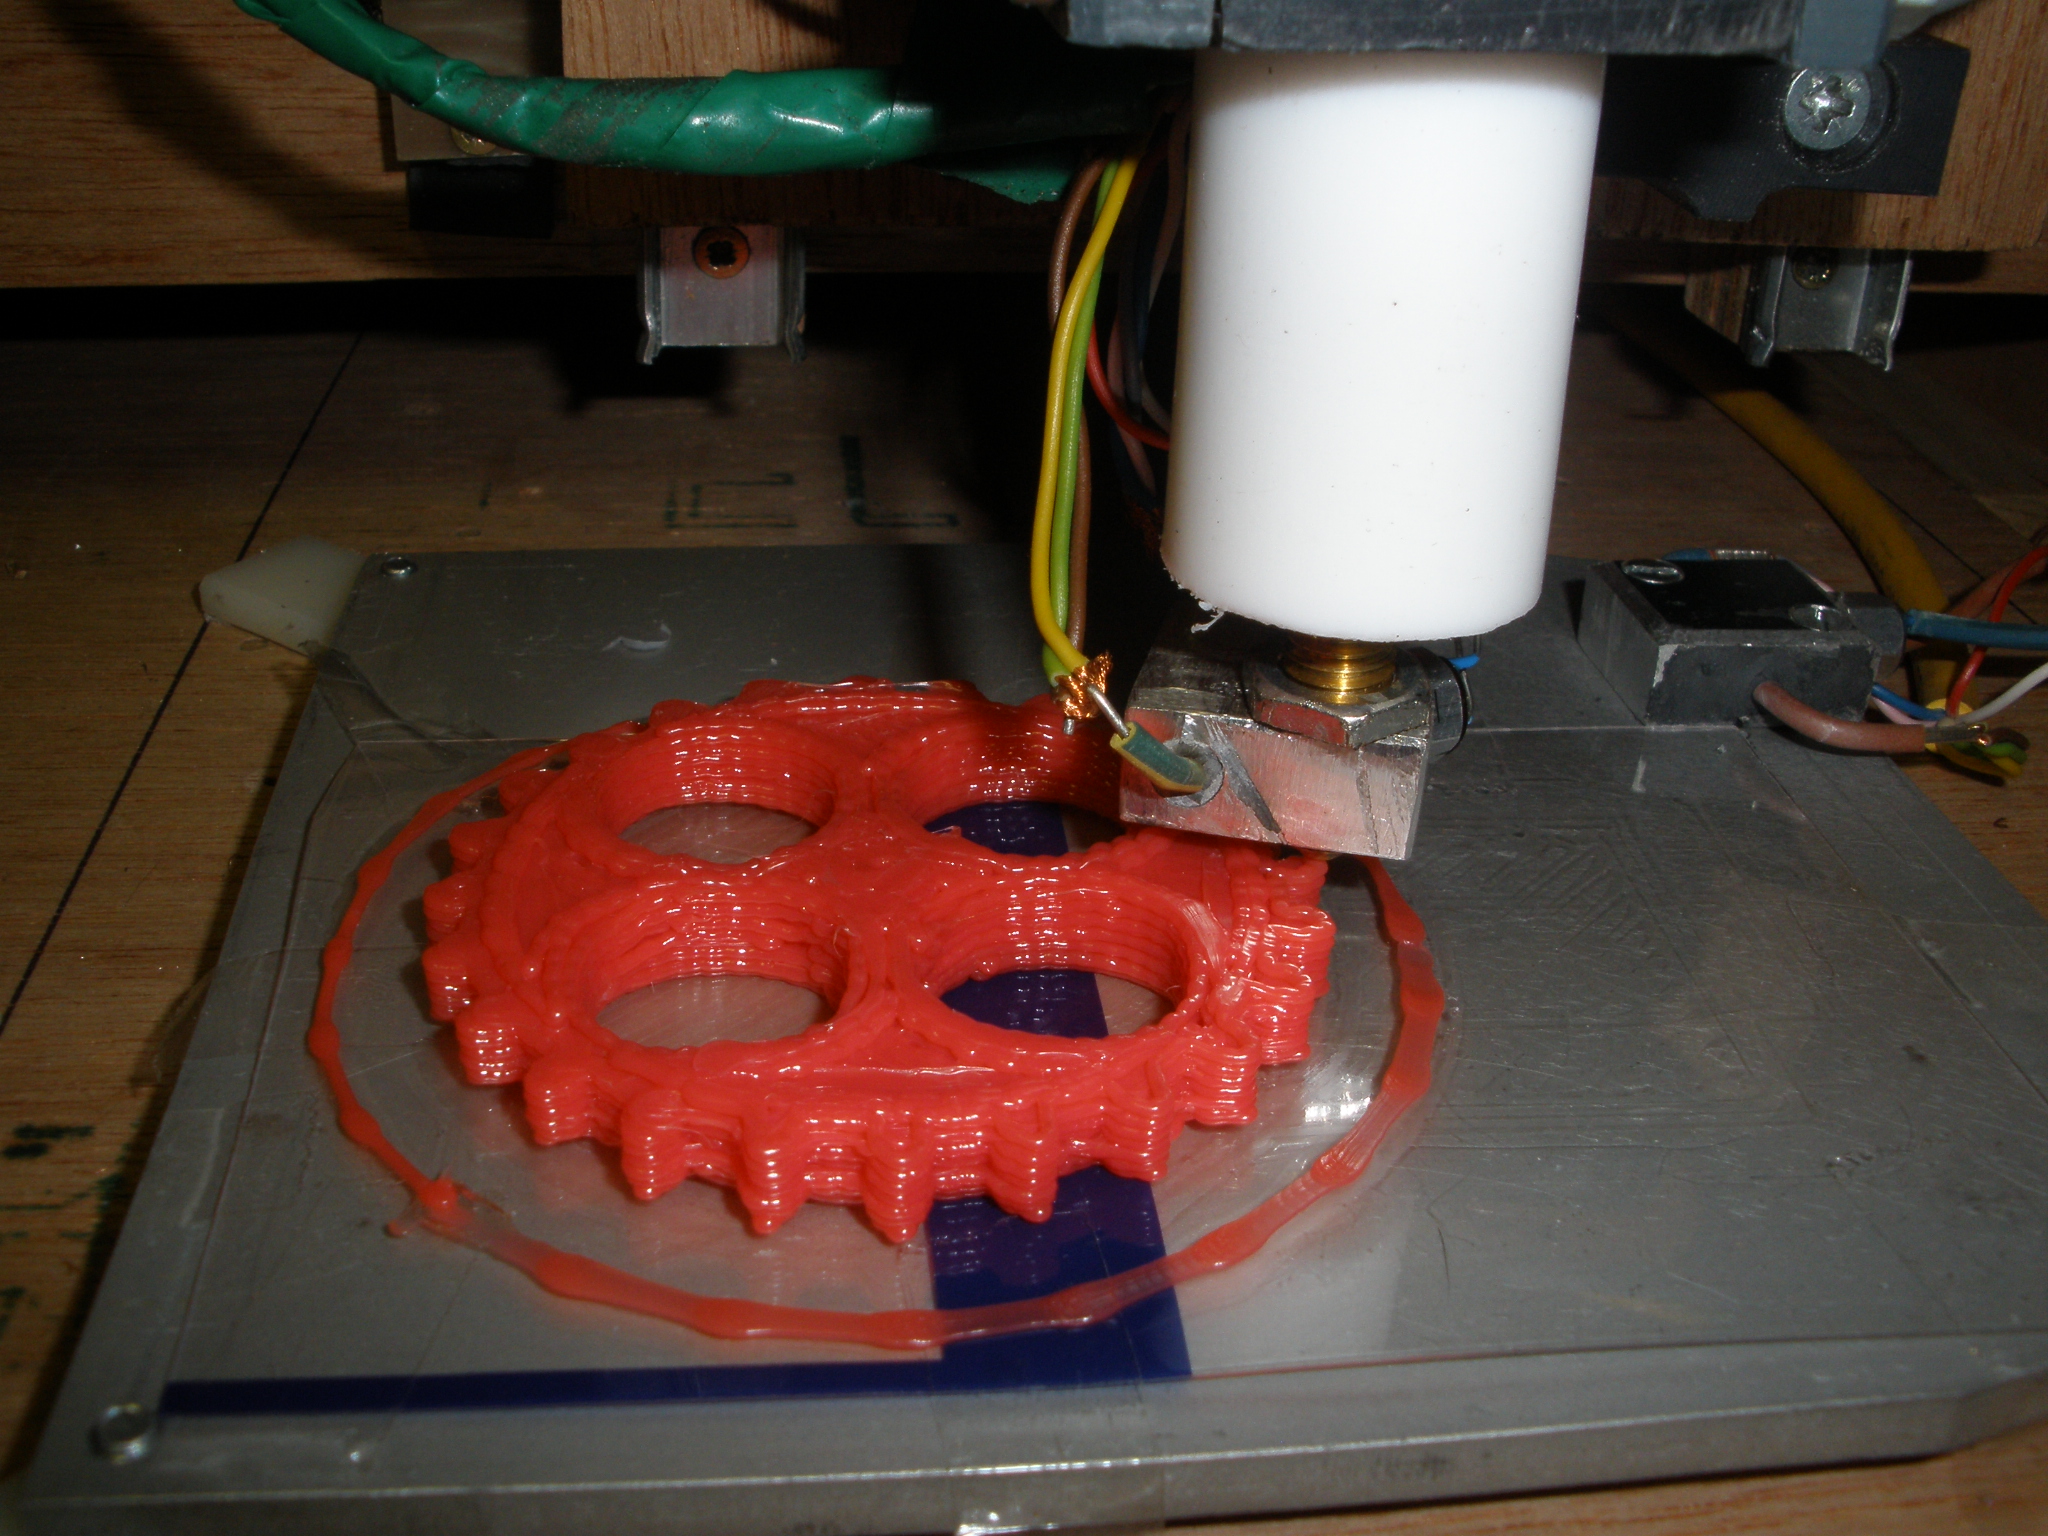
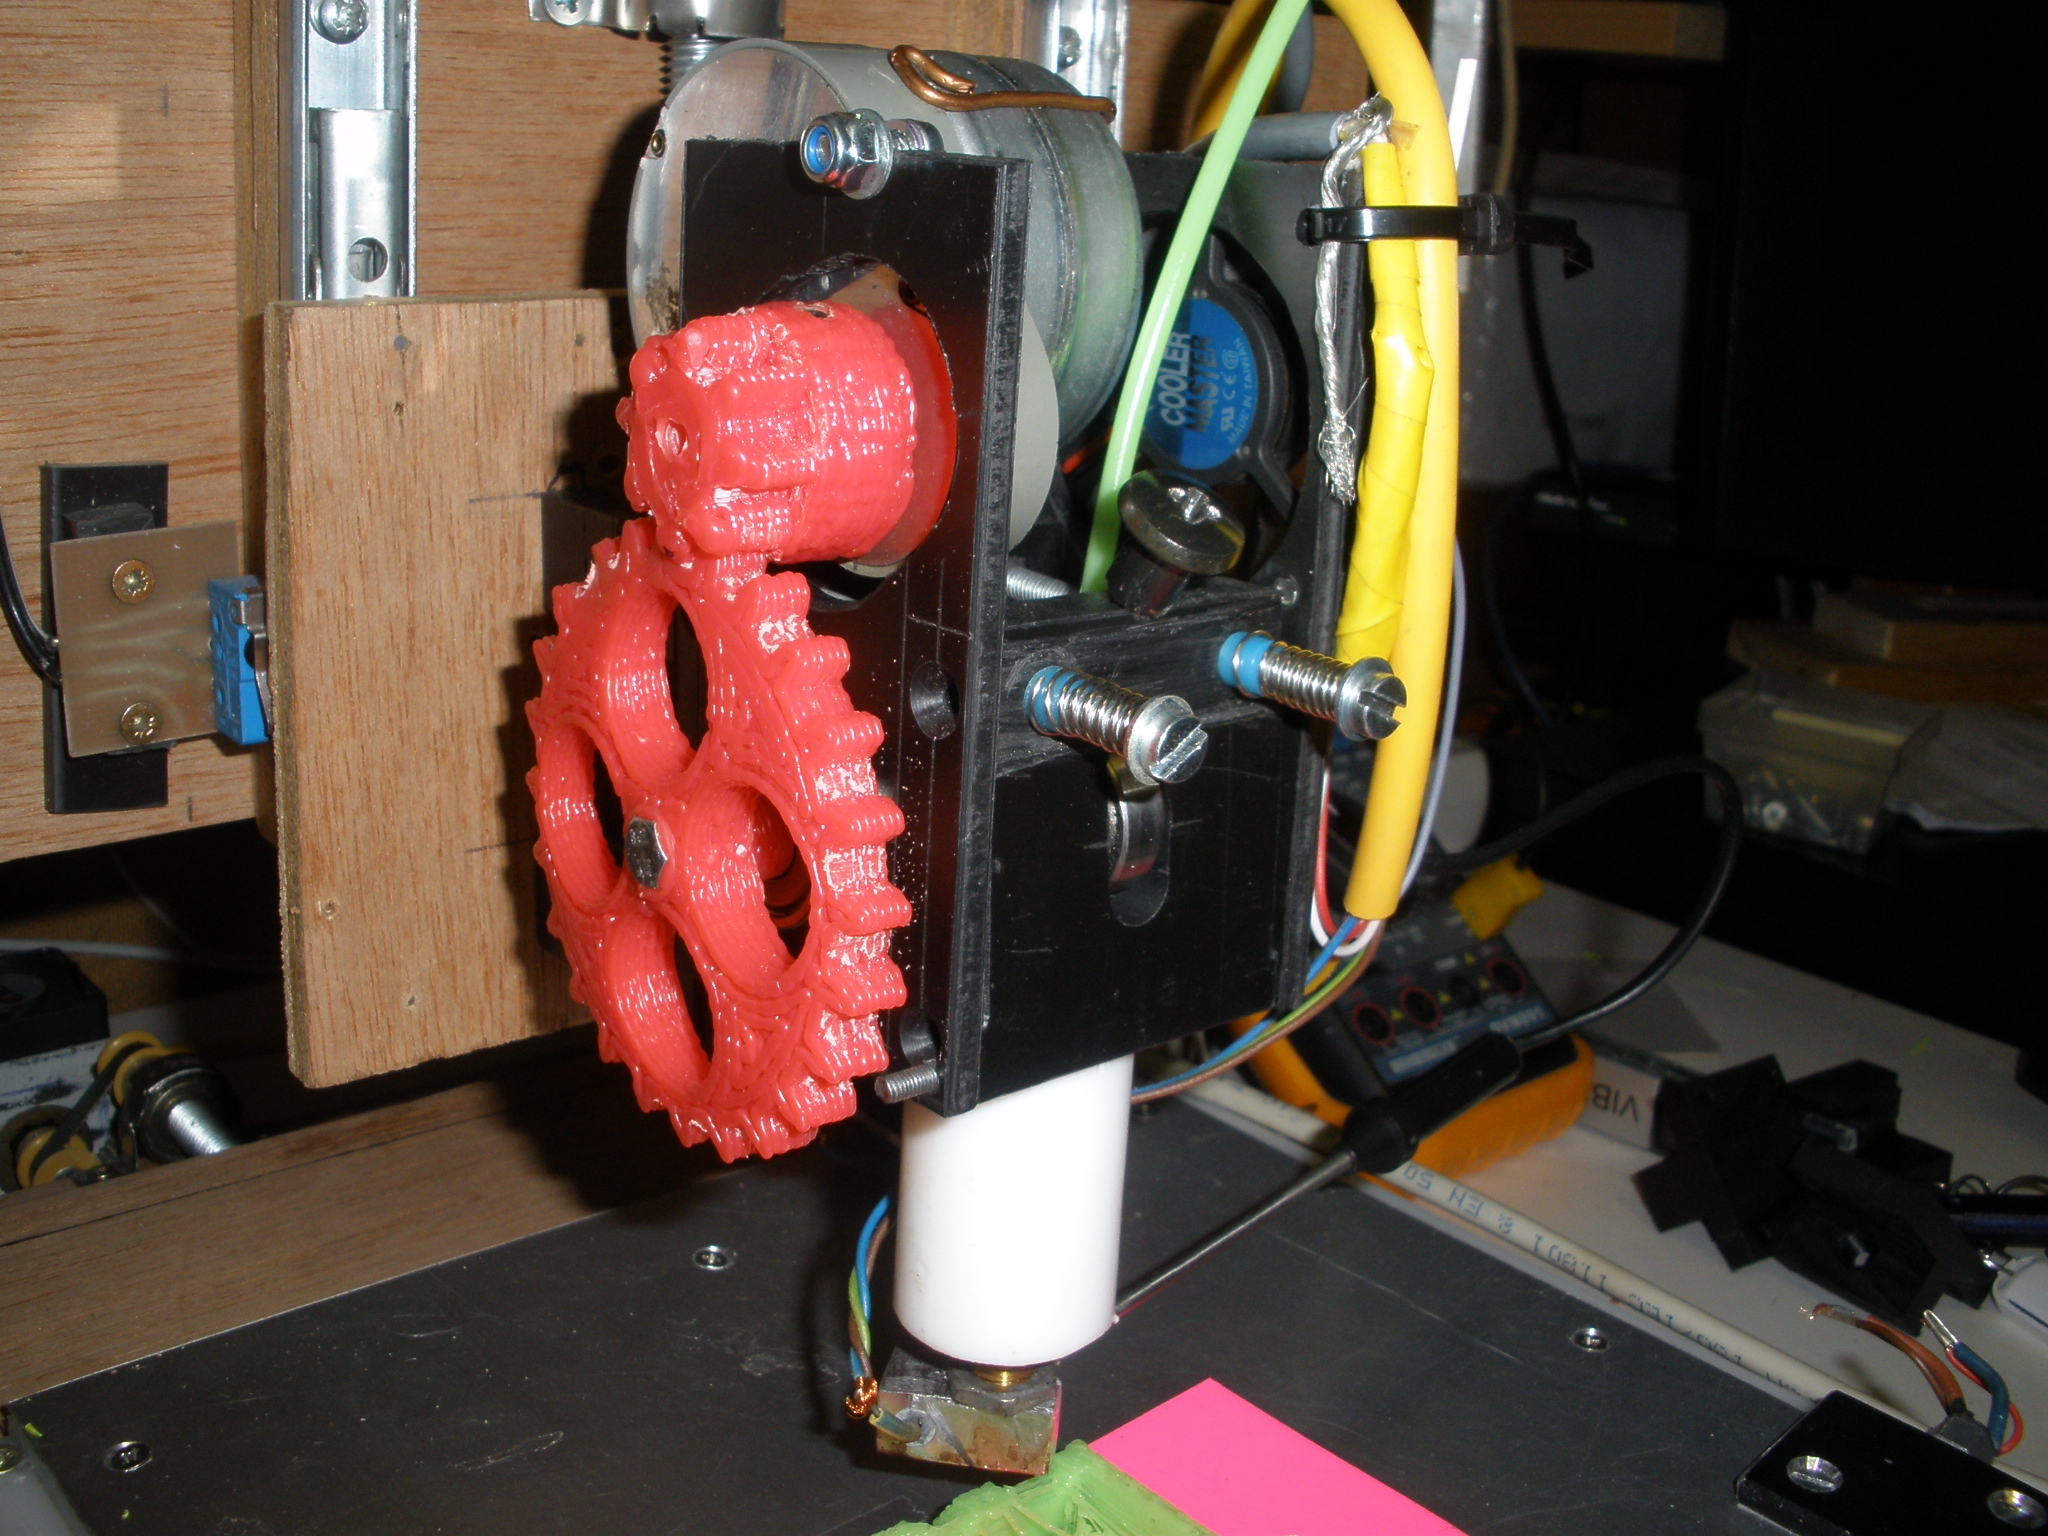
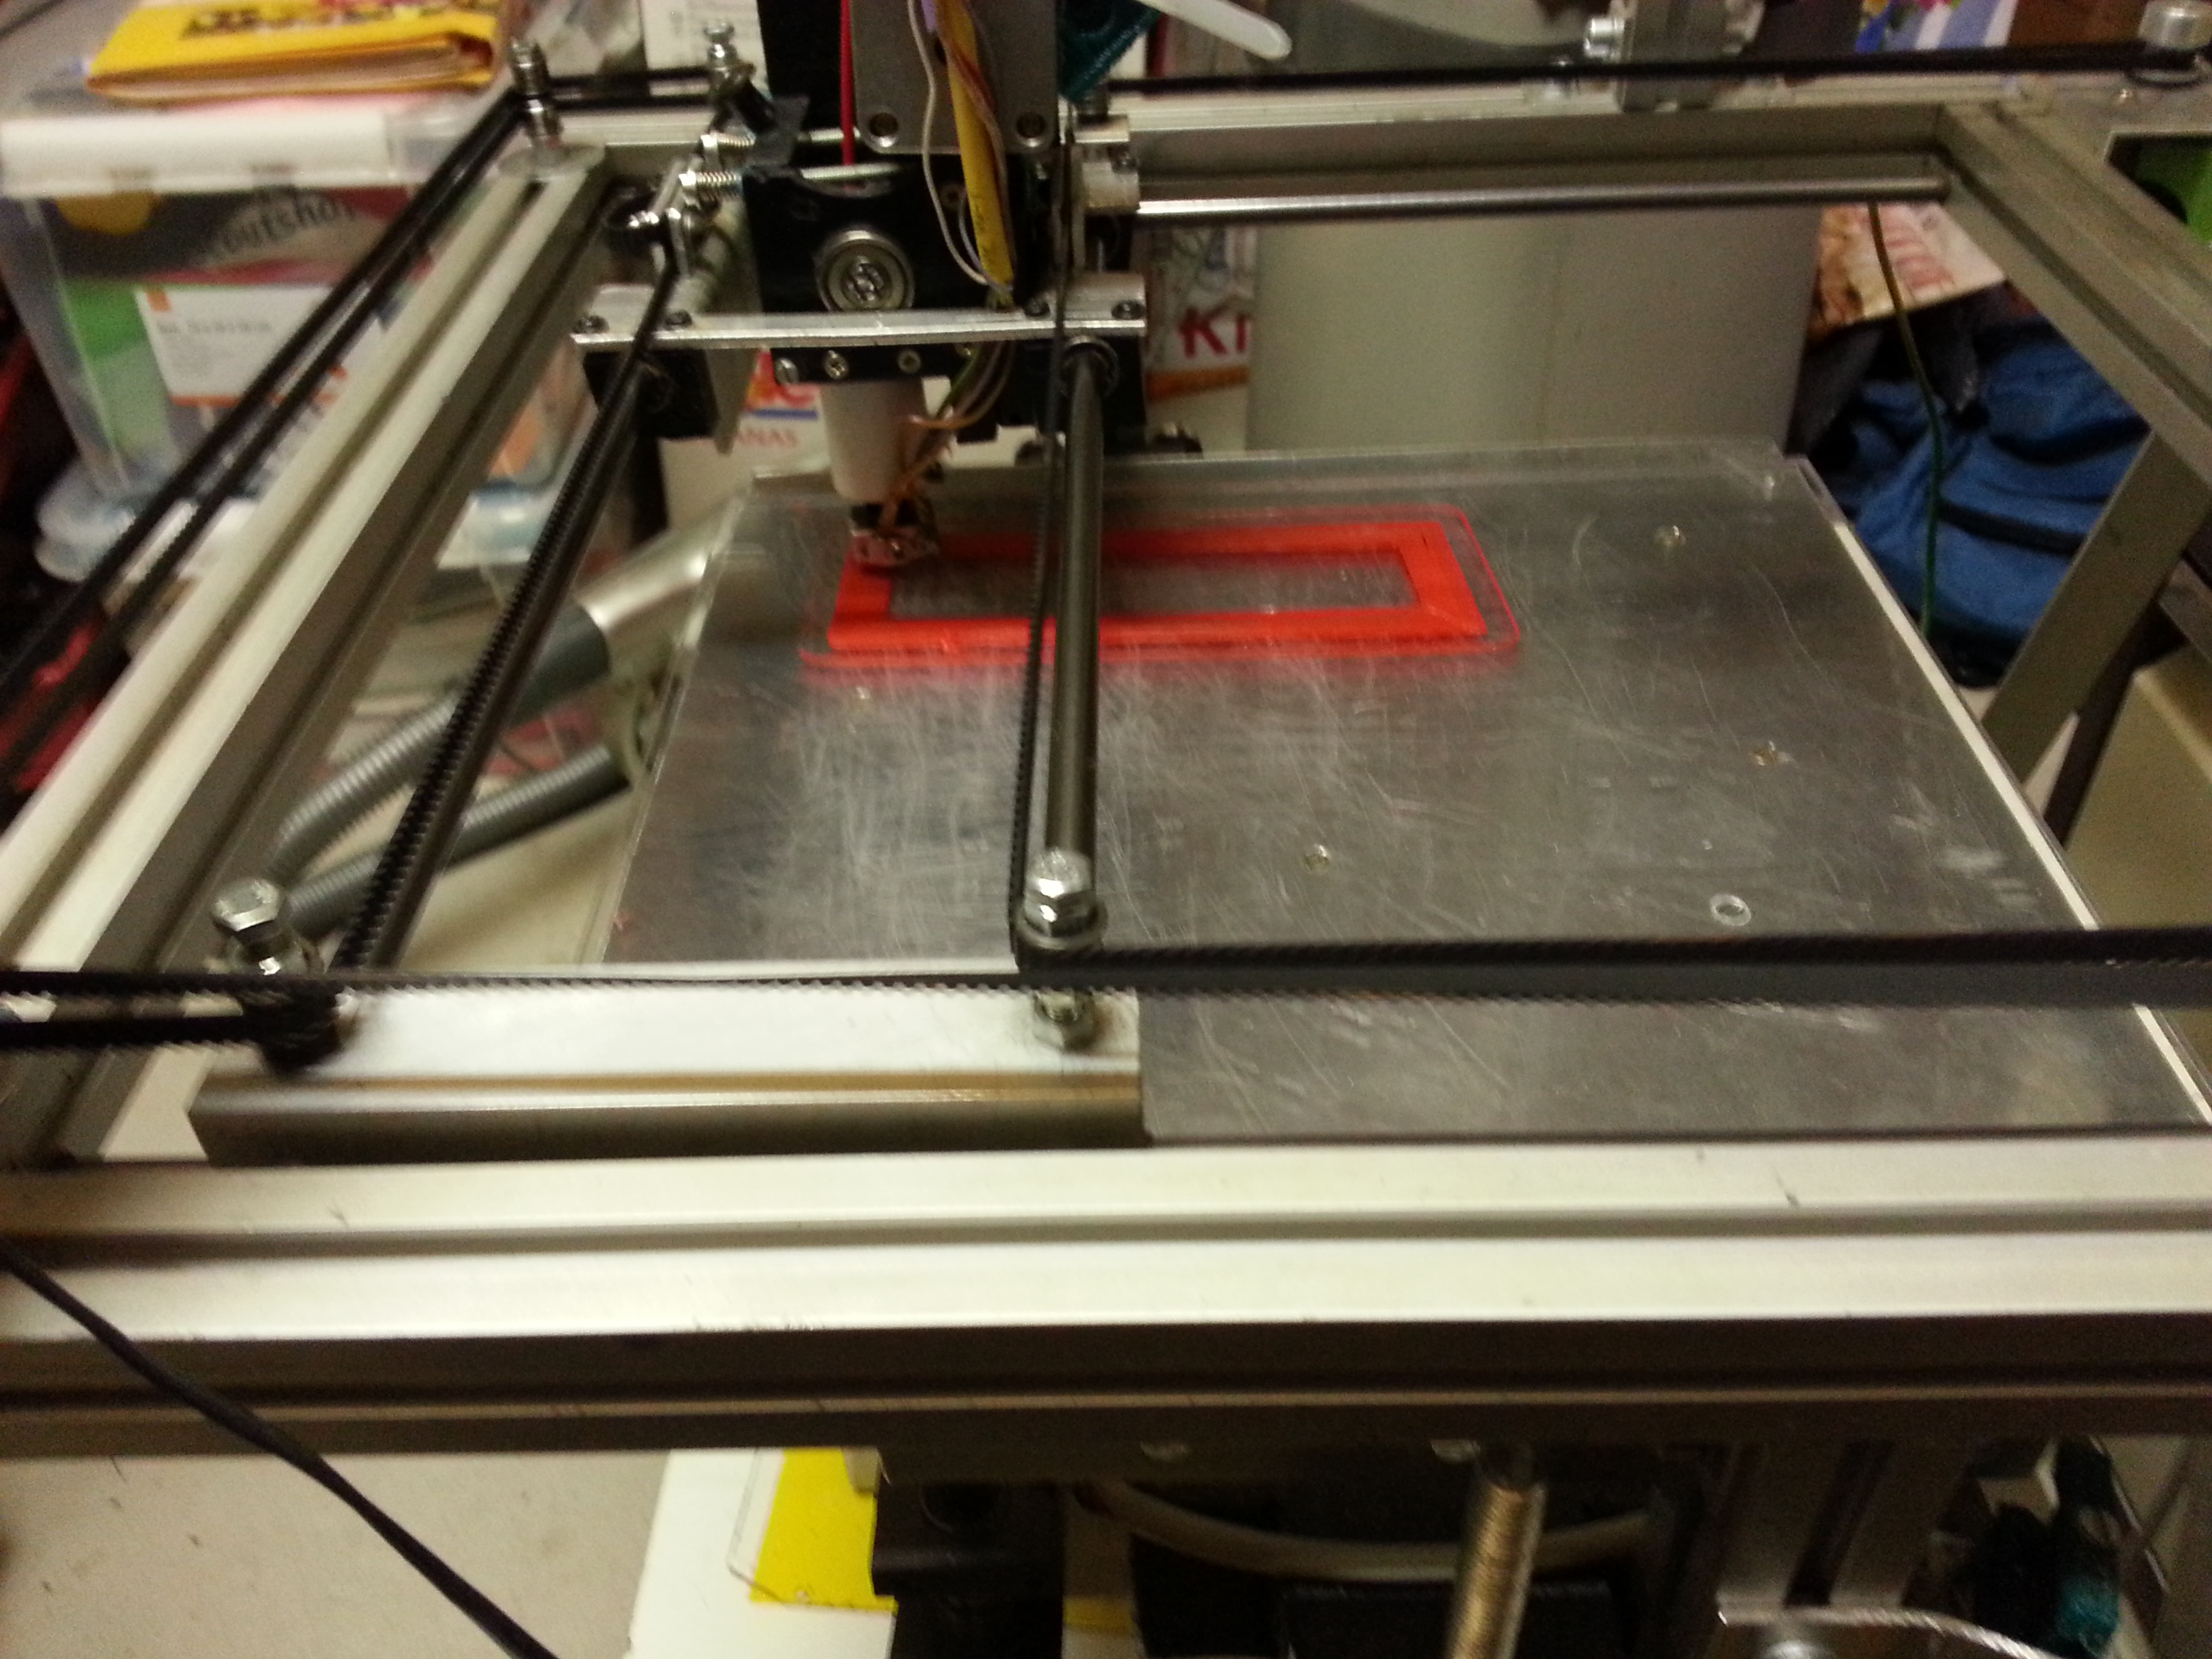
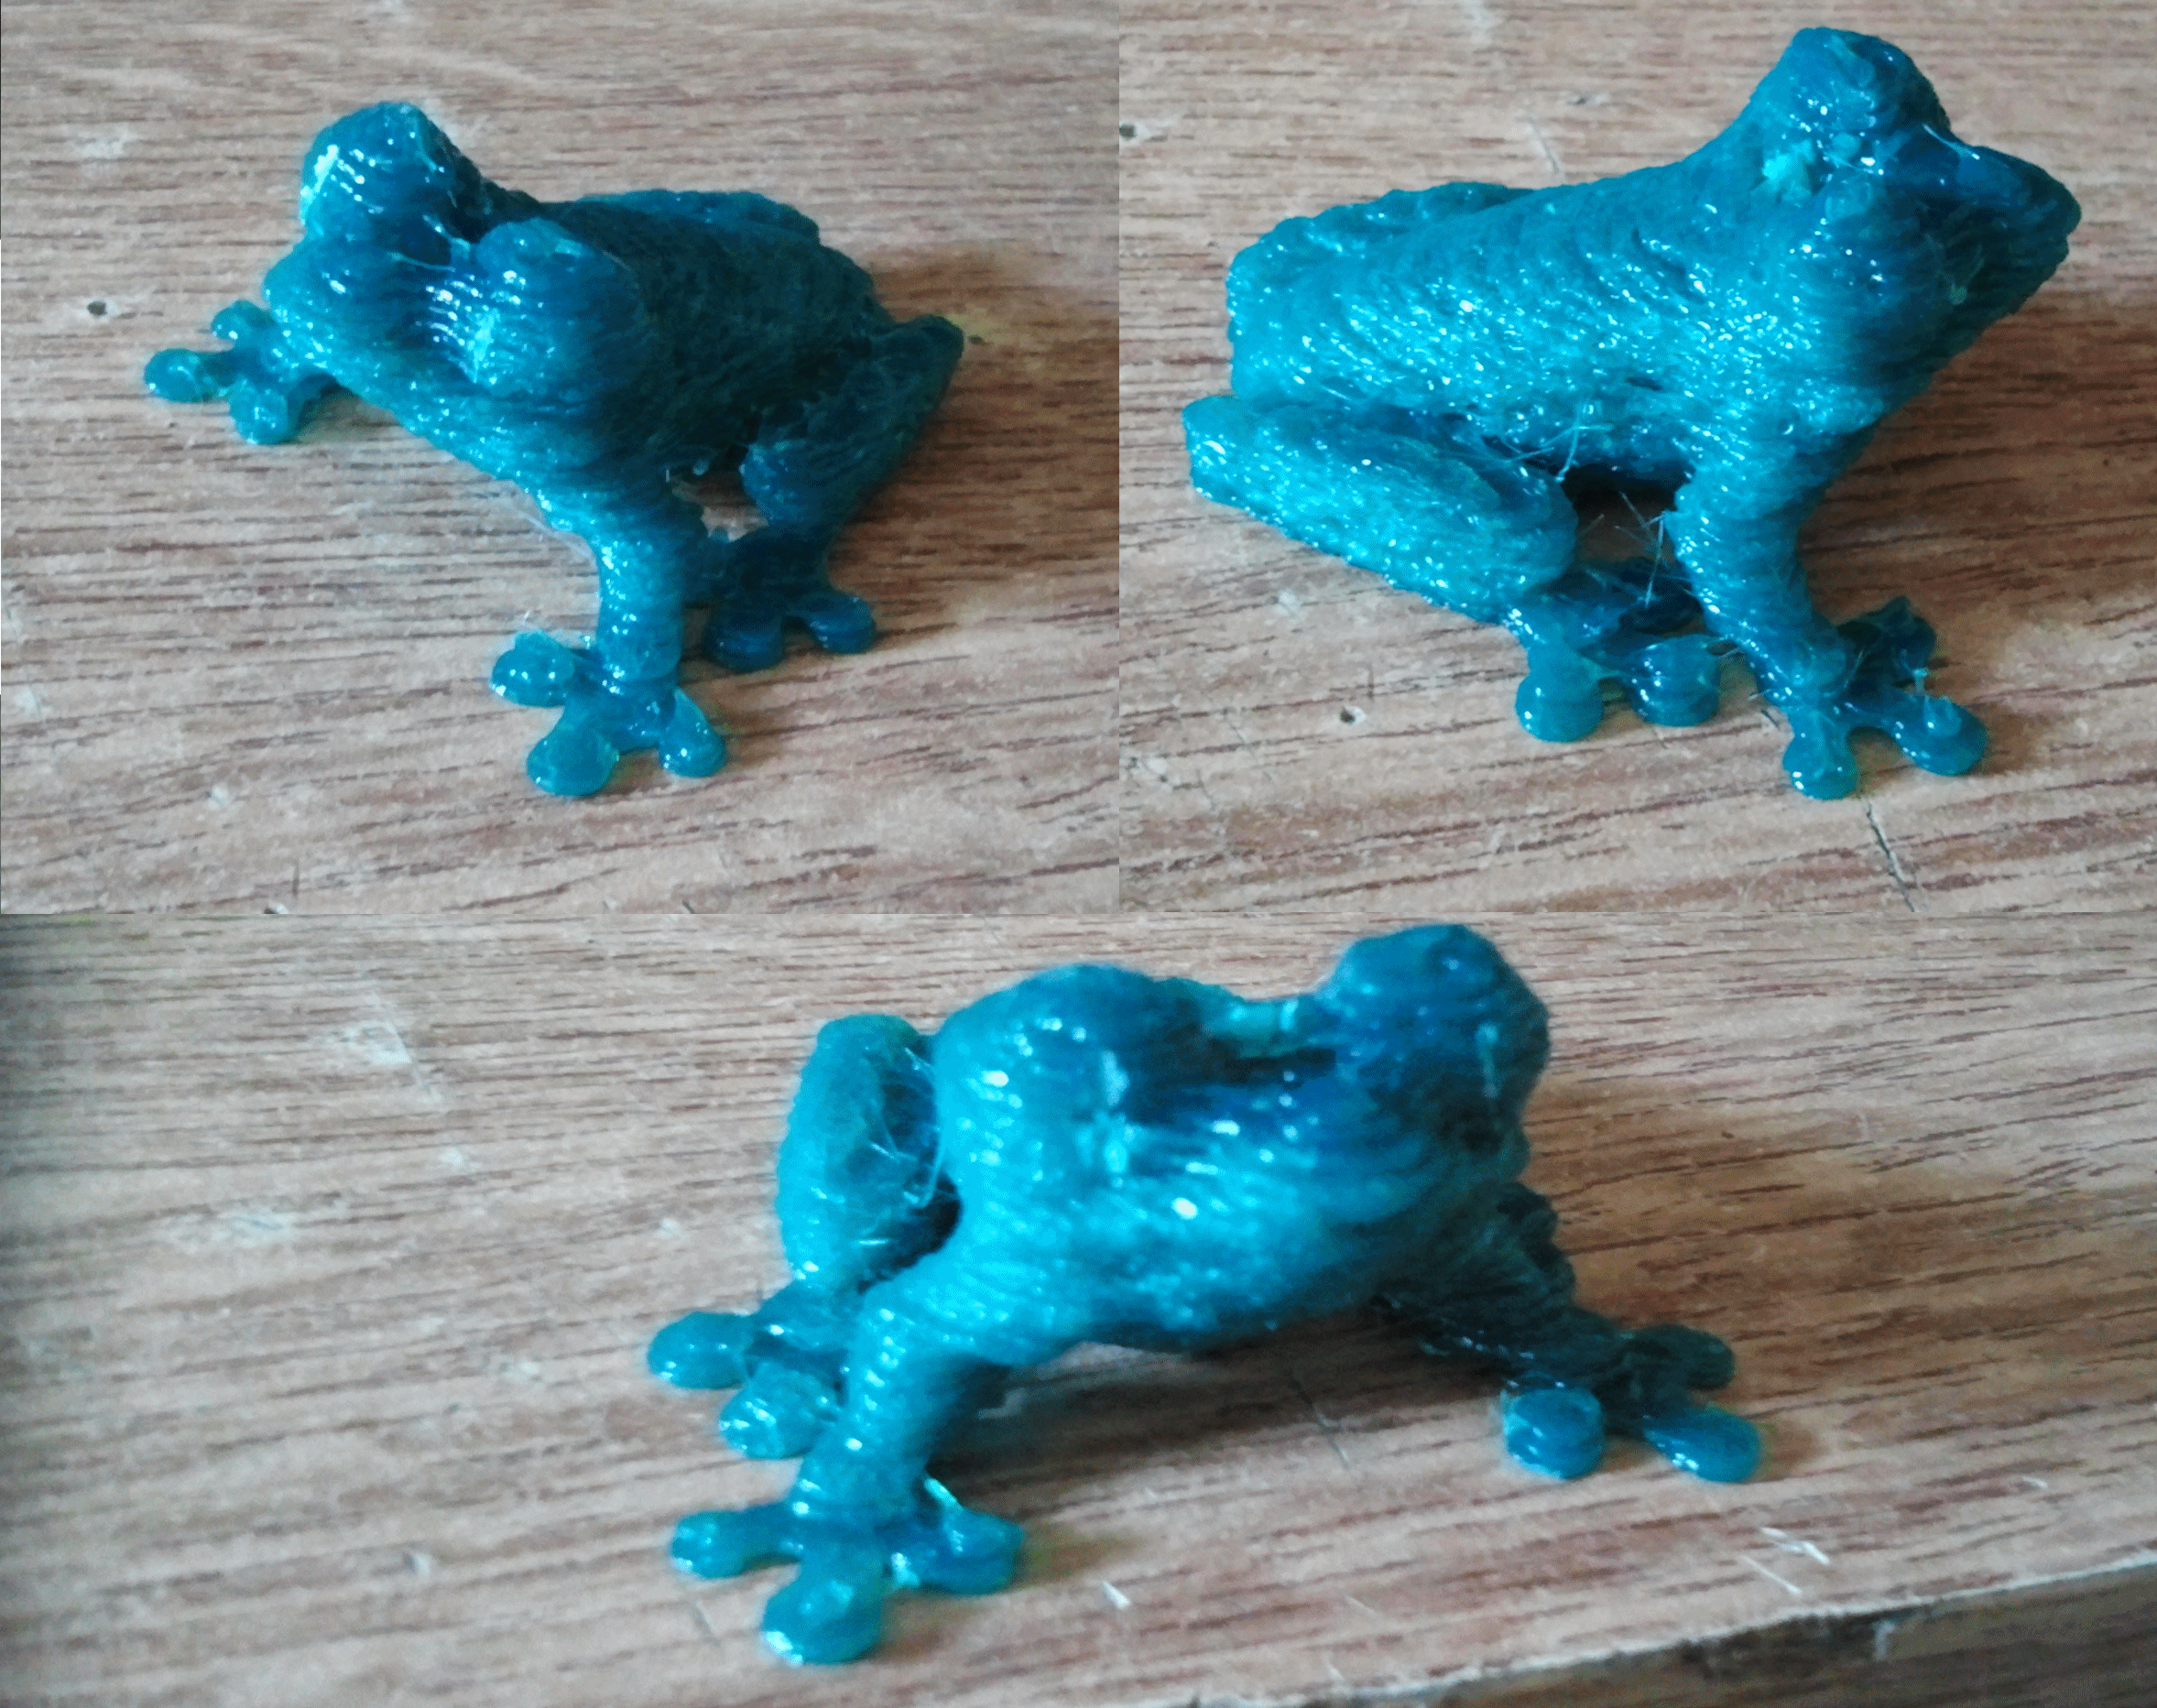
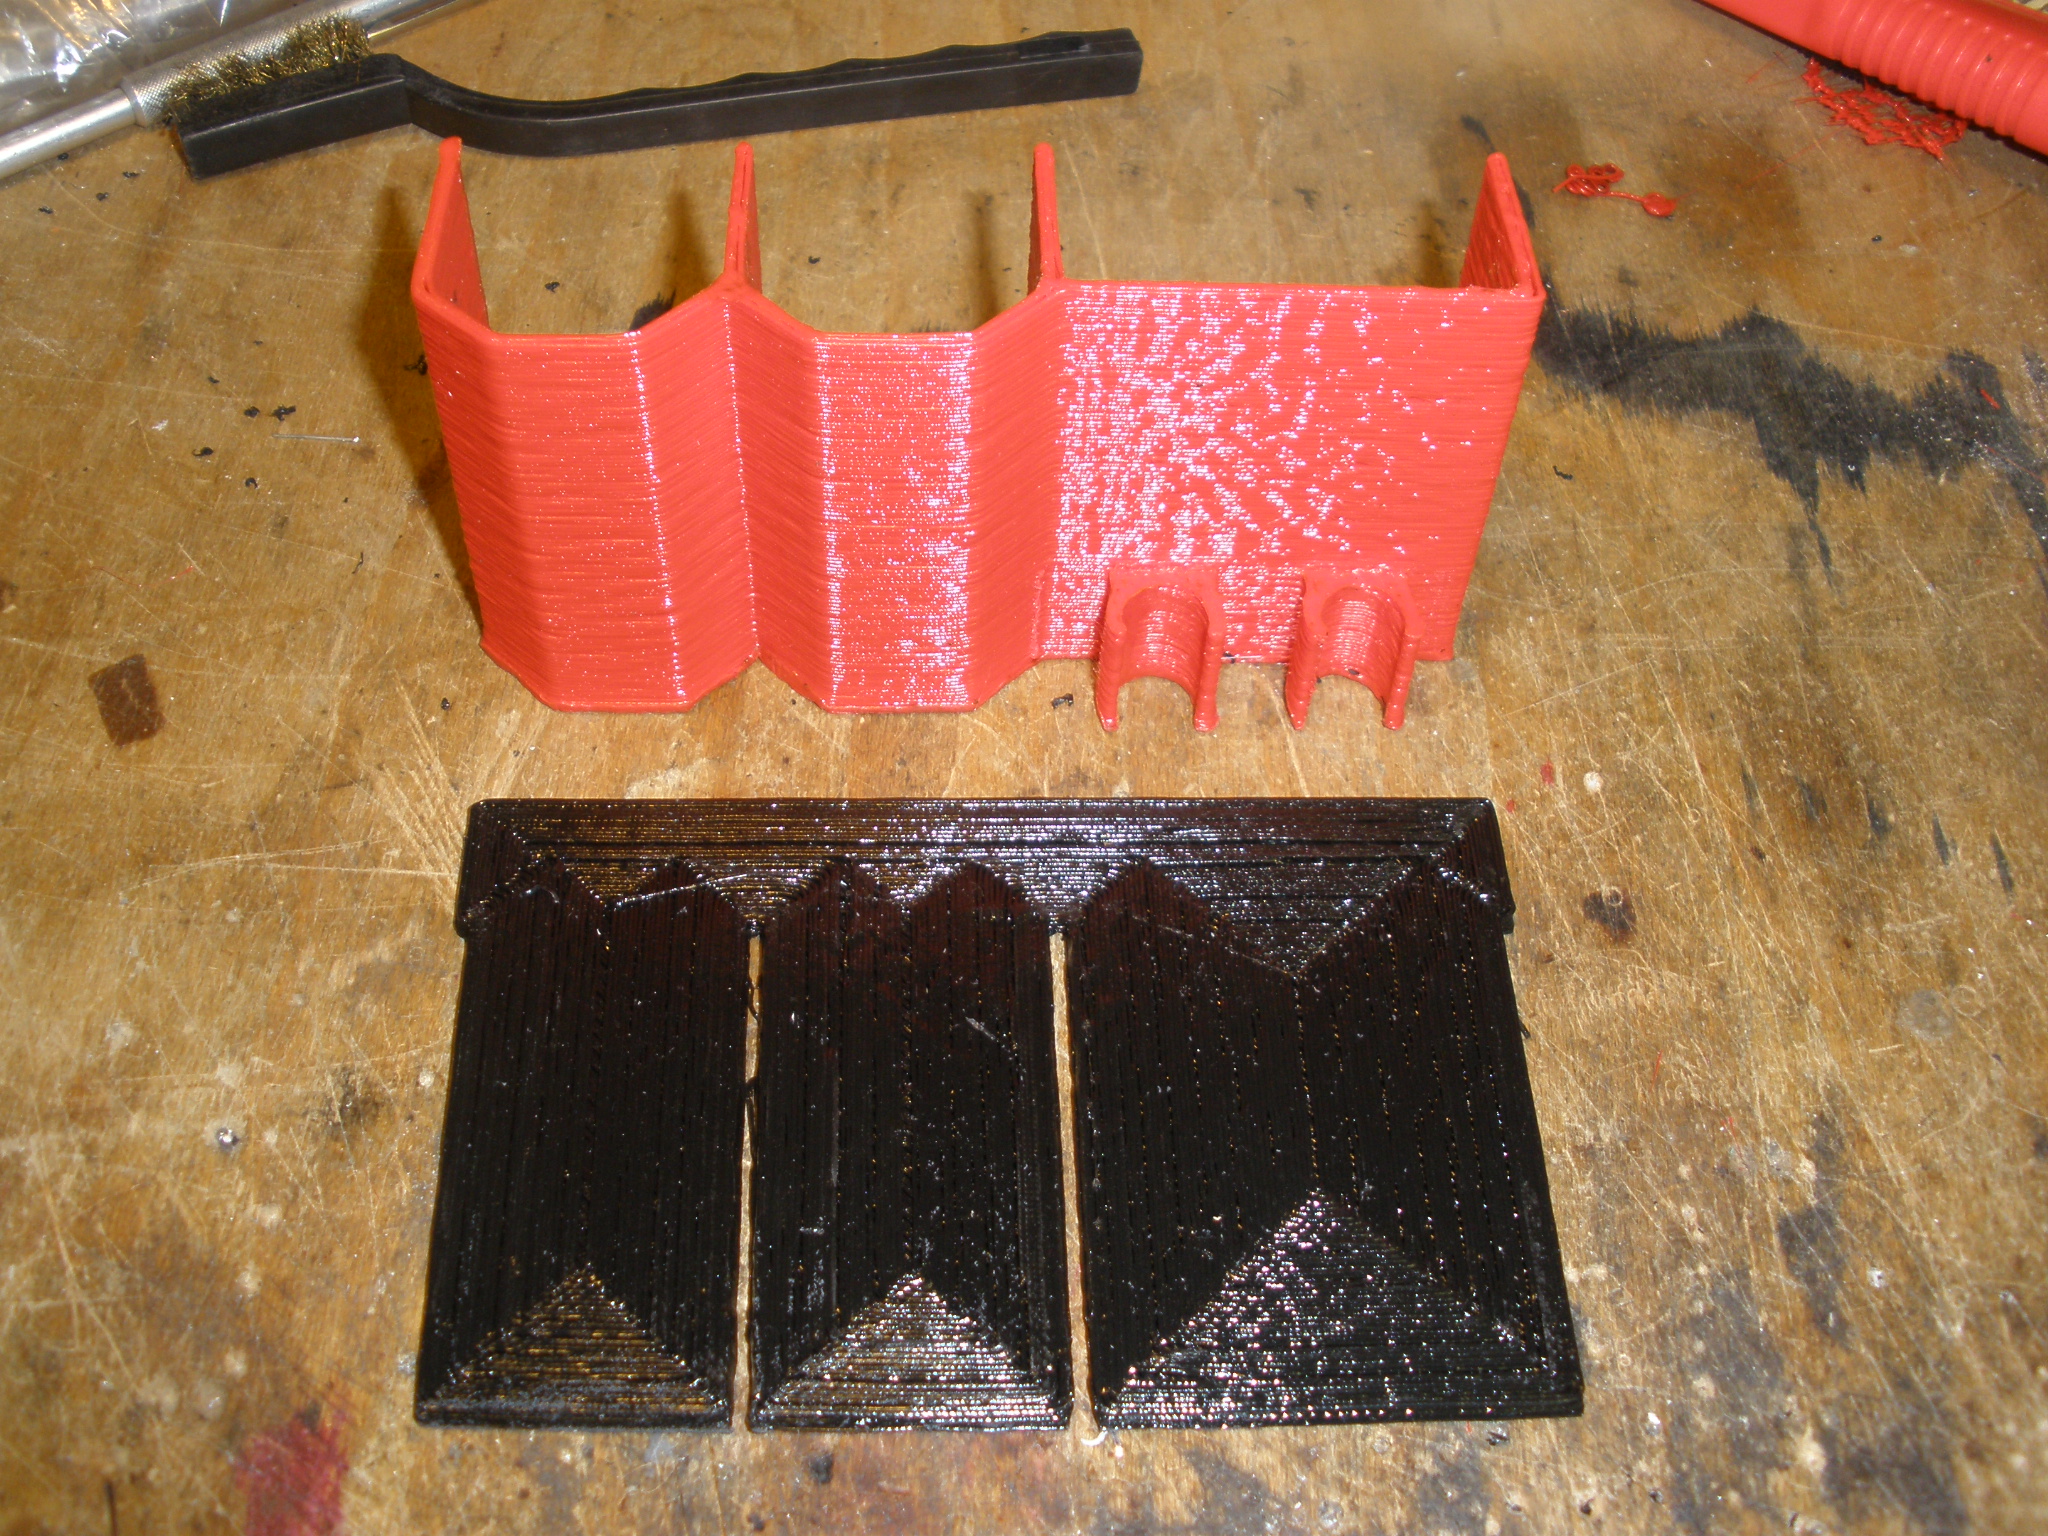
4 - Results
The printing of parts can also be seen on my YouTube channel or check my Thingiverse things!
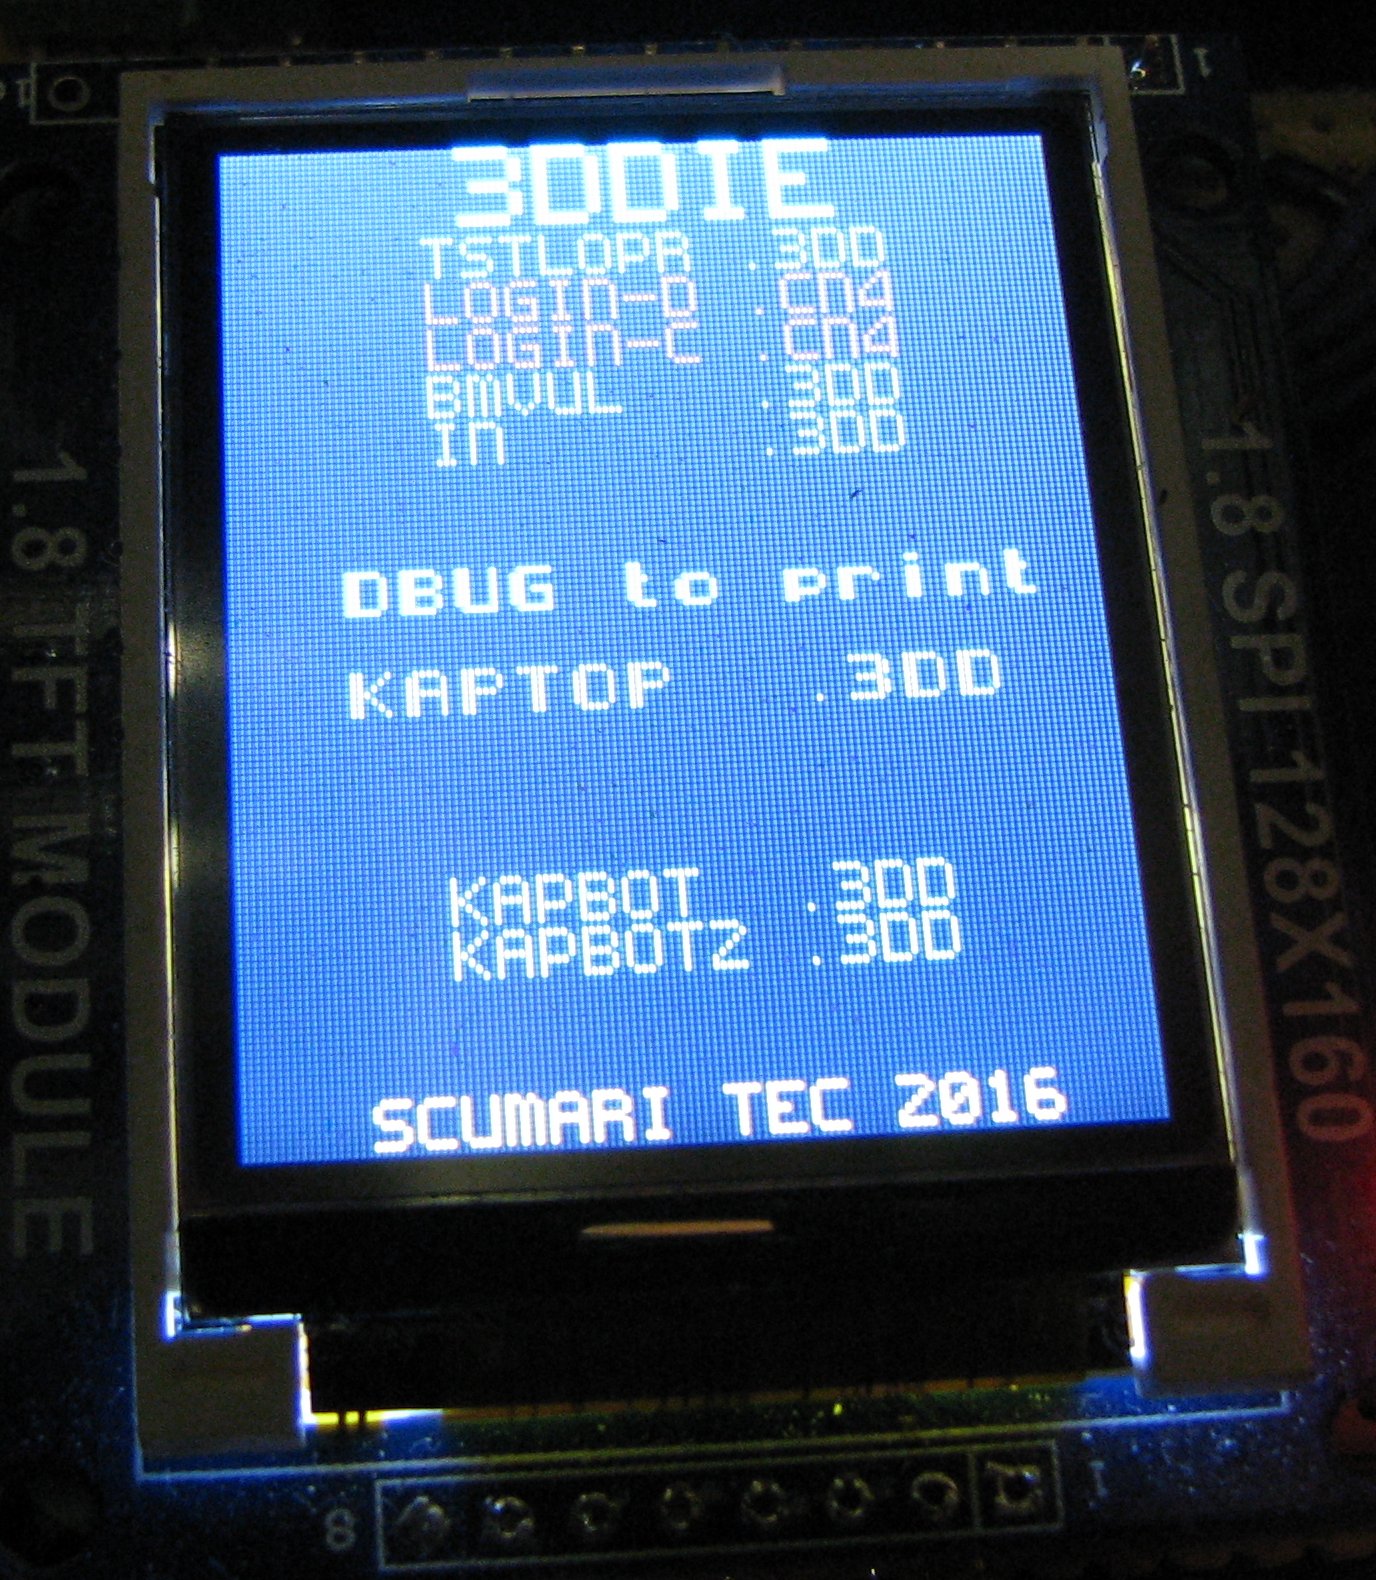
5 - SD cards
Then I found a way to read files on SD cards with a PIC18F4550 and ordered a few serial TFT displays on Ebay with a SD socket.
Adding the display routines to the firmware and change the PC software to export binary files was rather easy.
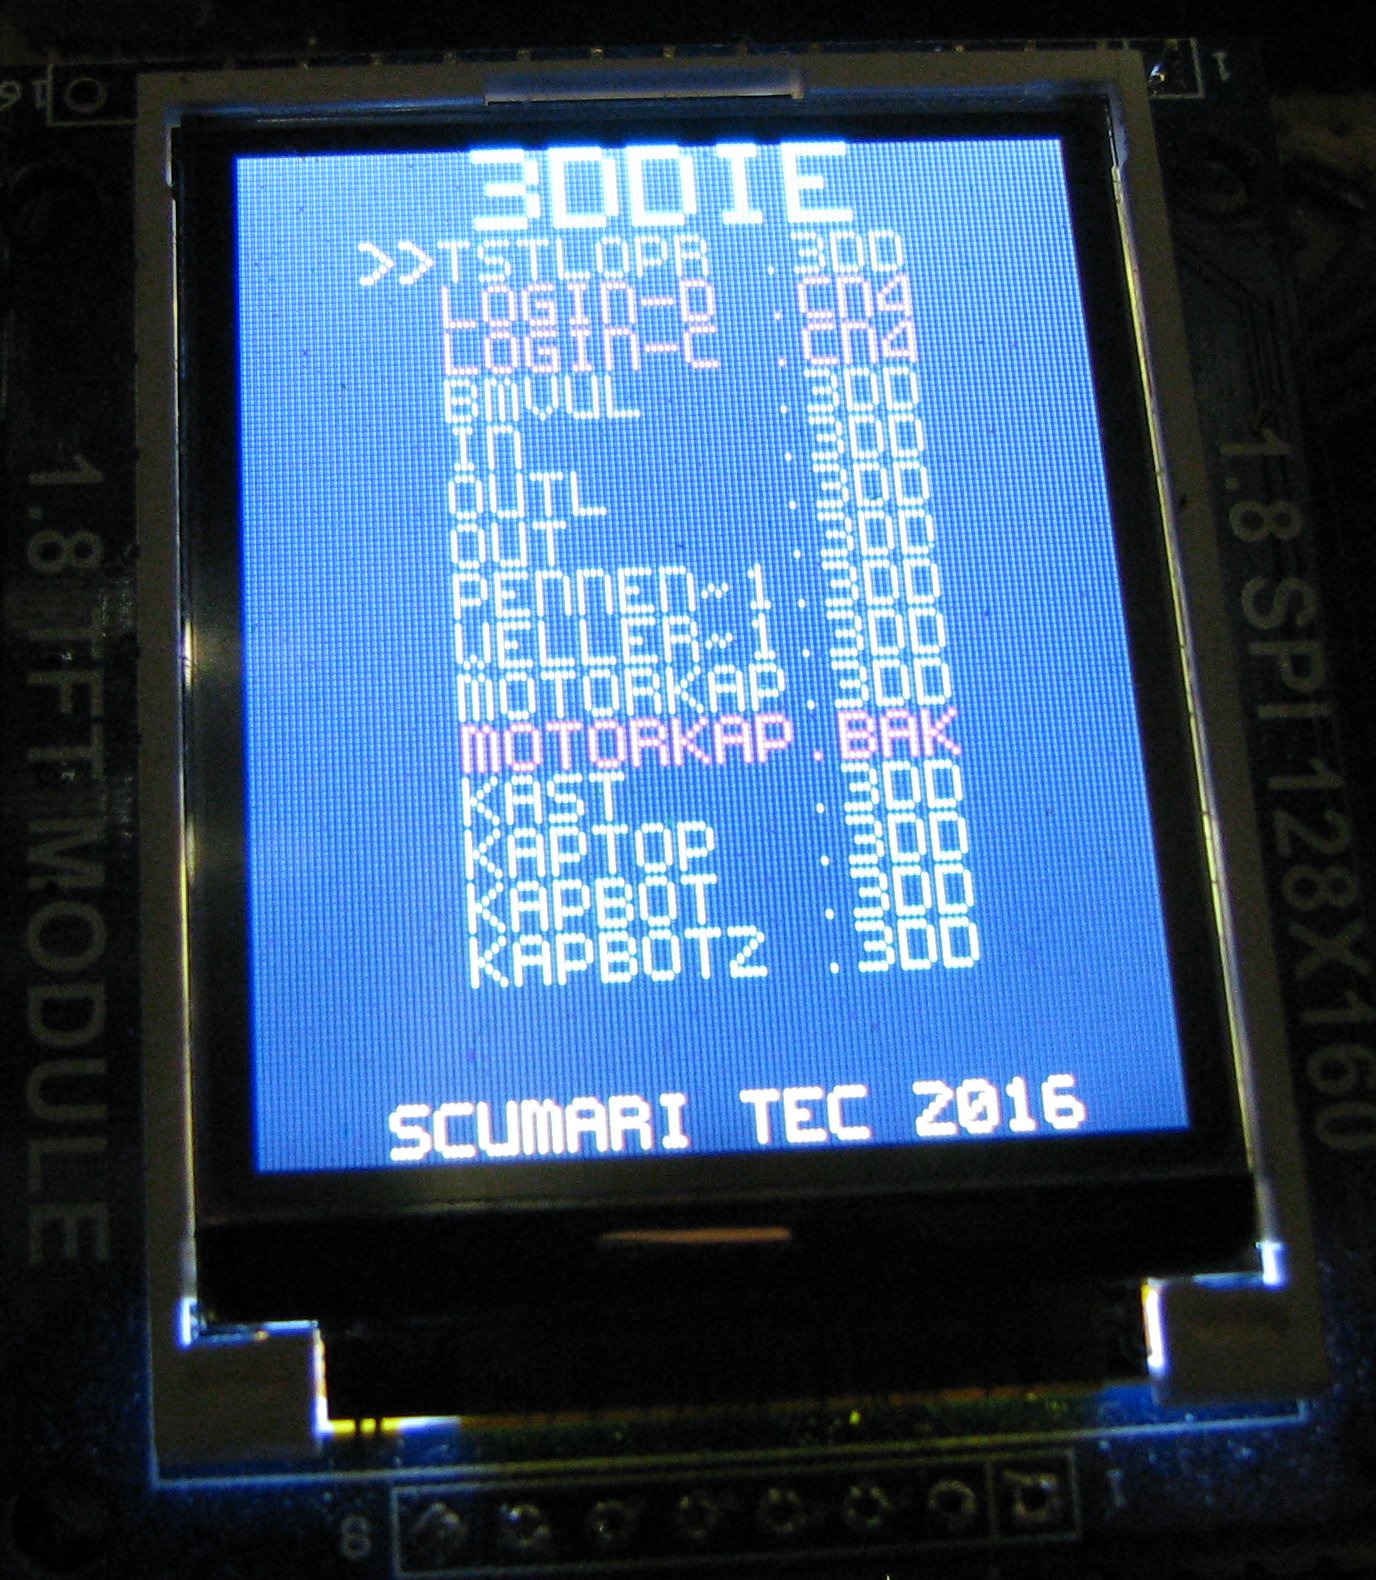
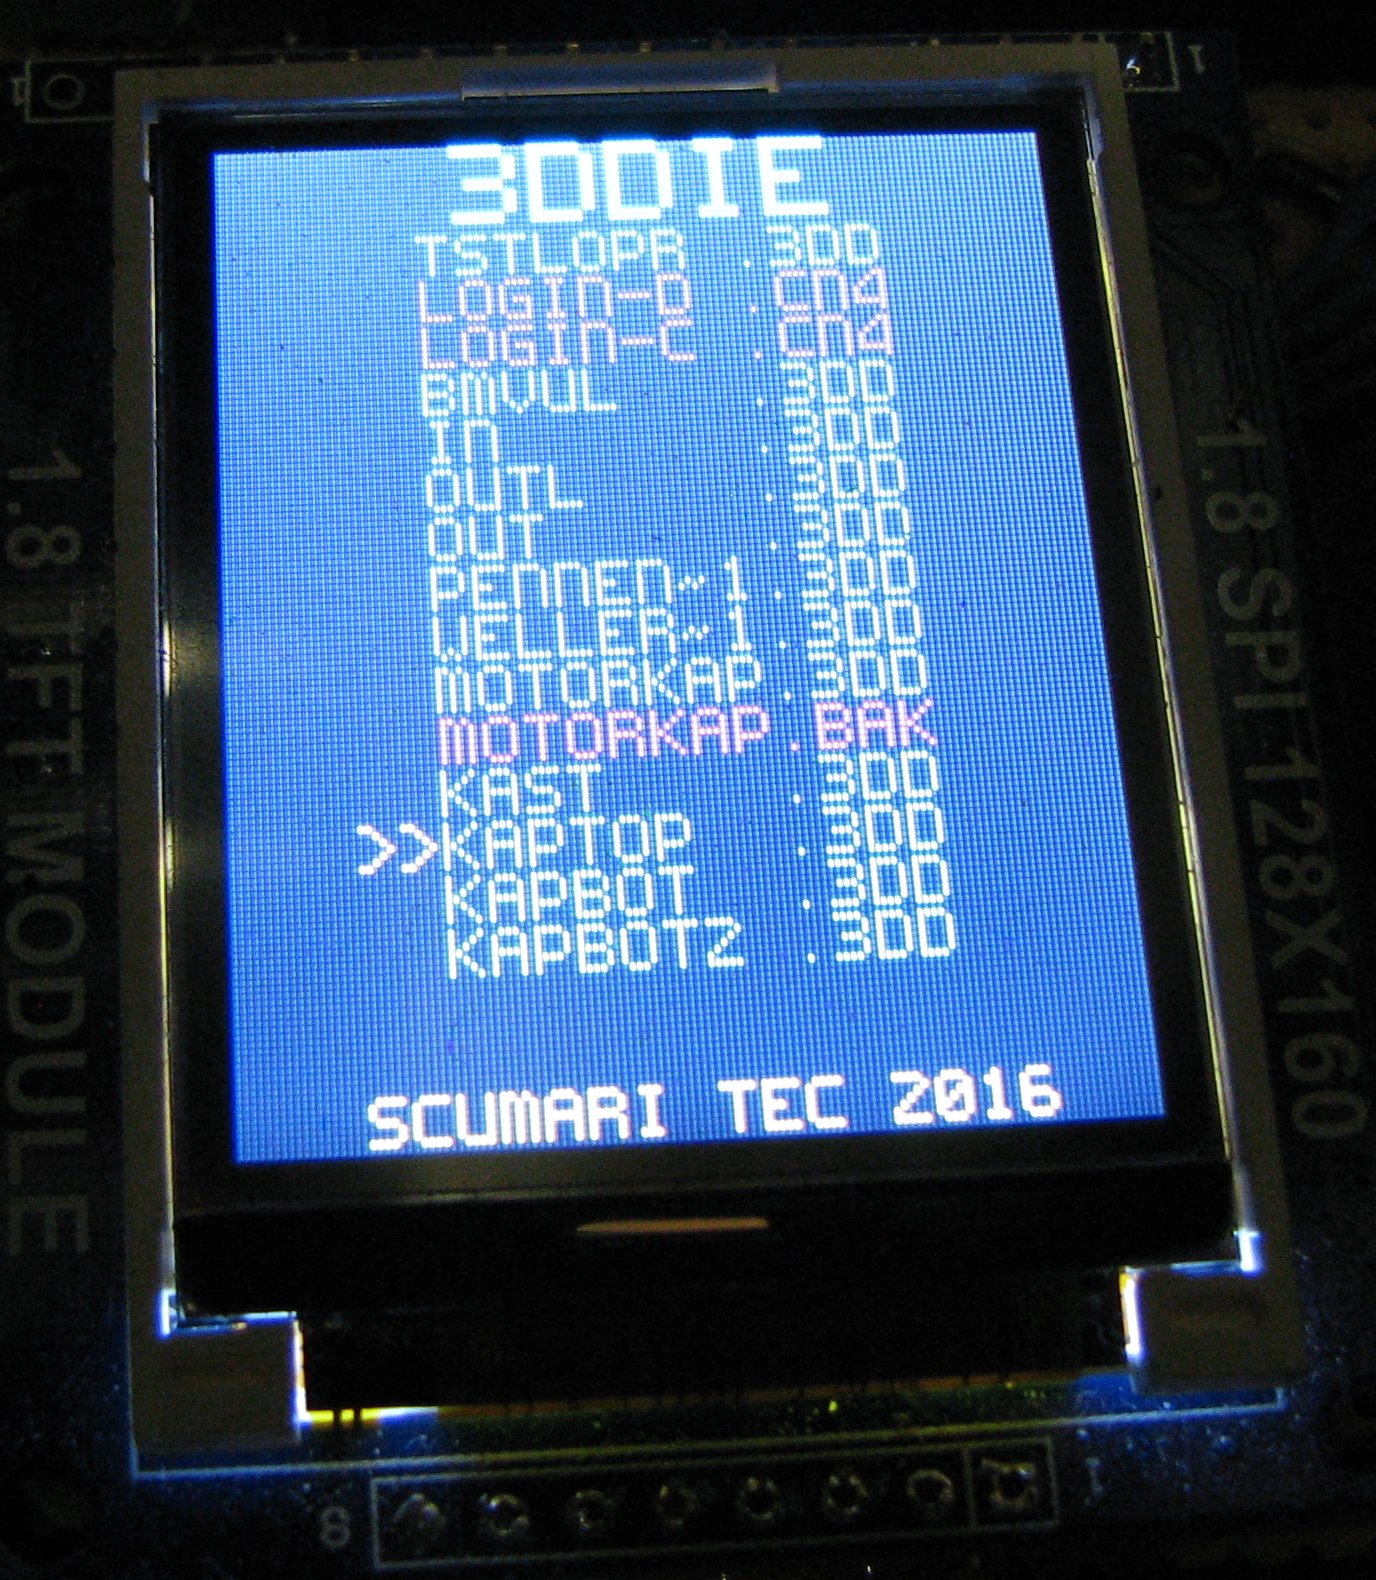
Now, the printer works a lot faster, no delays for USB communication anymore, though, it is still possible !